

- SAP Community
- Products and Technology
- Technology
- Technology Blogs by SAP
- Step 14 with SAP Cloud SDK: Continuous Integration...
Technology Blogs by SAP
Learn how to extend and personalize SAP applications. Follow the SAP technology blog for insights into SAP BTP, ABAP, SAP Analytics Cloud, SAP HANA, and more.
Turn on suggestions
Auto-suggest helps you quickly narrow down your search results by suggesting possible matches as you type.
Showing results for
former_member25
Explorer
Options
- Subscribe to RSS Feed
- Mark as New
- Mark as Read
- Bookmark
- Subscribe
- Printer Friendly Page
- Report Inappropriate Content
09-20-2017
8:27 PM
Disclaimer: The SAP Cloud SDK for Continuous Delivery and its features have been merged into project "Piper". Therefore we recommend to use the General Purpose Pipeline of project "Piper" instead of the SAP Cloud SDK pipeline. The reasoning for this change, as well as further information on how to adopt the General Purpose Pipeline are described in this guide.
The following blog post will explain how you can start using the SAP Cloud SDK Continuous Integration and Continuous Delivery toolkit to build, test, and deploy your project. Adopting Continuous Delivery is an important practice when shifting to a DevOps culture in organizations.Note: This post is part of a series. For a complete overview, visit the SAP Cloud SDK Overview.
Introduction
The SAP Cloud SDK (fka SAP S/4HANA Cloud SDK) enables you to develop and release your application in short cycles according to the software engineering best practices continuous integration (CI) and continuous delivery (CD).
To achieve this, the SAP Cloud SDK makes use of a set of well attuned components:
- Maven project archetypes for the rapid creation of a new cloud application.
- A pre-configured Jenkins CI and CD server, available via Docker Hub.
- A SAP Cloud SDK specific CI and CD pipeline and library for building, testing, quality checking, and deploying applications that conform to the structure of the SAP Cloud SDK archetypes.
The preconfigured build server and the codified pipeline together form the SAP Cloud SDK Continuous Delivery toolkit.
Prerequisites
For getting started with Continuous Integration and Delivery (Cx) in your project, you need to assure the following prerequisites.
- Linux host with Docker: For instantiating the SAP Cloud SDK Cx Server, you need to provide a suitable host or virtual machine with a linux operating system and Docker installed. Please also ensure that the user with whom you start the Cx Server belongs to the docker group.
- Project sources in git or github: Your project source files need to be available on a git or github server, which is accessible from the Cx Server host. Creating your project is explained in Step 2 and Step 3.
The SAP Cloud SDK Pipeline uses Docker images for each individual build step. Accordingly, you do not need to take care of installing any further dependencies on your host machine. All tools required for building, testing, quality checking, and deploying your applications, are dynamically retrieved in the form of Docker images.
Installing and Managing the Cx Server
The lifecycle of the Cx Server is maintained by a script called
cx-server. It can be found in the same named folder on the root of each SAP Cloud SDK project archetype. Alternatively, you can also get it from the Cx Server git repository. Together with the server.cfg file, this is all you need for starting your instance of the SAP Cloud SDK Cx Server.
Copying the Cx Server lifecycle management script to the target host
First, "cx-server" folder needs to be copied to the future host on which the Cx Server is intended to run. For this, copy the folder from your archetype to a place on your linux server, for example, via secure copy:
scp -r cx-server username@cx-host.corp:/~/cx-serverNote: If you are copying the cx-server from a Microsoft Windows machine, the target files might use Windows line endings, which makes them unusable on the linux host. To correct this, you can use
dos2unix or similar tools to convert the line endings of the cx-server script and its configuration in server.cfg. Also assure that the cx-server script is executable by the current user.Example:
$ dos2unix ./cx-server/*

dos2unix: converting file ./cx-server/cx-server to Unix format...

dos2unix: converting file ./cx-server/server.cfg to Unix format...

$ chmod +x cx-server/cx-server
Next, login to your linux host and navigate to the cx-server folder. After that, you are ready to start your SAP Cloud SDK Cx Server instance.
Starting the SAP Cloud SDK Cx Server
Starting the Cx Server is very simple. All you need to do, is to change to the cx-server directory and execute the
cx-server start command. This will start the Cx Server with its default settings on port 80 of your host machine.If not done before, the script downloads the newest version of the SAP Cloud SDK Cx Server from Docker Hub and instantiates a container from it. Because of the initial download, the first invocation might take a few minutes. In case, the Cx Server has been started and stopped earlier, the existing container will be reused.
The state of Jenkins will be stored in a persistent Docker volume named
jenkins_home_volume. This volume contains all critical data, comprising the Jenkins configuration, plugins, and build related artifacts. Therefore, even if your container crashes, no data of your Cx Server will be lost.If everything goes well, you should be able to see output, which is similar to the following:
$ cd cx-server

$ ./cx-server start

Checking for newer version of this script on github...

no newer version detected.


Starting docker container for Cx Server.

Parameters:

   - http_port=80

   - docker_image=ppiper/cx-jenkins-master:latest

   - jenkins_home=jenkins_home_volume


>> docker pull ppiper/cx-jenkins-master:latest

latest: Pulling from ppiper/cx-jenkins-master

...

e7ad665b2ea1: Already exists

9094d1930c09: Pull complete

1ae0fd7ec49a: Downloading [==>        ]  9.191MB/221MB

...

Status: Image is up to date for ppiper/cx-jenkins-master:latest

>> docker run -u 1000:115 --name cx-jenkins-master -d -p 80:8080

 -v /var/run/docker.sock:/var/run/docker.sock

 -v jenkins_home_volume:/var/jenkins_home

 ppiper/cx-jenkins-master-sap:latest

0e214f9dcf3d9e1d2839638901d60f3067edb635067c640fe16b7c18a6b65607

Waiting for the Cx server to start......... success.
Congratulations! Your Cx Server is now starting up. Once it's running, you can open it by entering the IP or domain name of your host machine in your favorite browser. Jenkins should welcome you with the following screen:
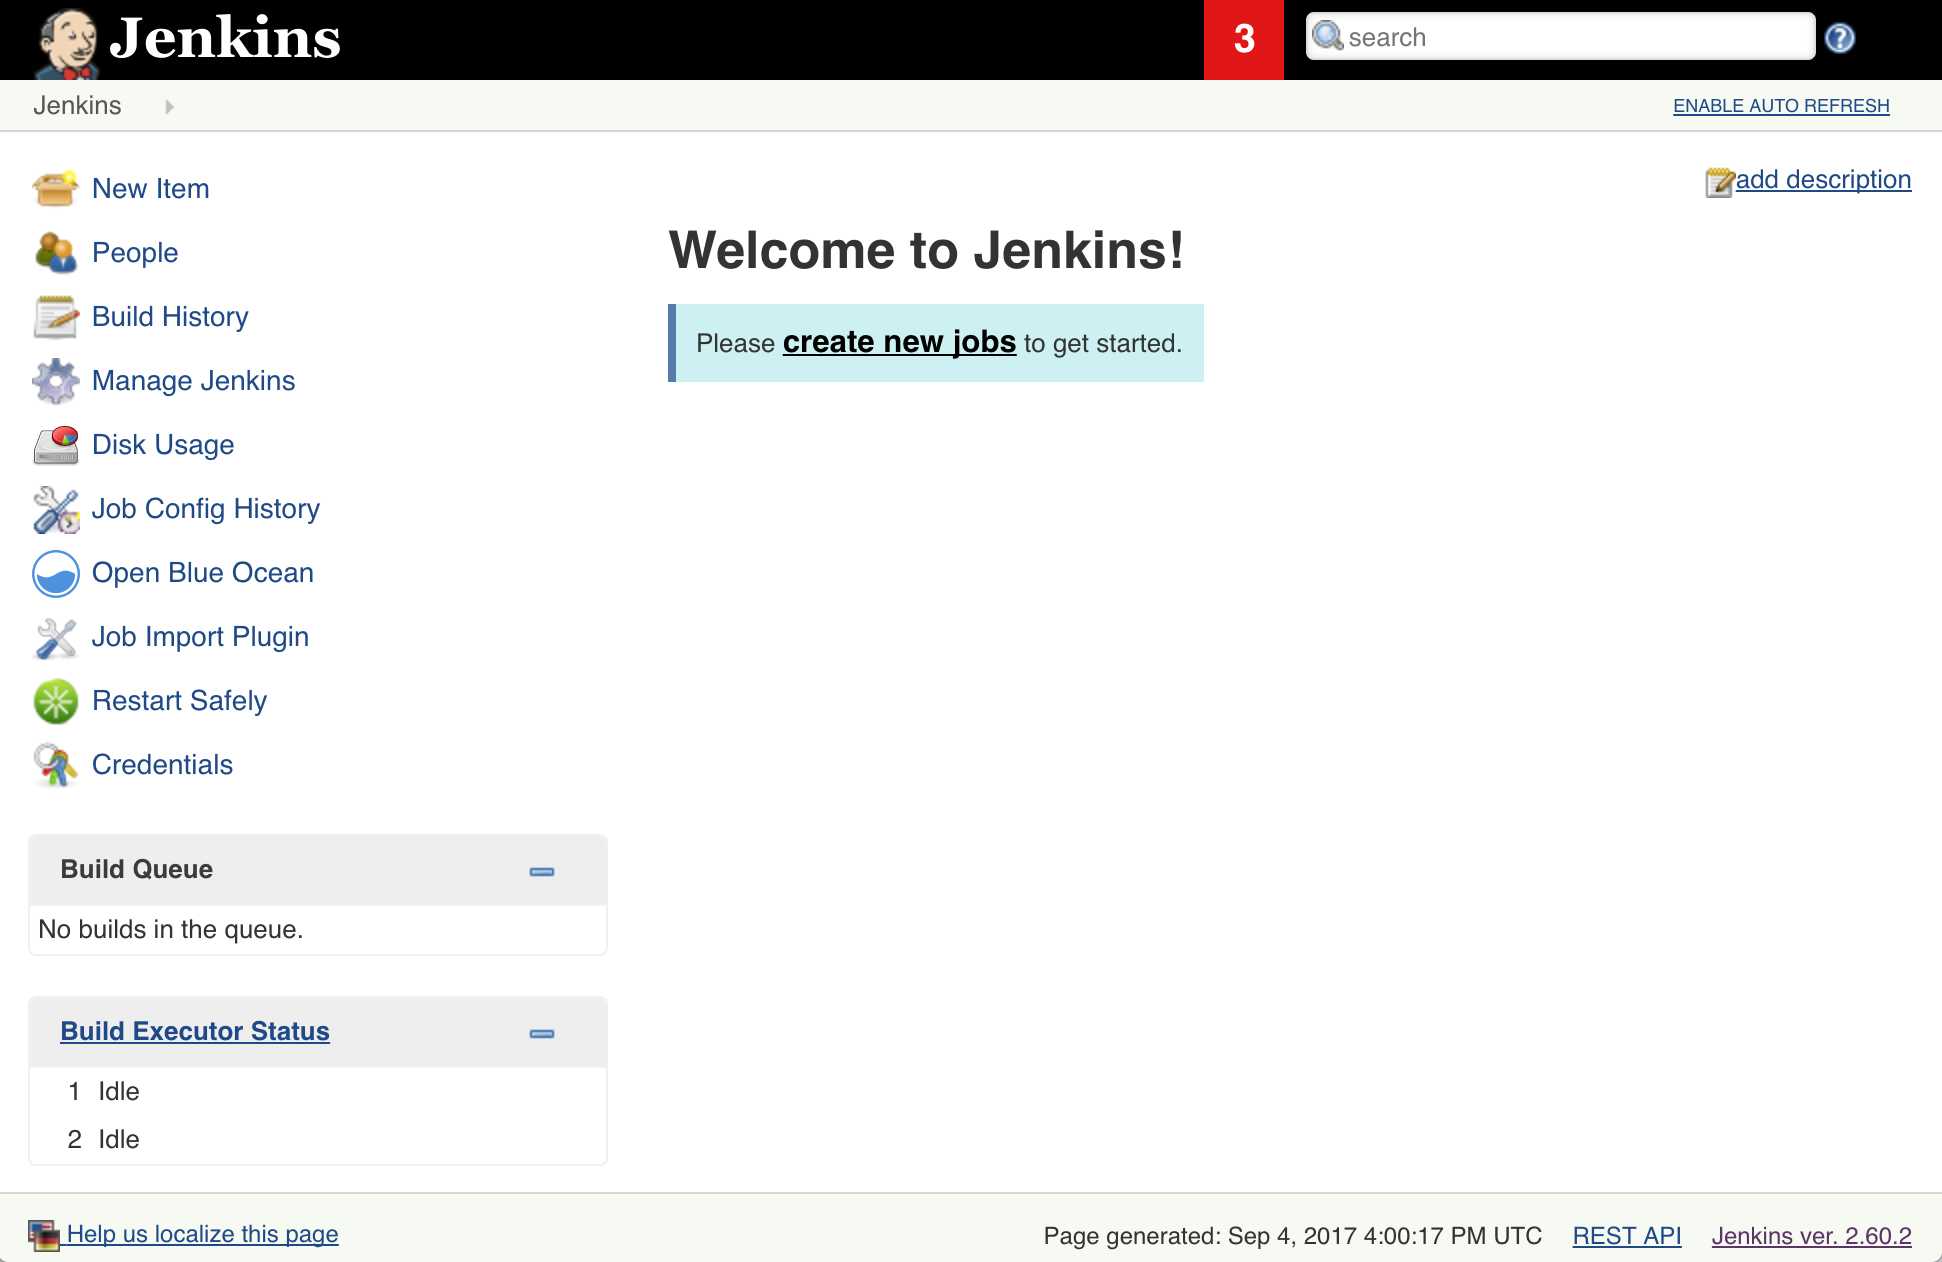
Next, you can continue with the basic setup and start building your project by adding your source code repository.
Stopping the SAP Cloud SDK Cx Server
For stopping your Cx Server instance, you can use the command
cx-server stop. It will stop the Cx Server container in a safe manner by waiting for all jobs to finish before shutdown.Note: Before the shutdown can be performed, you have to provide the credentials of a (technical) user who is enabled to perform a safe shutdown of the server. If you did not secure the server yet, you can skip entering credentials by leaving the user name empty.
$ ./cx-server stop

Checking for newer version of this script on github...

no newer version detected.


Jenkins username (leave empty for unprotected server): user

Password for user:


Initiating safe shutdown...

>> docker exec 0e214f9dcf3d curl

 -w '%{http_code}' -u 'user:******' -o /dev/null

 -s -X POST 'http://localhost:8080/safeExit'

200

Waiting for running jobs to finish...... success.
Creating a new SAP Cloud SDK Cx Server Container
In certain cases, you will need to create a new Cx Server container, for example, for:
- updating the Cx Server to a new version
- effectively applying configuration changes
- troubleshooting
For this, you can stop the server and call
cx-server remove to delete its corresponding docker container. To create a new instance, you can subsequently call cx-server start. This will instantiate a new container based on the current configuration. As long as you do not change the home directory of Jenkins, the new container will reuse the previous Cx Server configuration and all other persisted state information.Configuring the SAP Cloud SDK Cx Server
You can use the
cx-server/server.cfg file to customize your instance of the SAP Cloud SDK Cx Server. To get an overview of the available options, you can open the file and have a look at the explanatory comments of each option. Changes to the configuration will become effective after creating a new container. This means that, if you are already running an instance of the Cx Server, you have to stop and remove it, before the new settings will become effective.As of today, the following options can be customized:
- docker_registry and docker_image: The docker registry, respectively docker image to be used for instantiating your Cx Server. When no docker_registry is specified, the docker engine will use docker hub as a default and pull the
ppiper/cx-jenkins-masterimage in its latest version. - http_port: The port on which your Cx Server will be reachable.
- jenkins_home: The resource to be used as jenkins home directory. You can use an absolute path pointing to a folder on your host machine, for example,
jenkins_home="/var/jenkins_home". Alternatively, you can use a named docker data volume such as the default valuejenkins_home="jenkins_home_volume". - x_java_opts: Custom java options to be passed to the Jenkins Java VM. You can use it to adapt the maximum heap size of its Java VM, for example,
java_opts="-Xmx1024m". - http_proxy, https_proxy, no_proxy: Proxy settings to be passed as environment variables to the docker container, for example:
http_proxy="http://proxy:8080",http_proxy="http://proxy:8080",
no_proxy="localhost,.corp"
Note: If you choose to store Jenkins home in a local folder, you have to ensure that the Jenkins user within the Cx Server container, which is fixed to uid=1000, is able to read and write within the specified folder. To avoid permission related issues, we recommend to use named docker volumes.
Building your first project
After configuring and starting your Cx Server instance, you are ready to build, test, and deploy your first cloud application. This application needs to be created from one of the SAP Cloud SDK archetypes.
Before creating your build job, you need to configure your SCM system of choice. In our example, we will assume that your project is located in GitHub Enterprise. Alternatively, you can also skip the next step (Setup GitHub Enterprise) and use your account on github.com.
Note: Jenkins also supports other SCM systems such as GitLab or plain git. You are free to install the corresponding plugin to enable your custom SCM setup.
Setup GitHub Enterprise
Go to your Jenkins main page and navigate to "Manage Jenkins » Configure System". On the configuration page, look for "GitHub Enterprise Servers". Here, add the API endpoint of your GitHub Enterprise Server, which typically ends with
/api/v3 (for example https://github.corp/api/v3), and assign a name to it. Now you are ready to create a build job for your project.
Create a Jenkins job for your project
To create a build job for your project, navigate to "New Item" in the Jenkins main menu. On the following screen, choose "Multibranch Pipeline" and specify a name for your project's build job.
Next, you need to setup the SCM source of your project's build job. Look for "Branch Sources" and add one by specifying your GitHub Enterprise endpoint, organization (via field "Owner"), and repository. If your repository is set to private, please also create and use a pair of suitable credentials and choose them for your repository. If you are using github.com, this will also protect you from running into rate limitations. To control when Jenkins will start a build run and what it will build during that run, you can use the "Behaviors" section of the configuration. The example below shows a config that will build all branches and GitHub Pull Requests. Finally, save your updated configuration by clicking the "Save" button on the bottom of the page.

Congratulations! Jenkins will now scan your repository and trigger a build.
The best way to get an overview of the build status is to open the job, navigate to the currently running build, and opening it in the blue ocean UI of Jenkins.


Please note that your pipeline skipped the deployment stage because you did not configure a deployment target yet. To deploy your application to your SCP account, you need to add a target to your
pipeline_config.yml file. Moreover, if you already built integration tests that require credentials, you also need to create corresponding records in the Jenkins credentials store and map them via an appropriate entry in the configuration file. Credentials can be created by navigating to "Credentials » System » Global credentials".
On this screen click on "Add Credentials" and enter username, password, as well as a ID for your credentials record.

As a result, navigating to "Credentials" should show your freshly created entry:
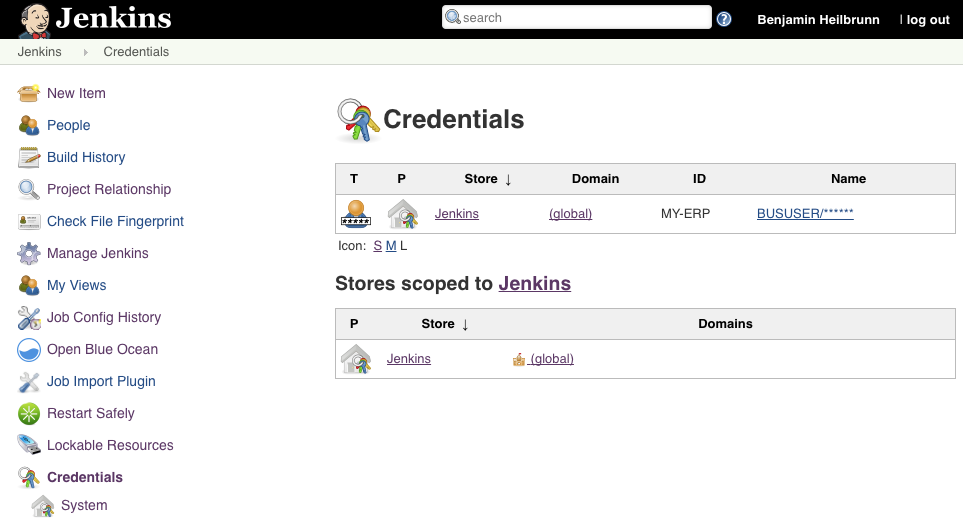
Finally, you can now leverage this credentials record by adding the credentials configuration property to the integrationTests stage of your
pipeline_config.yml. The example below shows am example of mapping it to the system alias "MyErpSystem", which you defined earlier in your systems.yml or json file.stages:
integrationTests:
credentials:
- alias: 'MyErpSystem'
credentialId: 'MY-ERP'
To learn more about pipeline configuration, feel free to have a look on our documentation on GitHub.
For enabling Jenkins to automatically run builds in the future, you should open GitHub Enterprise and navigate to your "GitHub organization » Settings » Hooks" and create a webhook pointing to your freshly created Cx Server, for example,
http://cx-server.corp/github-webhook/. Depending on your SCM system, there might be similar ways to realize the notification.This is also a good point in time to setup Jenkins to know its own URL. Navigate to "Manage Jenkins » Configure System", search for "Jenkins Location", and specify "Jenkins URL" .

Jenkins will use this value to create links to its resources, for example, when creating quality check entries in context of pull requests that are initiated by developers within the project.

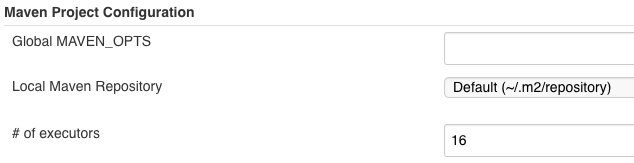
Furthermore, you can adopt the number of executors to match the power of your host machine. By default, the Cx Server uses 4 executors, which means that up to three stages of build jobs can run in parallel. We recommend to increase the number executors to at least the number of cores of your machine. This will help your Cx Server to finish build jobs faster, especially when running multiple in parallel. The number of executors can be configured in "Manage Jenkins » Configure System" in the section "Maven Project Configuration".
For more information on the SAP Cloud SDK Pipeline, feel free to continue reading our deep dive article. There, you can learn more about its capabilities, design principles, integrated quality checks. Its configuration can be found on GitHub.
Questions and Troubleshooting
Pipeline does not start after commit
Check if your webhook is setup properly and that it succeeds in delivering commit events. Furthermore, ensure that your project and, therefore, also the Jenkinsfile are located in the root of your git repository. One way of achieving this, is to generate the archetype in the parent folder of your local repository with
artifactId=<repository name>.In the future, we will use this section to address common challenges and how they can be resolved. For example, how you can access the Cx Server log files, how you can get shell access to your Cx Server, and how to customize it for your environment when you are using self signed certificates.
Other Questions and Bugs
Are you facing a development question? Then check out StackOverflow, the main place for SAP Cloud SDK related questions. If you do not find an answer, feel free to post it and make sure to attach the tag 's4sdk'. Our team, as well as the whole StackOverflow community, are at your service and will quickly react to your question.
For an overview of SAP Cloud SDK related questions, go to https://stackoverflow.com/questions/tagged/s4sdk.
You think that you found a bug in one of our Continuous Delivery artifacts? Feel free to open a issue in our Pipeline GitHub repository on https://github.com/SAP/cloud-s4-sdk-pipeline/issues.
Security Notes
The Cx Server is built with care and based on well established technologies. However, as with most tools, their are certain risks involved that you should properly manage within your setup. Therefore, please carefully read the following security notes before starting to use your Cx Server productively.
Setup Jenkins security and disable anonymous access
Initially, the Jenkins server within the docker image is not secured in any manner. Anyone with network access to the Cx Server host can access and modify its settings. In your Jenkins, navigate to "Manage Jenkins » Configure Global Security" and apply a suitable security setup for your organization and its users.
Take care who can modify the pipeline
Jenkins automatically executes your project's pipeline definition after it is notified about changes. This can be leveraged by attackers that are able to inject code that is then executed on your build server. Carefully manage which users are able to make changes to your pipeline definition, for example, by maintaining an explicit list of allowed committers in GitHub.
Take care who can access the Docker socket
To be able to start other docker containers, the Cx Server has access to Docker's control socket under
/var/run/docker.sock. Attackers that manage to intrude your Cx Server container, will be able to launch other containers that then might interfere with other resources on your system. This is a general security risk in setups where docker containers need to be able to launch other containers. Accordingly, we advice you to carefully control who can directly or indirectly access your Cx Server. To avoid unnecessary risks, you should avoid running any other business critical applications on the same host.Additional Resources
Deep Dive to SAP Cloud SDK Continuous Integration and Delivery Pipeline
Configuration Parameters of the Pipeline
Jenkins Documentation
Docker Documentation
- SAP Managed Tags:
- SAP Cloud SDK,
- SAP S/4HANA,
- SAP S/4HANA Public Cloud,
- SAP Business Technology Platform
Labels:
1 Comment
You must be a registered user to add a comment. If you've already registered, sign in. Otherwise, register and sign in.
Labels in this area
-
ABAP CDS Views - CDC (Change Data Capture)
2 -
AI
1 -
Analyze Workload Data
1 -
BTP
1 -
Business and IT Integration
2 -
Business application stu
1 -
Business Technology Platform
1 -
Business Trends
1,658 -
Business Trends
93 -
CAP
1 -
cf
1 -
Cloud Foundry
1 -
Confluent
1 -
Customer COE Basics and Fundamentals
1 -
Customer COE Latest and Greatest
3 -
Customer Data Browser app
1 -
Data Analysis Tool
1 -
data migration
1 -
data transfer
1 -
Datasphere
2 -
Event Information
1,400 -
Event Information
67 -
Expert
1 -
Expert Insights
177 -
Expert Insights
301 -
General
1 -
Google cloud
1 -
Google Next'24
1 -
GraphQL
1 -
Kafka
1 -
Life at SAP
780 -
Life at SAP
13 -
Migrate your Data App
1 -
MTA
1 -
Network Performance Analysis
1 -
NodeJS
1 -
PDF
1 -
POC
1 -
Product Updates
4,577 -
Product Updates
346 -
Replication Flow
1 -
REST API
1 -
RisewithSAP
1 -
SAP BTP
1 -
SAP BTP Cloud Foundry
1 -
SAP Cloud ALM
1 -
SAP Cloud Application Programming Model
1 -
SAP Datasphere
2 -
SAP S4HANA Cloud
1 -
SAP S4HANA Migration Cockpit
1 -
Technology Updates
6,873 -
Technology Updates
430 -
Workload Fluctuations
1
Related Content
- Sapphire 2024 user experience and application development sessions in Technology Blogs by SAP
- Enhance your SAP Datasphere Experience with API Access in Technology Blogs by SAP
- Configuring SAP CI/CD pipeline for Deploying ReactJS application in Cloud Foundry in Technology Q&A
- SAP Build Process Automation Pre-built content for Finance Use cases in Technology Blogs by SAP
- SAP Signavio is the highest ranked Leader in the SPARK Matrix™ Digital Twin of an Organization (DTO) in Technology Blogs by SAP
Top kudoed authors
| User | Count |
|---|---|
| 30 | |
| 17 | |
| 15 | |
| 13 | |
| 11 | |
| 9 | |
| 8 | |
| 8 | |
| 8 | |
| 7 |