In
part 1 &
part 2 we have set up the foundation that is required for SAP cloud platform enablement project. In part 3 of the blog series, we will focus on setting up the cloud portal and consume classic UI (WebDynpro ABAP, WebGUI) from an on-premise system. The focus of the blog is on an external access point (EAP) but not internal access (IAP). Read difference between IAP & EAP on sap
help.
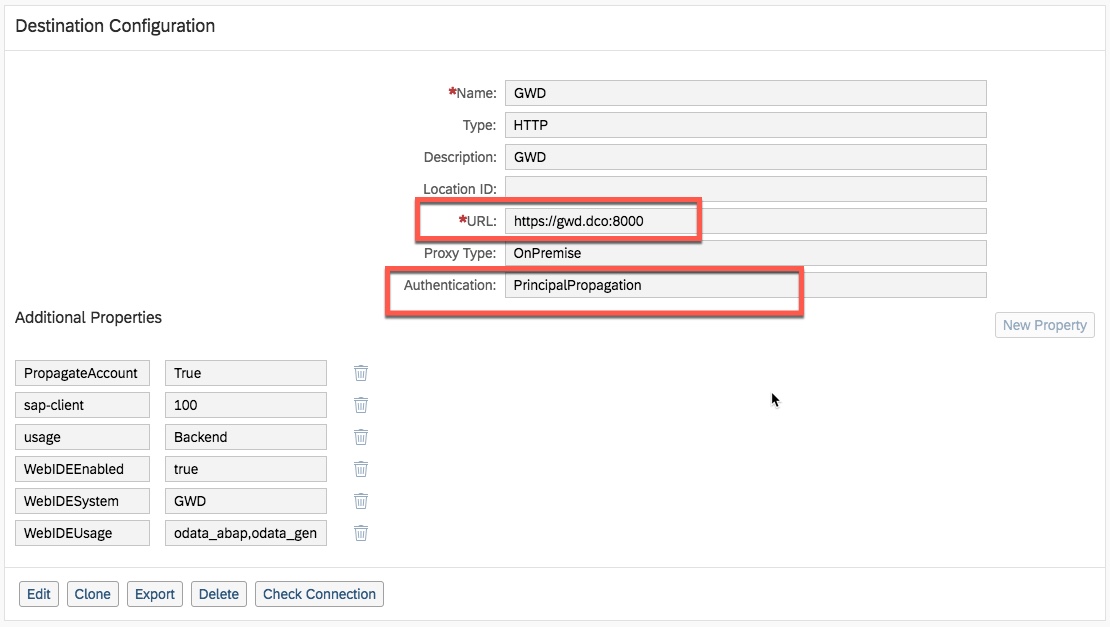
Create HTTP destination with below detail. The most important property is authentication property which is set to
PrincipalPropogation. Make sure to perform Check Connection. We will use this destination in Fiori catalog while configuring classic ui.
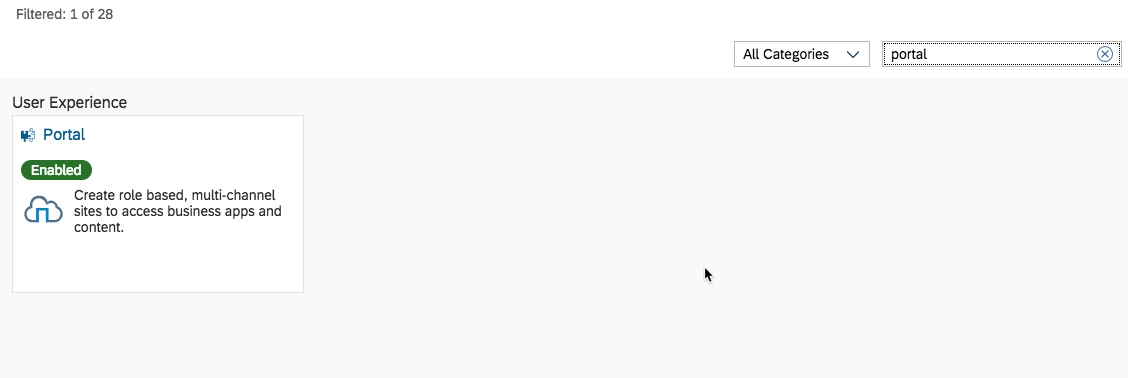
2. Make sure to enable portal service and assign to
TENANT_ADMIN role to work with portal adminspace/cockpit.
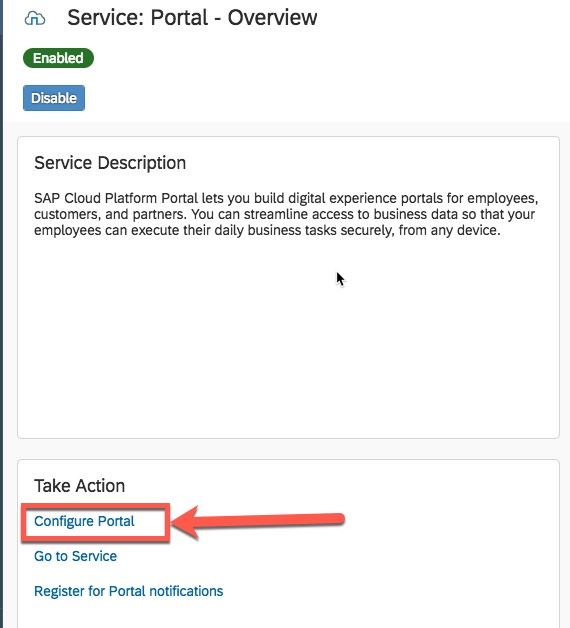
Select portal service and click on configure portal to assign TENANT_ADMIN role to the user.

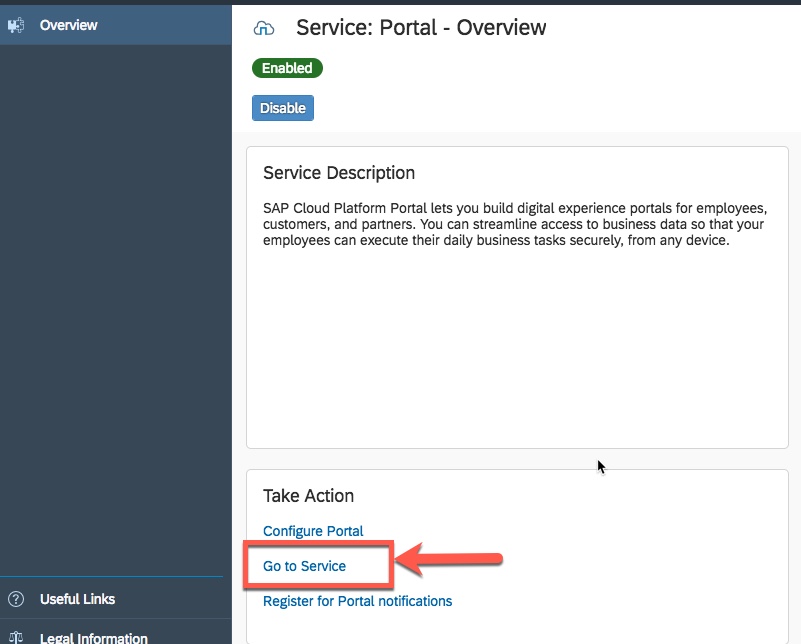
Go to service by navigating back to Portal and select Go to Service
Make sure you login with the user who has TENANT_ADMIN role assigned.
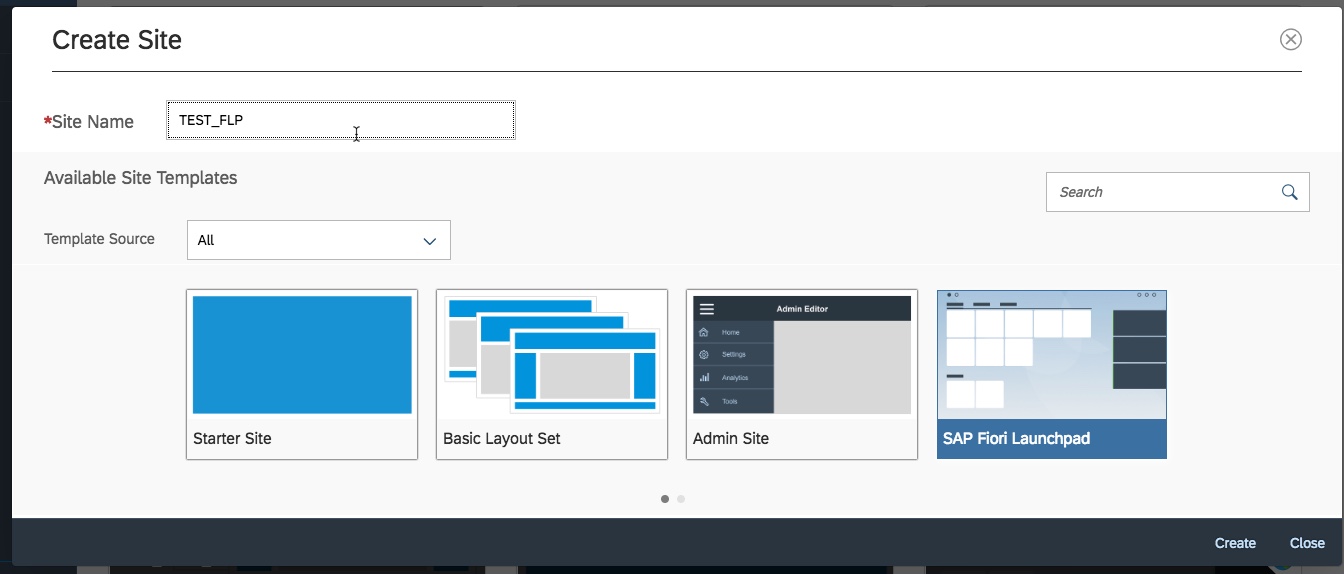
Create new portal site based on SAP Fiori Launchpad as shown below
From the Fiori admin cockpit, select Apps under Content Management and create the App of type SAP GUI as shown below
Semantic Object: Make sure to create a semantic object in on-premise gateway system. Steps to create semantic objects is described
here.
Action: a user-defined arbitrary name
App Type: SAP GUI
Transaction Code: SU01
System Alias: GWD ( HTTP destination created in the above steps)

Create Catalog and Group and assign it to SU01 app


Assign Catalog and Group to SU01 app


Create Employee role and assign above created Catalog and Group to Employee role. Once we assign Employee role to a user, a tile will be visible in Fiori launchpad.

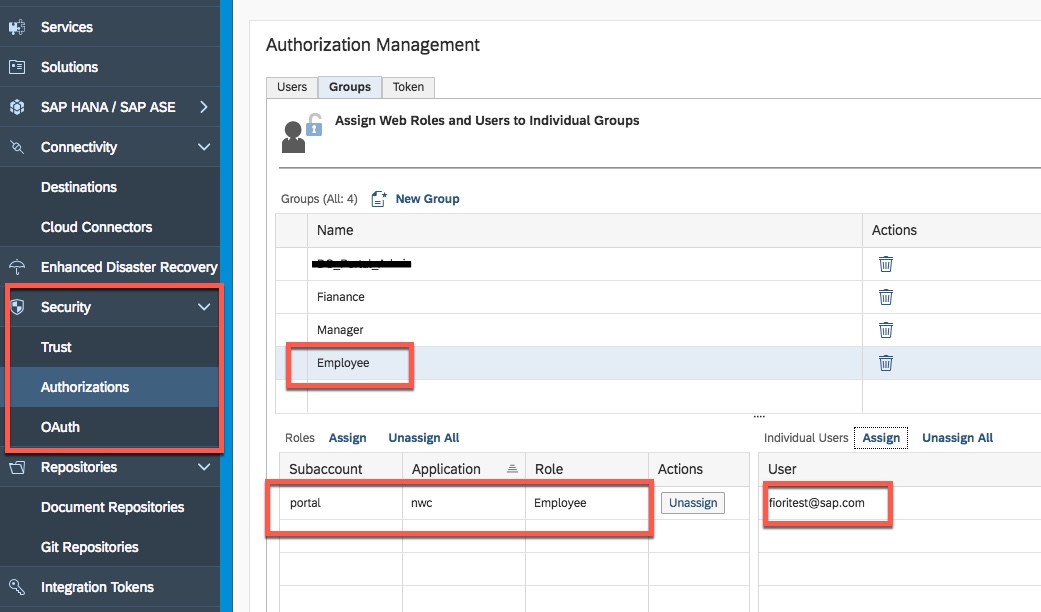
Create Employee group under Security > Authorization and assign Employee portal role and user to group.
 Site Settings:
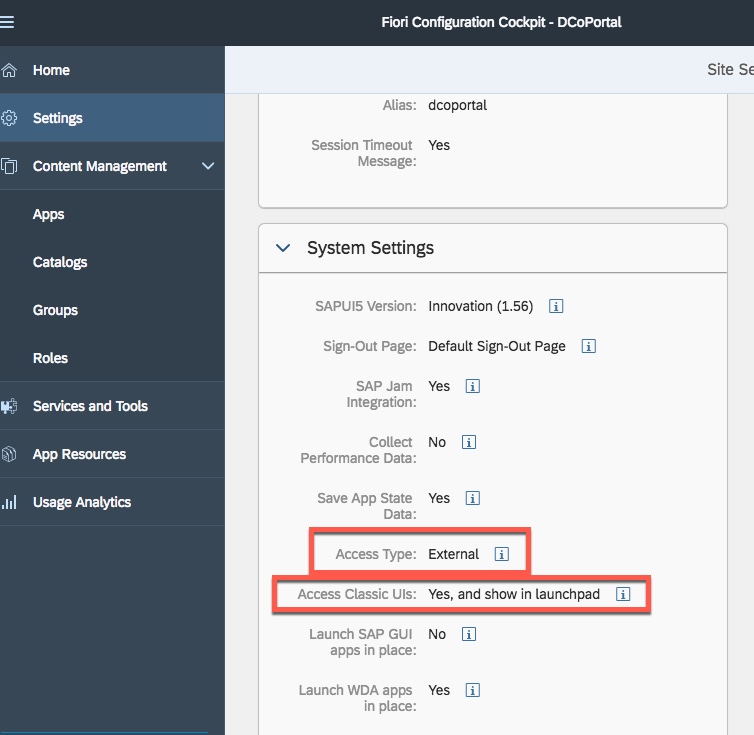
 Modify site settings before publishing. Make sure to select Access Type to External and Access Classic UIs to
Yes, and show in launchpad.
Enter S user and password to save the changes and publish the site.

Test the classic UI by logging into Fiori launchpad


We were able to launch classic UI in cloud portal with the help of Cloud connector that we configure in part2.
This conclude the blog series. Feel free to provide any comment or ask question. I am happy to clarify information if required.
