
- SAP Community
- Products and Technology
- Technology
- Technology Blogs by SAP
- Connect SAP Web Intelligence to SAP Datasphere ana...
Technology Blogs by SAP
Learn how to extend and personalize SAP applications. Follow the SAP technology blog for insights into SAP BTP, ABAP, SAP Analytics Cloud, SAP HANA, and more.
Turn on suggestions
Auto-suggest helps you quickly narrow down your search results by suggesting possible matches as you type.
Showing results for
former_member20
Explorer
Options
- Subscribe to RSS Feed
- Mark as New
- Mark as Read
- Bookmark
- Subscribe
- Printer Friendly Page
- Report Inappropriate Content
12-14-2023
4:40 PM
Hello Everyone,
I wanted to share the main steps for directly connecting SAP Web Intelligence to your Datasphere analytic models for reporting purposes.
Indeed, since SAP BusinessObjects BI 4.3 SP04, SAP Web Intelligence offers the ability to create BI reports on SAP Datasphere analytic models through a direct access (no universe) to SAP Datasphere.
To log into to SAP Datasphere, SAP Web Intelligence uses the OAuth 2.0 to give users a flexible and safe framework to access SAP Datasphere resources without disclosing passwords. The use of OAuth 2.0 authorization framework requires to first set up some configurations on both your SAP Datasphere tenant and your SAP BI Platform.
This blog post describes step by step how to configure OAuth 2.0 between your SAP Datasphere tenant and SAP BI Platform; then how to create OLAP connections to SAP Datasphere in SAP BusinessObjects BI, and finally how to consume SAP Datasphere analytic models in SAP Web Intelligence documents.
In Datasphere part, to configure OAuth 2.0 between your SAP Datasphere tenant and your SAP BI Platform, the first step is to create an OAuth Client in which your SAP BI Platform tenant should be referred to receive OAuth tokens. The workflow for creating this OAuth Client in SAP Datasphere is as following:
Once the OAuth Client is created, an OAuth Client ID and Secret are generated. You must provide this latter information to your SAP BI Platform, in addition to the following ones:
Once the OAuth Client is created in your SAP Datasphere tenant, you must provide the received OAuth information to your SAP BI Platform tenant by creating an Authorization Server Configuration. In SAP BusinessObjects BI, an Authorization Server Configuration allows to describe and manage an external authorization server in order to get or validate the access and refresh tokens. To create an Authorization Server Configuration in SAP BI Platform for your SAP Datasphere used here as your OAuth authorization server, the workflow is as following:
Once created, the OAuth 2.0 configuration between your SAP Datasphere tenant and your SAP BI Platform is complete. The Authorization Server Configuration will be saved in SAP BI Platform as a system object with type Authorization Reference that you can then use and refer in authorization scenarios in using its Reference Name.
Once OAuth 2.0 is configured between your SAP Datasphere tenant and your SAP BI Platform, you must now create an SAP BI OLAP connection to SAP Datasphere to allow SAP BI tools such as Web Intelligence to connect to your SAP Datasphere tenant. In SAP BI Platform, you have two options to create an SAP BI OLAP connection to SAP Datasphere: The first is to use Information Design Tool. The second option is to use Central Management Console. We will look at both options:
Once the SAP Datasphere OLAP connection is created and published in SAP BI Platform, you can consume SAP Datasphere analytic models in SAP Web Intelligence as following:
I hope you enjoyed this blog post!
I wanted to share the main steps for directly connecting SAP Web Intelligence to your Datasphere analytic models for reporting purposes.
Indeed, since SAP BusinessObjects BI 4.3 SP04, SAP Web Intelligence offers the ability to create BI reports on SAP Datasphere analytic models through a direct access (no universe) to SAP Datasphere.
To log into to SAP Datasphere, SAP Web Intelligence uses the OAuth 2.0 to give users a flexible and safe framework to access SAP Datasphere resources without disclosing passwords. The use of OAuth 2.0 authorization framework requires to first set up some configurations on both your SAP Datasphere tenant and your SAP BI Platform.
This blog post describes step by step how to configure OAuth 2.0 between your SAP Datasphere tenant and SAP BI Platform; then how to create OLAP connections to SAP Datasphere in SAP BusinessObjects BI, and finally how to consume SAP Datasphere analytic models in SAP Web Intelligence documents.
Prerequisites:
- SAP Datasphere tenant
- SAP BusinessObjects BI Platform tenant, version 4.3 SP04 or greater
- SAP BusinessObjects Web Intelligence and Information Design Tool as SAP BI tools
Step 1: Create an OAuth Client in SAP Datasphere
In Datasphere part, to configure OAuth 2.0 between your SAP Datasphere tenant and your SAP BI Platform, the first step is to create an OAuth Client in which your SAP BI Platform tenant should be referred to receive OAuth tokens. The workflow for creating this OAuth Client in SAP Datasphere is as following:
- Log into your SAP Datasphere tenant as administrator
- Go to System > Administration > App Integration
- Under OAuth Clients > Configured Clients, select Add a New OAuth Client

- In the dialog, type a Name for the OAuth Client
- For the Purpose field, select the Interactive Usage option from the list. Note that this option allows accessing protected resources with a valid SAML-based user context.
- Enter the Redirect URI to specify where OAuth access and refresh tokens are returned in SAP BI Platform. Note that, in SAP BI, OAuth access and refresh tokens are saved and managed per user at the SAP BI Platform level. So, SAP BI platform provides a callback URL allowing to retrieve the OAuth tokens from authorization servers. This callback URL should set as Redirect URI under the following format: https://*<host>[:<port>]*/biprws/v1/oauth2/callback
- Select Add to create the OAuth Client
Once the OAuth Client is created, an OAuth Client ID and Secret are generated. You must provide this latter information to your SAP BI Platform, in addition to the following ones:
- Authorization URL, information available in the OAuth Clients section of the App Integration page
- Token URL, information available in the OAuth Clients section of the App Integration page
Step 2: Create an Authorization Server Configuration in SAP BI Platform
Once the OAuth Client is created in your SAP Datasphere tenant, you must provide the received OAuth information to your SAP BI Platform tenant by creating an Authorization Server Configuration. In SAP BusinessObjects BI, an Authorization Server Configuration allows to describe and manage an external authorization server in order to get or validate the access and refresh tokens. To create an Authorization Server Configuration in SAP BI Platform for your SAP Datasphere used here as your OAuth authorization server, the workflow is as following:
- Log into your SAP BI Central Management Console as administrator
- select Applications > Authorization Server Configuration
- Under the Manage column, select Authorization Server Configurations
- In the dialog, select New Authorization Server Configuration under the Manage column.

- In the dialog, type a unique name as Reference Name for the configuration. Note that this Reference Name is used to identify the configuration in different workflows for achieving authorization based SSO.
- For the Authorization Endpoint field, type the Authorization URL provided by your SAP Datasphere tenant as described in step 1.
- For the Token Endpoint field, type the Token URL provided by your SAP Datasphere tenant as described in step 1.
- For the Client ID field, type the OAuth Client ID provided by the OAuth Client registered in your SAP Datasphere tenant in step 1.
- For the Client Secret field, type the OAuth Client Secret provided by the OAuth Client registered in your SAP Datasphere tenant in step 1.
- For the Redirect URL field, type the same Redirect URI used in the OAuth Client registered in your SAP Datasphere tenant in step 1.
- For the Authorization Scope field, type openid uaa.user
- For the Type of Resource field, select the Agnostic option from the list.
- Select OK to validate the details and create the configuration.
Once created, the OAuth 2.0 configuration between your SAP Datasphere tenant and your SAP BI Platform is complete. The Authorization Server Configuration will be saved in SAP BI Platform as a system object with type Authorization Reference that you can then use and refer in authorization scenarios in using its Reference Name.
Step 3: Create an SAP BI OLAP connection to SAP Datasphere
Once OAuth 2.0 is configured between your SAP Datasphere tenant and your SAP BI Platform, you must now create an SAP BI OLAP connection to SAP Datasphere to allow SAP BI tools such as Web Intelligence to connect to your SAP Datasphere tenant. In SAP BI Platform, you have two options to create an SAP BI OLAP connection to SAP Datasphere: The first is to use Information Design Tool. The second option is to use Central Management Console. We will look at both options:
Option 1: Create SAP Datasphere OLAP Connection via Information Design Tool
- Open Information Design Tool
- Go to the Repository Resources and select Insert Session
- Log into your SAP BI Platform tenant as administrator
- Under the Connections folder, select Insert OLAP Connection
- In the wizard, type a name as Resource Name for the OLAP connection.
- On next window, select SAP > SAP Datasphere as OLAP middleware driver.

- In the dialog for connection properties, select the Use Single Sign On With OAuth 2.0 option as Authentication Mode
- For the Authorization Reference field, select the configuration created in SAP BI Platform in step 2.
- For the Host Name field, type the SAP Datasphere tenant URL.
- Select Finish to create and publish the OLAP connection in SAP BI Platform
Option 2:Create SAP Datasphere OLAP Connection via Central Management Console
- Log into your SAP BI Central Management Console
- select OLAP Connections
- In the dialog, select New connection in the toolbar
- In the connection editor, type a Name for the OLAP connection.
- Select SAP Datasphere as Provider.

- For the Data Source field, type the SAP Datasphere tenant URL.
- For the Authorization Reference field, select the configuration created in SAP BI Platform in step 2.
- For the Authentication field, select SSO.
- Select Save to create and save the OLAP connection in SAP BI Platform
Step 4: Consume SAP Datasphere analytic models in Web Intelligence
Once the SAP Datasphere OLAP connection is created and published in SAP BI Platform, you can consume SAP Datasphere analytic models in SAP Web Intelligence as following:
- Log into your SAP BusinessObjects BI tenant with SAP BI Launchpad
- Open SAP BusinessObjects Web Intelligence
- Create a new Web Intelligence document to consume a Datasphere analytic model.
- In the Data Source Selection dialog, select SAP Datasphere as the data source type.

- Under Connections, select the SAP Datasphere OLAP Connection created in step 3.
- An SAP Datasphere Login dialog page opens if you have not yet logged in to your SAP Datasphere tenant. Note that, in SAP BI Launch pad, you can also directly log on your SAP Datasphere tenant from SAP BI by going to Settings > User Account > Authorization Tokens, and select the Generate button on the Authorization Reference Name created in Step 2.
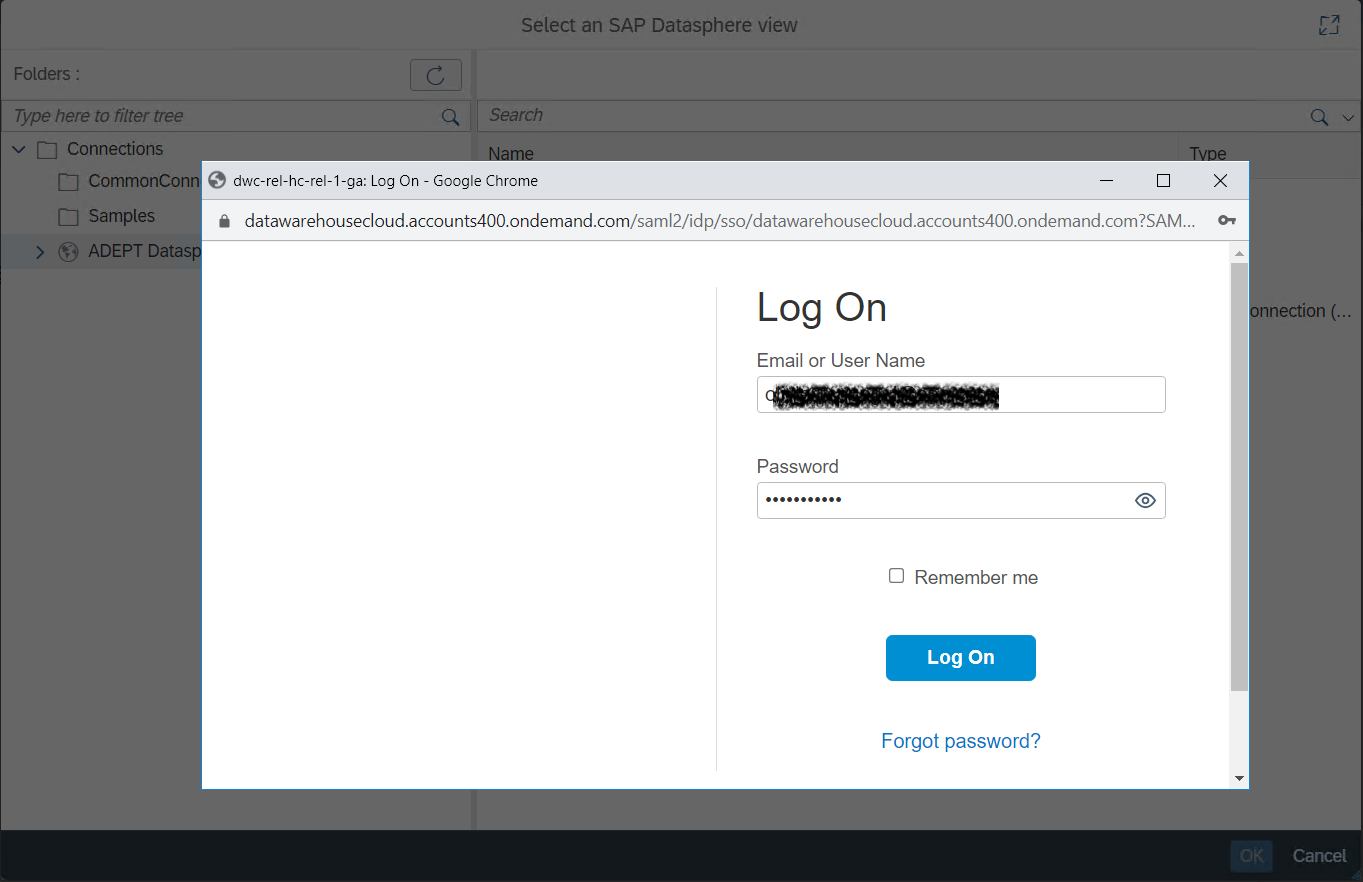
- Input your SAP Datasphere credentials and click on the Log On
- Browse spaces and analytic models available in your SAP Datasphere tenant, and select the Datasphere analytic model you want to consume in your report.

- Once selected your Datasphere analytic model, the Web Intelligence query panel is launched allowing you to build your query on the Datasphere analytic model.

- In the Web Intelligence query panel, select Datasphere model hierarchies, dimensions and measures according to your business, use them as result objects or query filters, and run the query by clicking in Run.
- Your Web Intelligence document is created with data coming from SAP Datasphere. You can enrich your BI report with charts or other Web Intelligence reporting features.

I hope you enjoyed this blog post!
Labels:
5 Comments
You must be a registered user to add a comment. If you've already registered, sign in. Otherwise, register and sign in.
Labels in this area
-
ABAP CDS Views - CDC (Change Data Capture)
2 -
AI
1 -
Analyze Workload Data
1 -
BTP
1 -
Business and IT Integration
2 -
Business application stu
1 -
Business Technology Platform
1 -
Business Trends
1,658 -
Business Trends
93 -
CAP
1 -
cf
1 -
Cloud Foundry
1 -
Confluent
1 -
Customer COE Basics and Fundamentals
1 -
Customer COE Latest and Greatest
3 -
Customer Data Browser app
1 -
Data Analysis Tool
1 -
data migration
1 -
data transfer
1 -
Datasphere
2 -
Event Information
1,400 -
Event Information
67 -
Expert
1 -
Expert Insights
177 -
Expert Insights
301 -
General
1 -
Google cloud
1 -
Google Next'24
1 -
GraphQL
1 -
Kafka
1 -
Life at SAP
780 -
Life at SAP
13 -
Migrate your Data App
1 -
MTA
1 -
Network Performance Analysis
1 -
NodeJS
1 -
PDF
1 -
POC
1 -
Product Updates
4,577 -
Product Updates
346 -
Replication Flow
1 -
REST API
1 -
RisewithSAP
1 -
SAP BTP
1 -
SAP BTP Cloud Foundry
1 -
SAP Cloud ALM
1 -
SAP Cloud Application Programming Model
1 -
SAP Datasphere
2 -
SAP S4HANA Cloud
1 -
SAP S4HANA Migration Cockpit
1 -
Technology Updates
6,873 -
Technology Updates
430 -
Workload Fluctuations
1
Related Content
- Use CRUD Opreations with SAP Datasphere Command-Line-Interface in Technology Blogs by SAP
- Issues with "SAP Analytics Cloud, add-in for Microsoft Excel" while working with SAP Datasphere in Technology Q&A
- SAP Analytics Cloud, add-in for Microsoft Excel and SAP Datasphere connection in Technology Blogs by SAP
- New Machine Learning features in SAP HANA Cloud in Technology Blogs by SAP
- 10+ ways to reshape your SAP landscape with SAP Business Technology Platform – Blog 4 in Technology Blogs by SAP
Top kudoed authors
| User | Count |
|---|---|
| 29 | |
| 17 | |
| 15 | |
| 13 | |
| 11 | |
| 9 | |
| 8 | |
| 8 | |
| 8 | |
| 7 |