Adding config tables you've created yourself to the IMG has its advantages. Firstly it's easier to find, particularly by the people who will need to maintain the entries (possibly long after the developer has moved on) and it can be integrated with solution manager.
You can do this in transaction S_IMG_EXTENSION

Don't be put off by the fact all the fields are display-only, using the drop-down on the field ‘IMG Structure' select the IMG you want to extend (most likely the ‘SAP Customizing Implementation Guide'). If you want to add your own elements to existing lower-level IMG structures rather than direct into the SAP IMG you'll need to specify the structure of interest.
Using the drop-down on the field ‘Enhancement ID' select either an existing enhancement or create a new one.

Once the IMG Structure and Enhancement ID fields are both populated choose the ‘Enhance Structure' button. This will display the IMG structure.
First you will need to create a structure element (or elements) and it's better to design this up-front. You could use one folder to identify all customer changes, then a sub folder by module or by development. Select an existing node and choose either Edit -> Nodes -> Insert Structure Node -> On Same Level or -> As Subnode, depending on the cursor position. In the pop-up enter a text for the structure element and hit enter.

Once the structure is in place you will want to add activities to the structure elements.
Select an existing structure element and choose Edit -> Nodes -> Insert IMG Activity -> On Same Level or -> As Subnode, depending on the cursor position.
Enter an ID name and description (the name and title of the table you intend to add makes the most sense if you're planning one node for each table). The tabs in the Assigned objects frame can be used as follows;

Document - Enter a Document name (again the node name is a good place to start) then click on ‘Create' to launch the text editor and enter documentation to explain the purpose of the IMG activity.
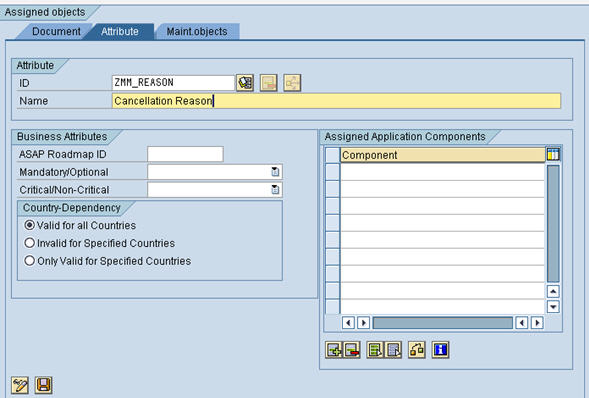
Attribute - Enter an attribute ID (again the node name and description is fine) then the required IMG attributes. Alternatively, click on Assign other attributes and reuse the attributes of an existing IMG activity.
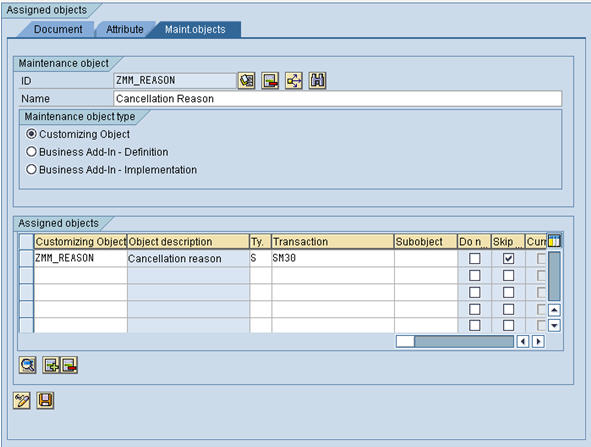
Maint. objects - Enter a maintenance object ID (again the node name and description is fine). In the assigned objects frame you can enter a table name (which will be Type S), a view name (which will be Type V) or a view cluster (which will be Type C) in the ‘Customising object' column. Enter ‘SM30' in the transaction column and check the skip column (this will skip the first screen and take us straight into the config).
Then save everything.
The ‘Document' and ‘Attribute' settings are optional, but the activity doesn't make much sense without the Maintenance object.
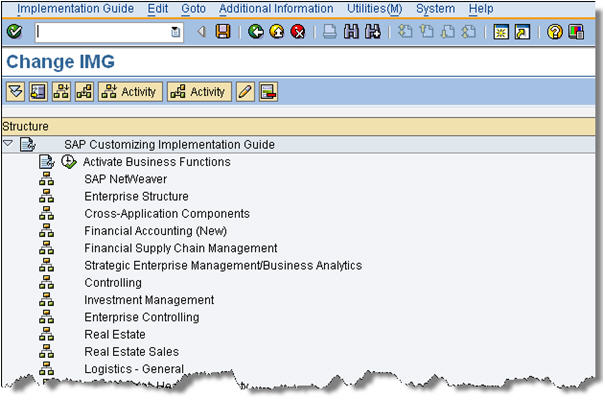
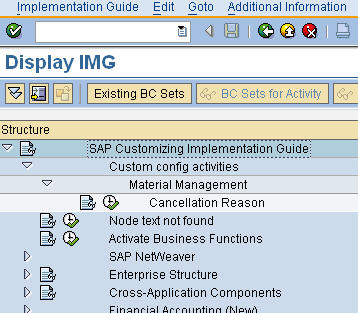
So, now in transaction SPRO, in the SAP reference IMG I have a structure for my config activities.
If we're using a Project IMG once a new configuration object has been added the Project IMG needs to be regenerated. From transaction SPRO_ADMIN select the relevant project and chose Change. On the Scope tab select ‘Generate project IMG'. The IMG nodes can now be linked and launched from solution manager.
If we need to delete a node from this structure, we can do so within this transaction. However, if we want to delete the IMG activity you will need to use transaction S_CUS_IMG_ACTIVITY. This will be necessary if we want to delete the table maintenance screen for a table as a check against the IMG is made before the deletion.
To avoid this problem (
How to enable navigation between IMG activity and Transport request?) when navigating from a transport to the custom IMG node you will need to refresh the IMG index, simply choose Find in transaction SPRO and the last refresh date is shown along with the option to update the index.
