An integration scenario completely models the exchange of messages for a collaborative process and provides an overview of the process flow. The integration scenario provides you with a central point of access for all objects that you require for semantic and technical integration(interfaces, mappings, and software components).
The advantages of defining integration scenarios in the Integration Builder (design tool) are as follows: · The integration scenario provides you with an overview of the process and the process flow · The integration scenario club together all objects like SWVC,Interface objects, mapping objects,integration processes.You can access all of these objects from the integration scenario. · The integration scenario gives you the design time information which is required for its configuration.
The Integration Builder constitutes an integrated development environment for the design of integration scenarios. You can do the following with the Integration Builder:
The development environment for integration scenarios comprises two editors:
1) Integration scenario editor 2) Action editor
Further let’s see step by step modeling Integration scenario for a simple File to File Scenario
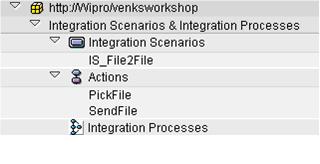
Firstly Create a NEW Integration scenario IS_ File2File.
Integration scenario editor: Logically speaking, an application component represents a participant of an integration scenario. This contains the business tasks and concerns that this participant represents within the integration scenario.
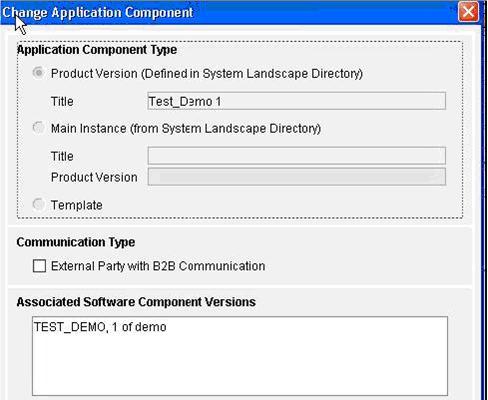
In this File2File scenario, we need 2 Application components, Insert the Application Components using the editor
Select your Product defined in SLD and the associate Software components versions gets displayed.
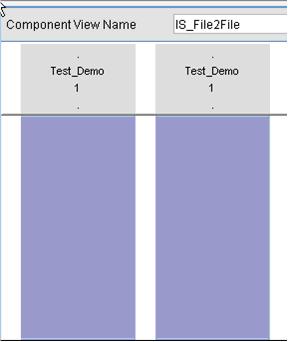
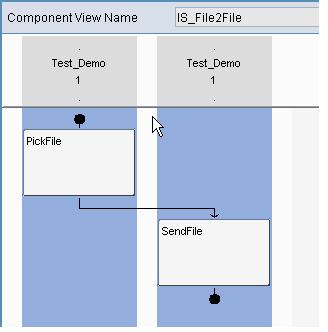
Each application component would have their own respective swim lane where the process flow between the various components for this business scenario is illustrated in the "swimlane".
Now we have defined the application components required in the integration scenario.
Action Editor
Use the Action editor to display and edit actions Basically we can assign one or more outbound or inbound interfaces to an action and reuse them in different integration scenarios...
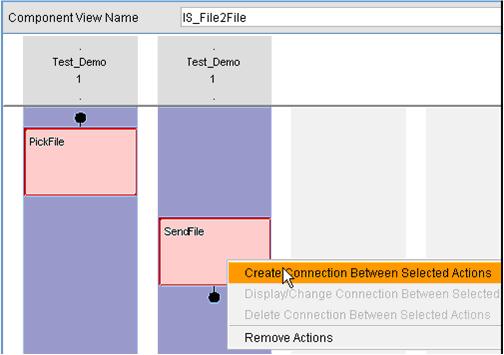
Create 2 actions 1) PickFile 2) SendFile
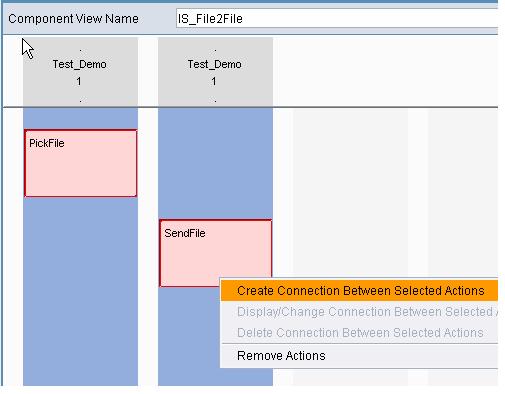
Insert the actions in the application components and define connections between them in the integration scenario
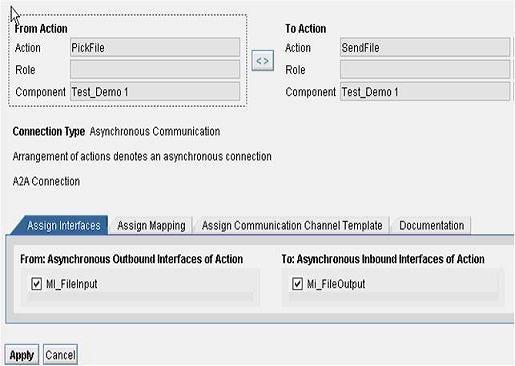
The relative position of the two actions shown by default, means that the type of connection is defined as synchronous. If the position of the actions is defined as below, means asynchronous connection.
Before we go ahead with the connection between the two actions lest talk about creating the communication channel which we need to assign.
They are 2 ways to define Communication channel at configuration time
1) You can select a communication channel from the list of existing communication channels 2) You can create a communication channel on the basis of a communication channel Template
Let’s use Communication channel Template for our scenario
You can preconfigure a communication channel with a communication channel template. You can use the communication channel template as a template to define a communication channel at configuration time and to create multiple communication channels with some identical configuration data
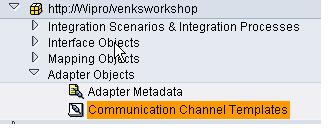
Find the editor Communication Channel Templates in the repository
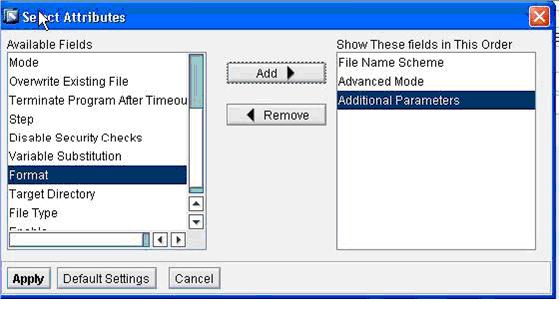
In the Select Attributes dialog you can select those that you want to predefine for the communication channel from the available input fields for adapter type
Assign the interfaces, mapping, and communication channel template to the connection by selecting both interfaces and save the integration scenario.
And the grand finale of the Integration scenario design will look like this.
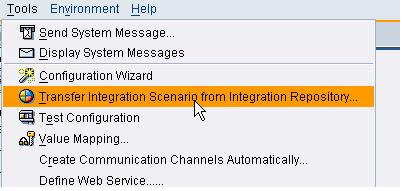
Moving to the configuration scenario…….. You can use an integration scenario from the Integration Repository as a template for configuration together with additional assignments (communication channel, adapters) the information saved in the integration scenario is used to calculate the relevant logical routing objects and the collaboration agreement. The determined objects are created or existing configuration objects are checked to ensure that they can be used before including them in a configuration scenario. The whole process is logged so that you have a good overview and can analyze and understand the configuration. Thus, the configuration of more extensive and more collaborative processes is made as automated as possible.
Call the integration scenario from the integration directory Scenario-->Integrations Scenario Configurator
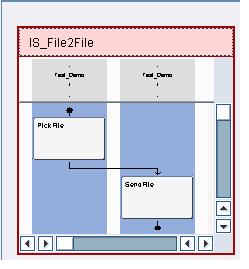
Select the integration scenario and the component view
Once the Integration Scenario is configured the following sequence of steps has to be activated
1) Select Component View In this step you select the integration scenario and the component view and once you have executed this activity, the component view is displayed in an interactive graphic. Where all existing component views are displayed in the preview screen area.
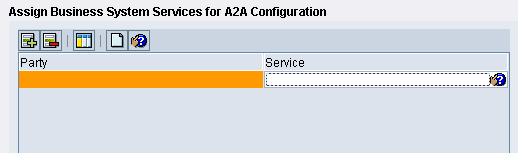
2) Assign Services In this step, assign services to the application components of integration scenario. In this way, you map the participants in an integration scenario displayed in the component view to actual senders and receivers of messages in your system landscape.
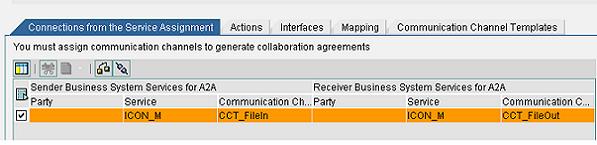
3) Configure Connections Activate sender/receiver relations for the individual connections in the integration scenario specify communication channels that are relevant for the sender/receiver relations…
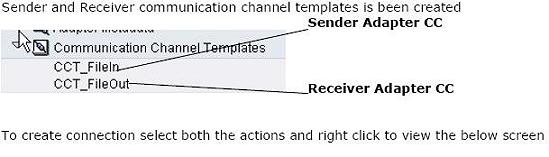
Since we created communication templates select create communication channel with template and choose CCT_FileIn and CCT_FileOut
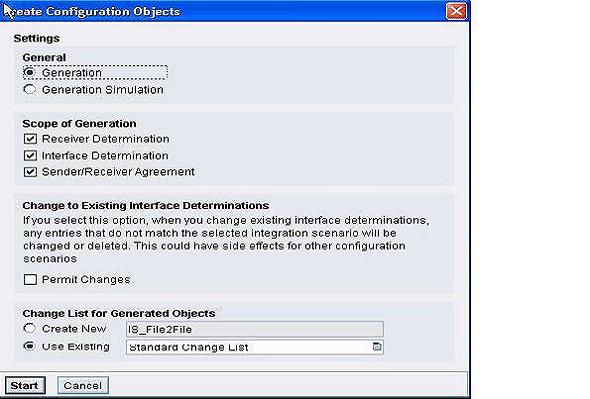
4) Generate With the Generation step, the calculated configuration objects will be created (if they do not yet exist). If they do already exist, they will be reused and enhanced, if required. You can simulate generation for test purposes.
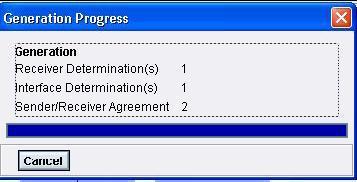
Generation Progress pops up informing the creation of configuration objects along with it a generation log is created which provides you with an overview of all changes made in the Integration Directory as a result of the configuration of the integration scenario and gives info on the manual work required for a specific configuration object.
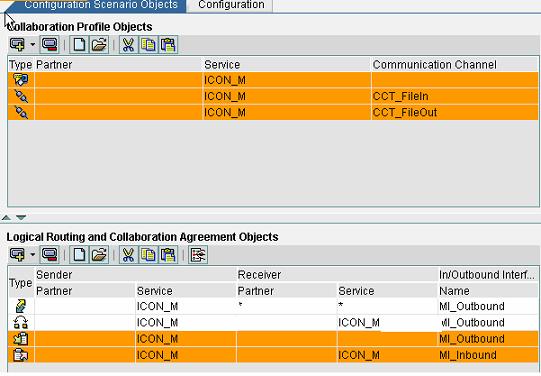
Hoopla rundown of Integration scenario completes when this particular screen appears in the configuration editor.
And from this we can see all the configuration objects breeze in, in the respective Integration Scenario.
Outstretched
Implementing collaborative or cross system process is a big time real integration process which is automated to accelerate integration processes and reduce costs.
SAP XI concentrates on processes involving the exchange of messages between different systems, and also various kinds of processes where, need to set up a new software system that needs to exchange data with existing systems, Implementing B2B processes with a business partner by using the internet, Providing products on internet marketplaces. Order processing involving different systems.
Such kind of cross system processes need to be implemented and automated. A solution which implements several such cross system processes where we can handle each processes separately and document them graphically is Integration scenario.