EDITORS NOTE: As mentioned in the blog announcement, some URLs have changed, if you have errors please check your URLs to ensure they match the changes.
BLOG LINK
So far we have mainly talked about how to expose services via SAP API Management. Obviously we have just scratched the surface and we will continue to provide more and more information on how to build rich APIs.
In this blog we will focus on the consumption side. Of course you can use whatever technology you chose to consume the APIs, however, being based on the SAP HANA Cloud Platform it is fairly simple to leverage other services. One of these services is the SAP Web IDE which allows you to build SAP UI5 based applications like SAP Fiori.
You might have already seen how easy it is to consume OData services based on SAP Gateway. The great thing: the same is possible for APIs from SAP API Management.
The first step is to create two Destinations which will be used by the SAP Web IDE. One will point to the Developer Portal -- having the Web IDE Usage = api_mgmt_catalog -- from where the API Proxies will be retrieved and the second is to the API Portal -- using the Web IDE Usage = api_mgmt_proxy -- which is used during the actual runtime:
Name=API_Management_Dev_Portal_Trial
URL=https\://devportalu34f5b50f-p1941xxxxtrial.hanatrial.ondemand.com/
Description=A - API Management - Dev Portal - Trial
Type=HTTP
Authentication=AppToAppSSO
WebIDEUsage=api_mgmt_catalog
WebIDEEnabled=true
CloudConnectorVersion=2
ProxyType=Internet
The URL to your Developer Portal can be retrieved from your HCP Cockpit from where you enabled the SAP API Management, Free Trial of SAP API Management on HANA Cloud Platform is available now!
 Name=API_Managment_EndPoint_trial
URL=https\://p1941xxxxtrial-trial.apim1.hanatrial.ondemand.com\:443
Description=B - API Management - runtime - endpoint - trial
Type=HTTP
Authentication=NoAuthentication
TrustAll=true
WebIDEUsage=api_mgmt_proxy
WebIDEEnabled=true
CloudConnectorVersion=2
ProxyType=Internet
 NOTE:
NOTE: The URL for API Portal has changed, and now requires you to add your P#. You can get this value from the API Proxy URL generated for any API Proxy in your API Portal.
That's more or less everything you need to do.
If your API Proxy is protected via an API Key (the Verify API Key Policy) you have to make sure that the policy is looking for the value APIKey in the Header property:

So let's get started. For the following steps, I am using a very simple API Proxy that is connected to the GWSAMPLE_BASIC Service on ES4 (similar to what was done here,
How to use SAP API Management on HCP Trial)
Open the SAP Web IDE (the URL looks something like
https://webide-<yourID>trial.dispatcher.hanatrial.ondemand.com/), select New Project
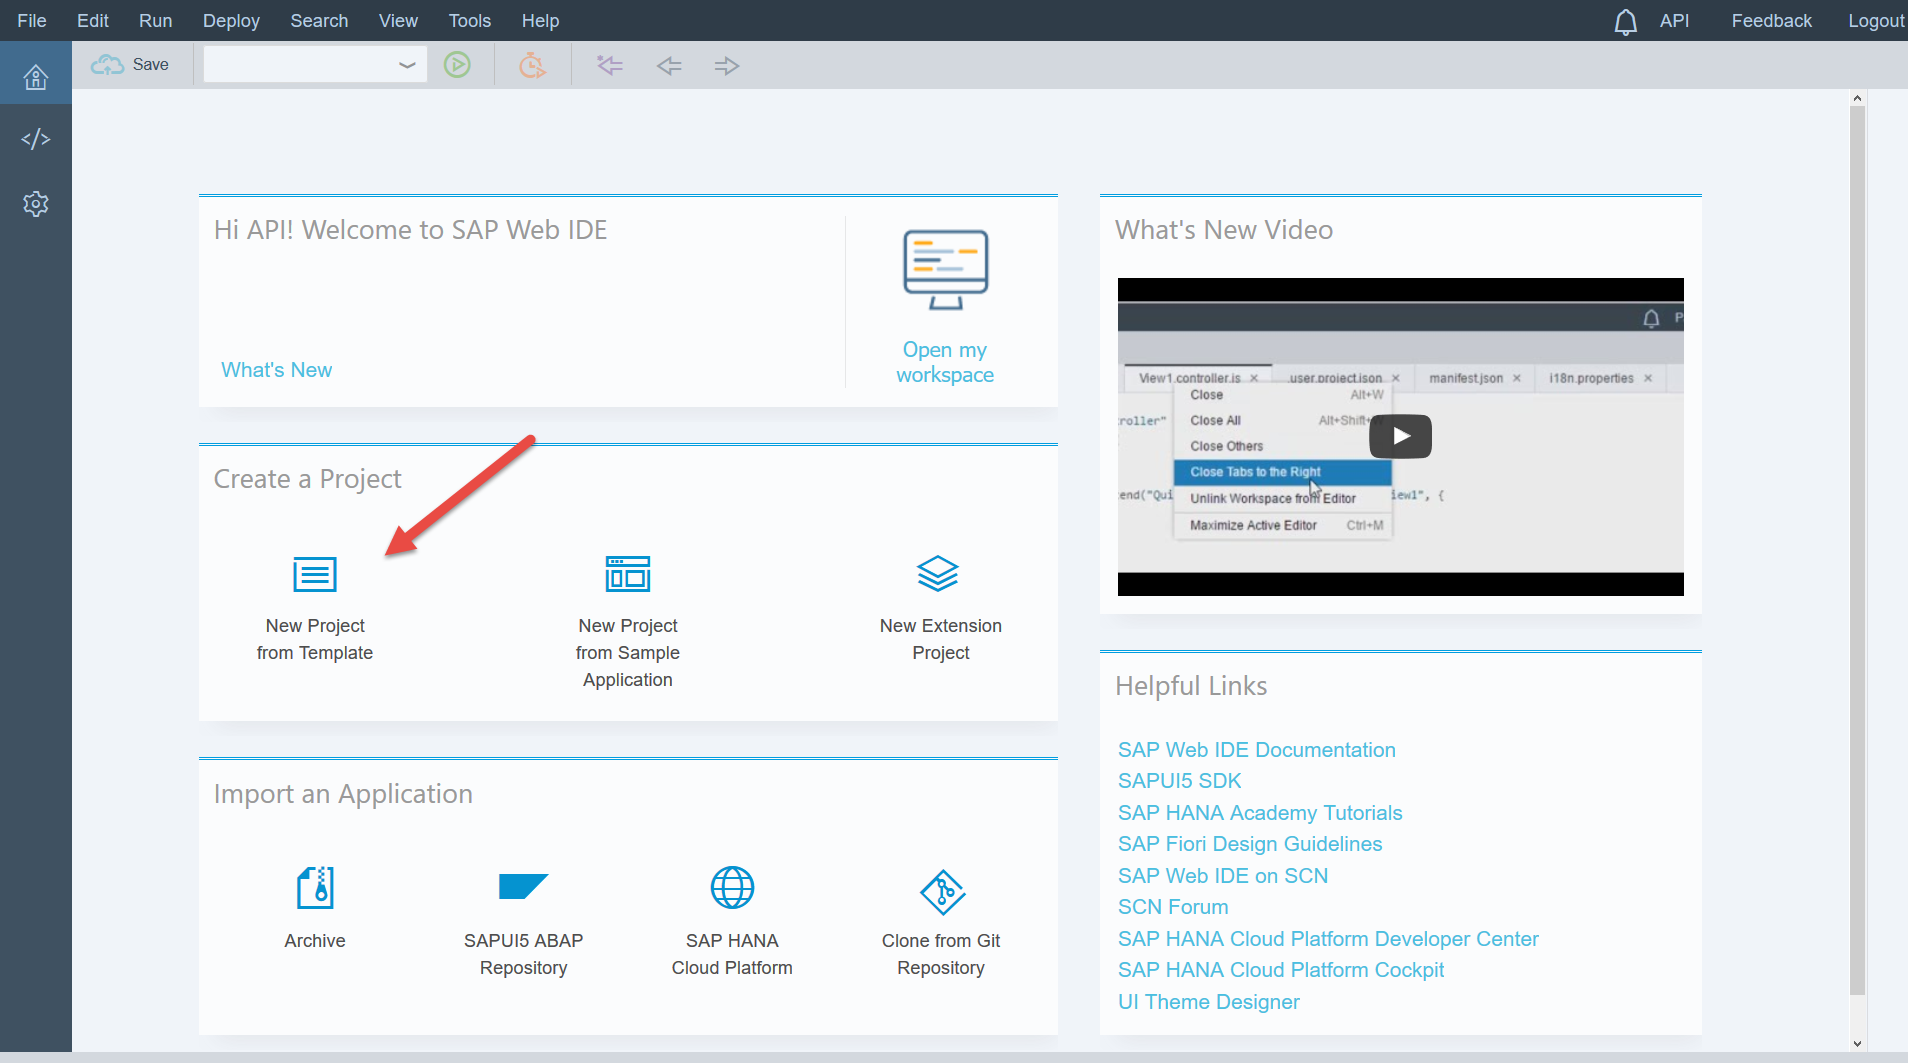
and click on the "SAP Fiori Master Detail Application" template and click on Next

Enter a project name and click on Next
 from the dropdown select the Destination you had previously created (when you are prompted for a username and password, enter your username from the HCP system). You will see a list of API Proxies which are available in your SAP API Management developer portal. Select one of the Proxies and click on Subscribe (if you cannot see the Subscribe button, scroll down a little
 Now that you have selected the Proxy that you want to consume, you need to select the Product this Proxy is assigned to. Select the product and click on "Select Product"
 Now click on Next and you can assign properties from the API Proxy to your SAP Fiori fields.
 We are almost done. The only thing left is that -- if you had set a Verify API Key Policy -- you have to manually add the API Key (something that was done automatically during the designtime in the Wizard; for the runtime you still need to add this manually). To do so, open the manifest.json file in the webapps folder and copy the following lines in the sap.ui5 -> models -> settings section (you might need to switch to the Code Editor at the bottom of the screen). For the API Key you obviously have to take your own for which an Application was automatically created in the Developer Portal.
,

  "headers" : {

     "APIKey": "4q8Db5rgmnIrYXr4xxx"

  }
 That's it. Click on Save and run your application which is now connected via SAP API Management to your backend system.
 .
For more Blogs and Information about using SAP API Management please visit our Living Overview Document
.
For more Blogs and Information about using SAP API Management please visit our Living Overview Document
