Hi All,
This blog gives a basic understanding of how we can make a successful connection to
Oracle database in
SAP Mobile Workspace along with step by step Oracle DB installation.
Part 1: Installing Oracle DB on a server machine
Part 2: Creating a connection profile in SMP Mobile Workspace
Tools: Windows Server 2008 R2 Standard 64 bit, SMP 2.3, Oracle Database 11g R2. Oracle DB SQL Developer 4.0
Steps to install Oracle DB:
- Download required Oracle Database setup with proper version from this link
Oracle Database 11g Release 2 for Microsoft Windows (x64)

- Accept License Agreement.(Make sure you are logged in with valid username and password, If you don't have already registered user details, then register it NOW)
- You need to download both files Part 1 and Part 2
2. Once download completes, exact both files and you will see that both extracted files contain folder with same name "database" . Copy "database" folder from Part 2 extracted file to Part 1 extracted file

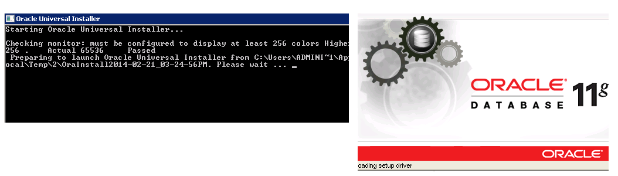
- Double click on setup file as shown above.
3. At the
Configure Security Updates screen,
you may ignore providing email address, just uncheck the box.
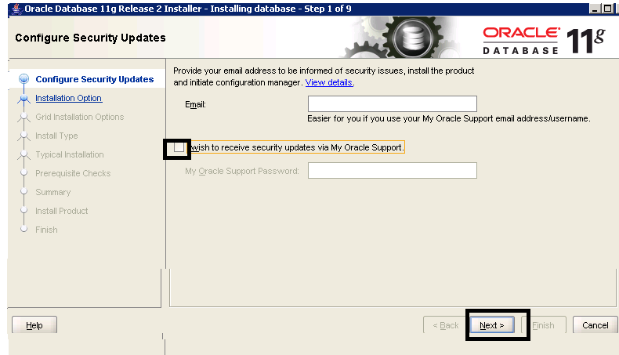
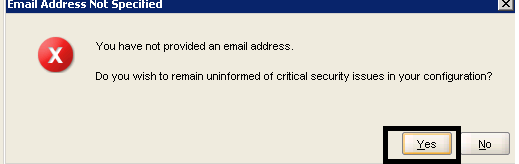
If you haven't given email address in above then you will prompted for a
warning message, Again you can ignore it.
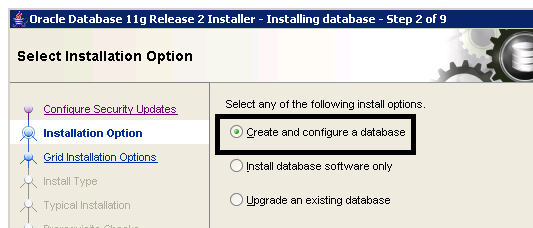
4. Select
"Create and Configure a database" option
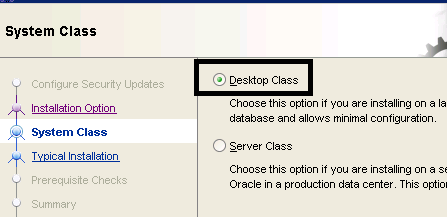
5. Choose
"Desktop Class"
6. This is
important step.
- You may choose any location. (Default is D:/app/administrator)
- If you are changing Global Database Name, make sure you remember it all the time.
- You will have to set administrator password as well.
Note: This password has certain standards like it should contains at least one lowercase letter, one uppercase letter, one digit and should be of at least of 8 characters in length. (But for simplicity i have used "sql")
- Ignore the warning if you have not followed standards.

- You must be seeing this step, perform Prerequisite Checks

- Here you can check the progress status

7. Before installation gets complete, you will see another window
Database Configure Assistant, which will complete following tasks:
- Copying database files
- Creating and starting Oracle Instance
- Completing Database Creation

8, Click on
Password Management, Here you will see different user names with their status if it is locked or not.
- By default, there are two users SYS and SYSTEM which are unlocked, you can set a password for them. (Make sure you follow password standards otherwise again warning message pops-up), Press OK.

9. Finally, You will a message on the screen saying
Your database configuration files have been installed in D:\app\Administrator while other components selected for installation have been installed in D:\app\Administrator\product\11.2.0\dbhome_1. Be cautious not to accidentally delete these configuration files
 10. To test if this installation is successful, run this link in a browser, make sure you provide the correct credentials, You can see Oracle Database Control sheet.
https://localhost:1158/em/
10. To test if this installation is successful, run this link in a browser, make sure you provide the correct credentials, You can see Oracle Database Control sheet.
https://localhost:1158/em/
 Steps to install Oracle SQL Developer:
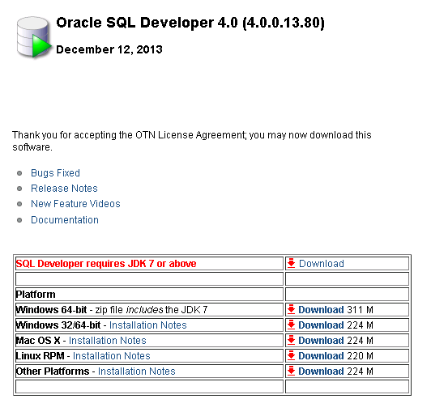
- Download the required installation from below link:
Oracle SQL Developer
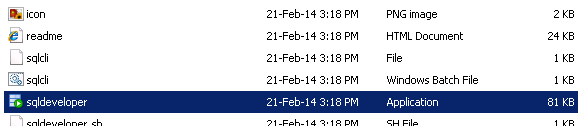
2. Extract the zip file and start the installation.
3. If you wish to
import some preferences from already installed SQL Developer Installation, then select YES otherwise
NO.

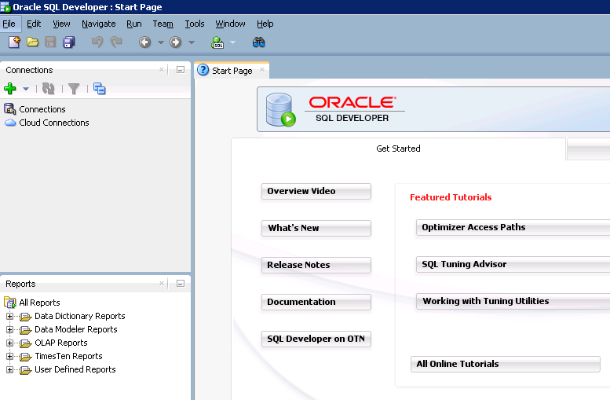
4. Once installation is complete, you will see a
Start Page for
Oracle SQL Developer like below:
5. Next task is create a test connection,
- Click on New Connection
- Provide existing username and password
- Make sure you provide the correct SID
- Click on Test, If details are correct, you will see a Success status.

6. Once test connection is connected, we can many folders like Tables, Views, Indexes, Packages etc. W
e can test existing tables.
 (Here we can create our tables as per requirement, this blog is for testing purpose only.)
Part 2 : Creating a connection profile in SAP Mobile Workspace and a test MBO
(Here we can create our tables as per requirement, this blog is for testing purpose only.)
Part 2 : Creating a connection profile in SAP Mobile Workspace and a test MBO
