This is the final blog in a three part series showcasing SAP Build Process Automation (SBPA) along with SAP Build Apps to create a project in SAP S/4HANA Cloud, public edition (S/4HC) based on an approval workflow. To recap, the app allows end users to enter basic information about a new project and submission triggers an approval workflow on SBPA. After approval, an API call is made to S/4HC is made to create the project based on the data submitted and a default set of work packages is added to the request. In
part 1 of this series, I covered how to create a REST API integration flow on BTP Cloud Integration to handle the API for SBPA and subsequent API mapping for S/4HC. In
part 2, I covered the SBPA development to handle the API trigger, approval workflow and the REST API call to BTP CI via an Action.
The following diagram graphically depicts the architecture with the sequence of steps:

Commercial Project Creation via Workflow Architecture
I followed this
tutorial which creates a sales order to create the Build App for our project scenario but will highlight some of the steps here in this blog.
Create BTP Destination
The first step is to create the destination to call the SBPA in BTP.

BTP Destination
Next, create the SAP Build App which will be the UI frontend for our users to enter the information about their new project. This is a simple UI to allow quick data entry. I only added the required fields and a submit button to trigger the project approval workflow which we created in the previous blog.
Create a new app project
Navigate to the Build lobby in your BTP tenant and click Create.
Select "Build An Application"

SAP Build App Selection Screen
Select "Web & Mobile Application" to build the app.

Web & Mobile Application
Provide a name for your new app.

Application Name
Create the project page
Following the example from the sales order tutorial, add the project related fields. I added 9 input fields to match the schema for the API trigger and a submit button to the UI canvas.

UI Design
Enable BTP Authentication for the app.

Enable BTP Authentication
Create a new data resource for SAP Build Process Automation. In the data entity, enable the create method. I used
SendtoSPA as the data entity name and selected the BTP destination created above from the drop down list.
Under Resource Schema, add an object
projectdata and add the 9 fields to match the API trigger and the Build App UI. Make sure the id of the field names match the case that is on your API trigger!

BTP Destination
Set the Content-Type header to equal application/json:

Enable Create Action and Set Request Headers
The Request body mapper should include the formula as outlined in the sales order tutorial. The projectdata body mapper is shown below:

Request Body Mapper Payload
Before proceeding further, you should be able to successfully test the destination and receive a OK status code.

Test Result
The next step is to switch back to the UI Canvas and create a new data variable based on the
SendtoSPA data resource. Make sure the data variable type is set to "New data record". (I missed this on my first time through the exercise)
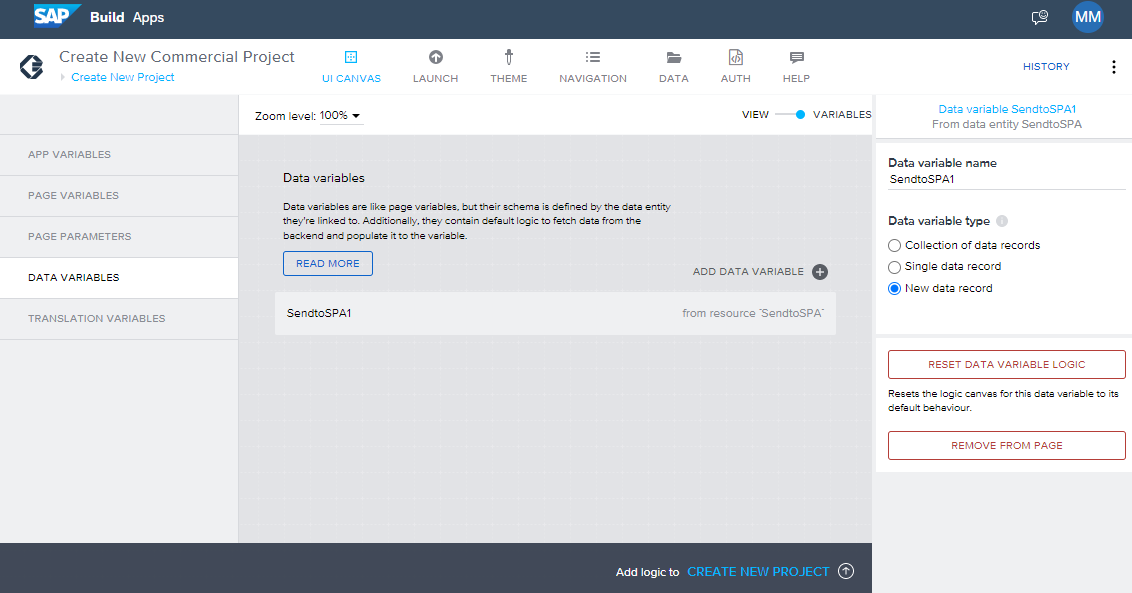
Data Variable
Switching back to the User Interface, bind each input field to the data element

UI Binding
Finally, we can add the logic to the button in order to trigger the workflow. I used a simple Toast message to confirm submission as demonstrated in the tutorial.

Logic to Trigger Workflow
Testing the Application
After saving the app, we are ready to test it. Navigate to the Launch tab and select "Preview your app".

Preview 1
Click "Open web preview" to open the app in a web browser on your PC.
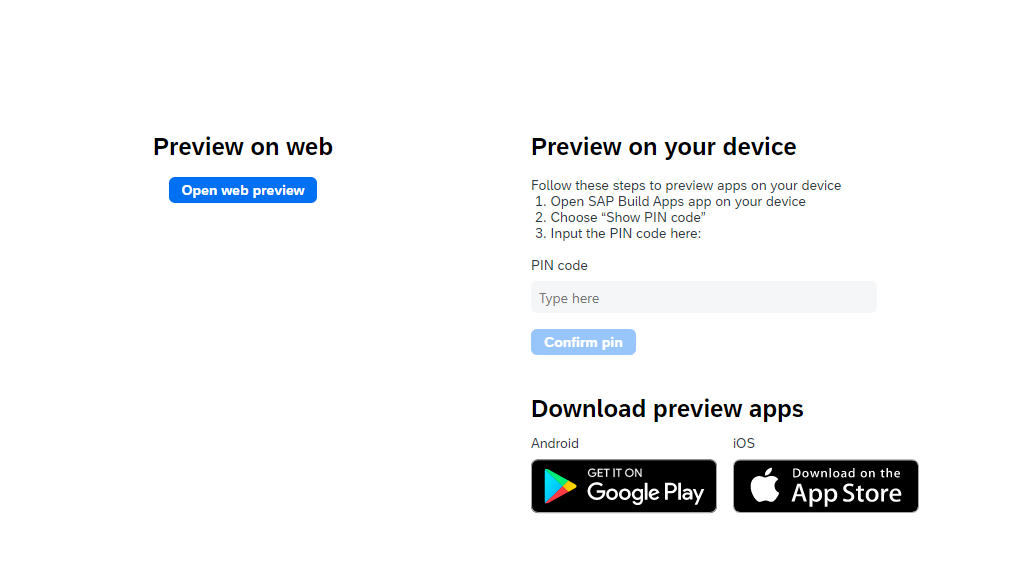
Preview 3
Click "Open" on the app that you just developed.

Preview 4
Enter the data for your new project and click the Submit button.

New Project
You should see a message indicating that the process is triggered after submission.

Trigger Process
You should now see a new task for approval if you log into the inbox on BTP with the designated approver. Approve the project to trigger the project creation in S/4HANA Cloud.

Project Approval
The user who submitted the new project via the Build App should receive an email that their project was approved and is now ready to use in S/4HANA Cloud.

Email
The project is ready to use in SAP S/4HANA Cloud!

Created Project
Let me know if you need any additional clarifications on the steps. I hope that you found this series useful and learned how easy it is to develop side by side apps and/or automate processes using SAP Build on SAP BTP!
Thanks,
Marty
