Table of Contents
Introduction
Prerequisites
Let's Start
Add Swift Package
Update Swift Package
Result
Introduction
The
Swift Package Manager is a tool for managing the distribution of Swift code.
It’s integrated with the Swift build system to automate the process of downloading, compiling, and linking dependencies.
Prerequisites
- The Package Manager will only work with Swift 3.0 and above.
Let's Start
Add Swift Package
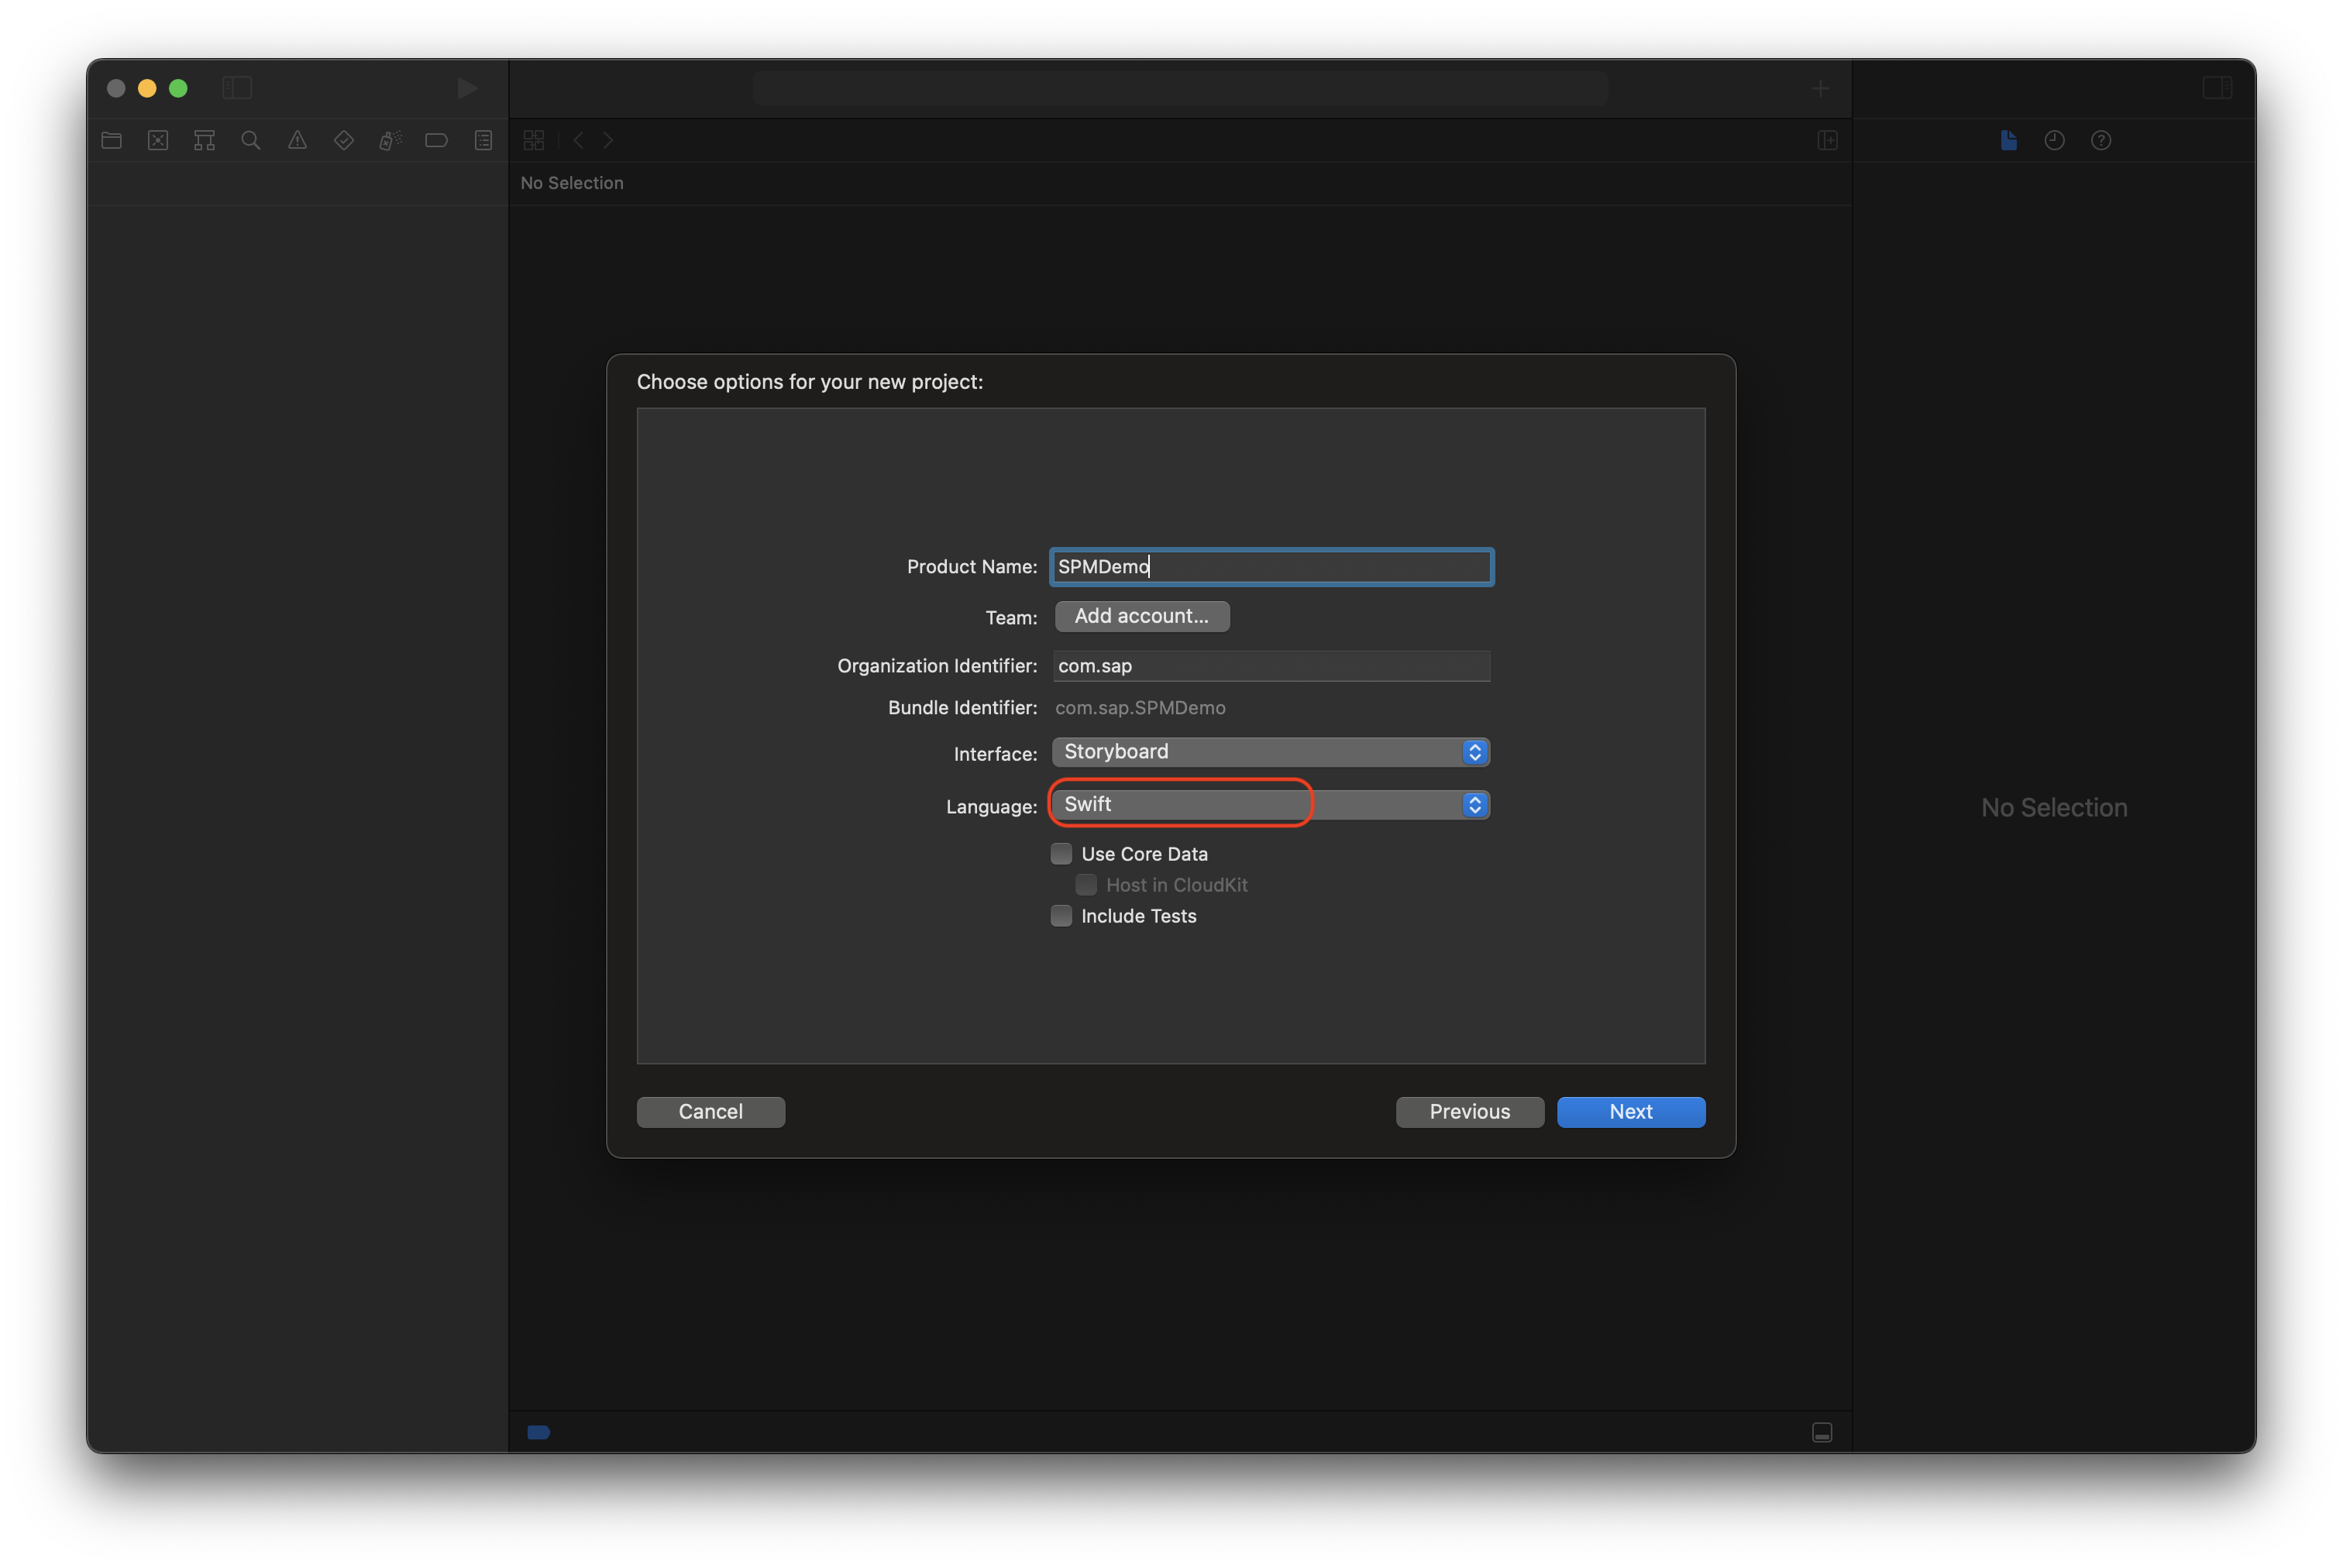
Create a new Swift project called SPMDemo. (You can give any project name as you wish.)
Now let's start the process to add Swift Package into created Xcode project.
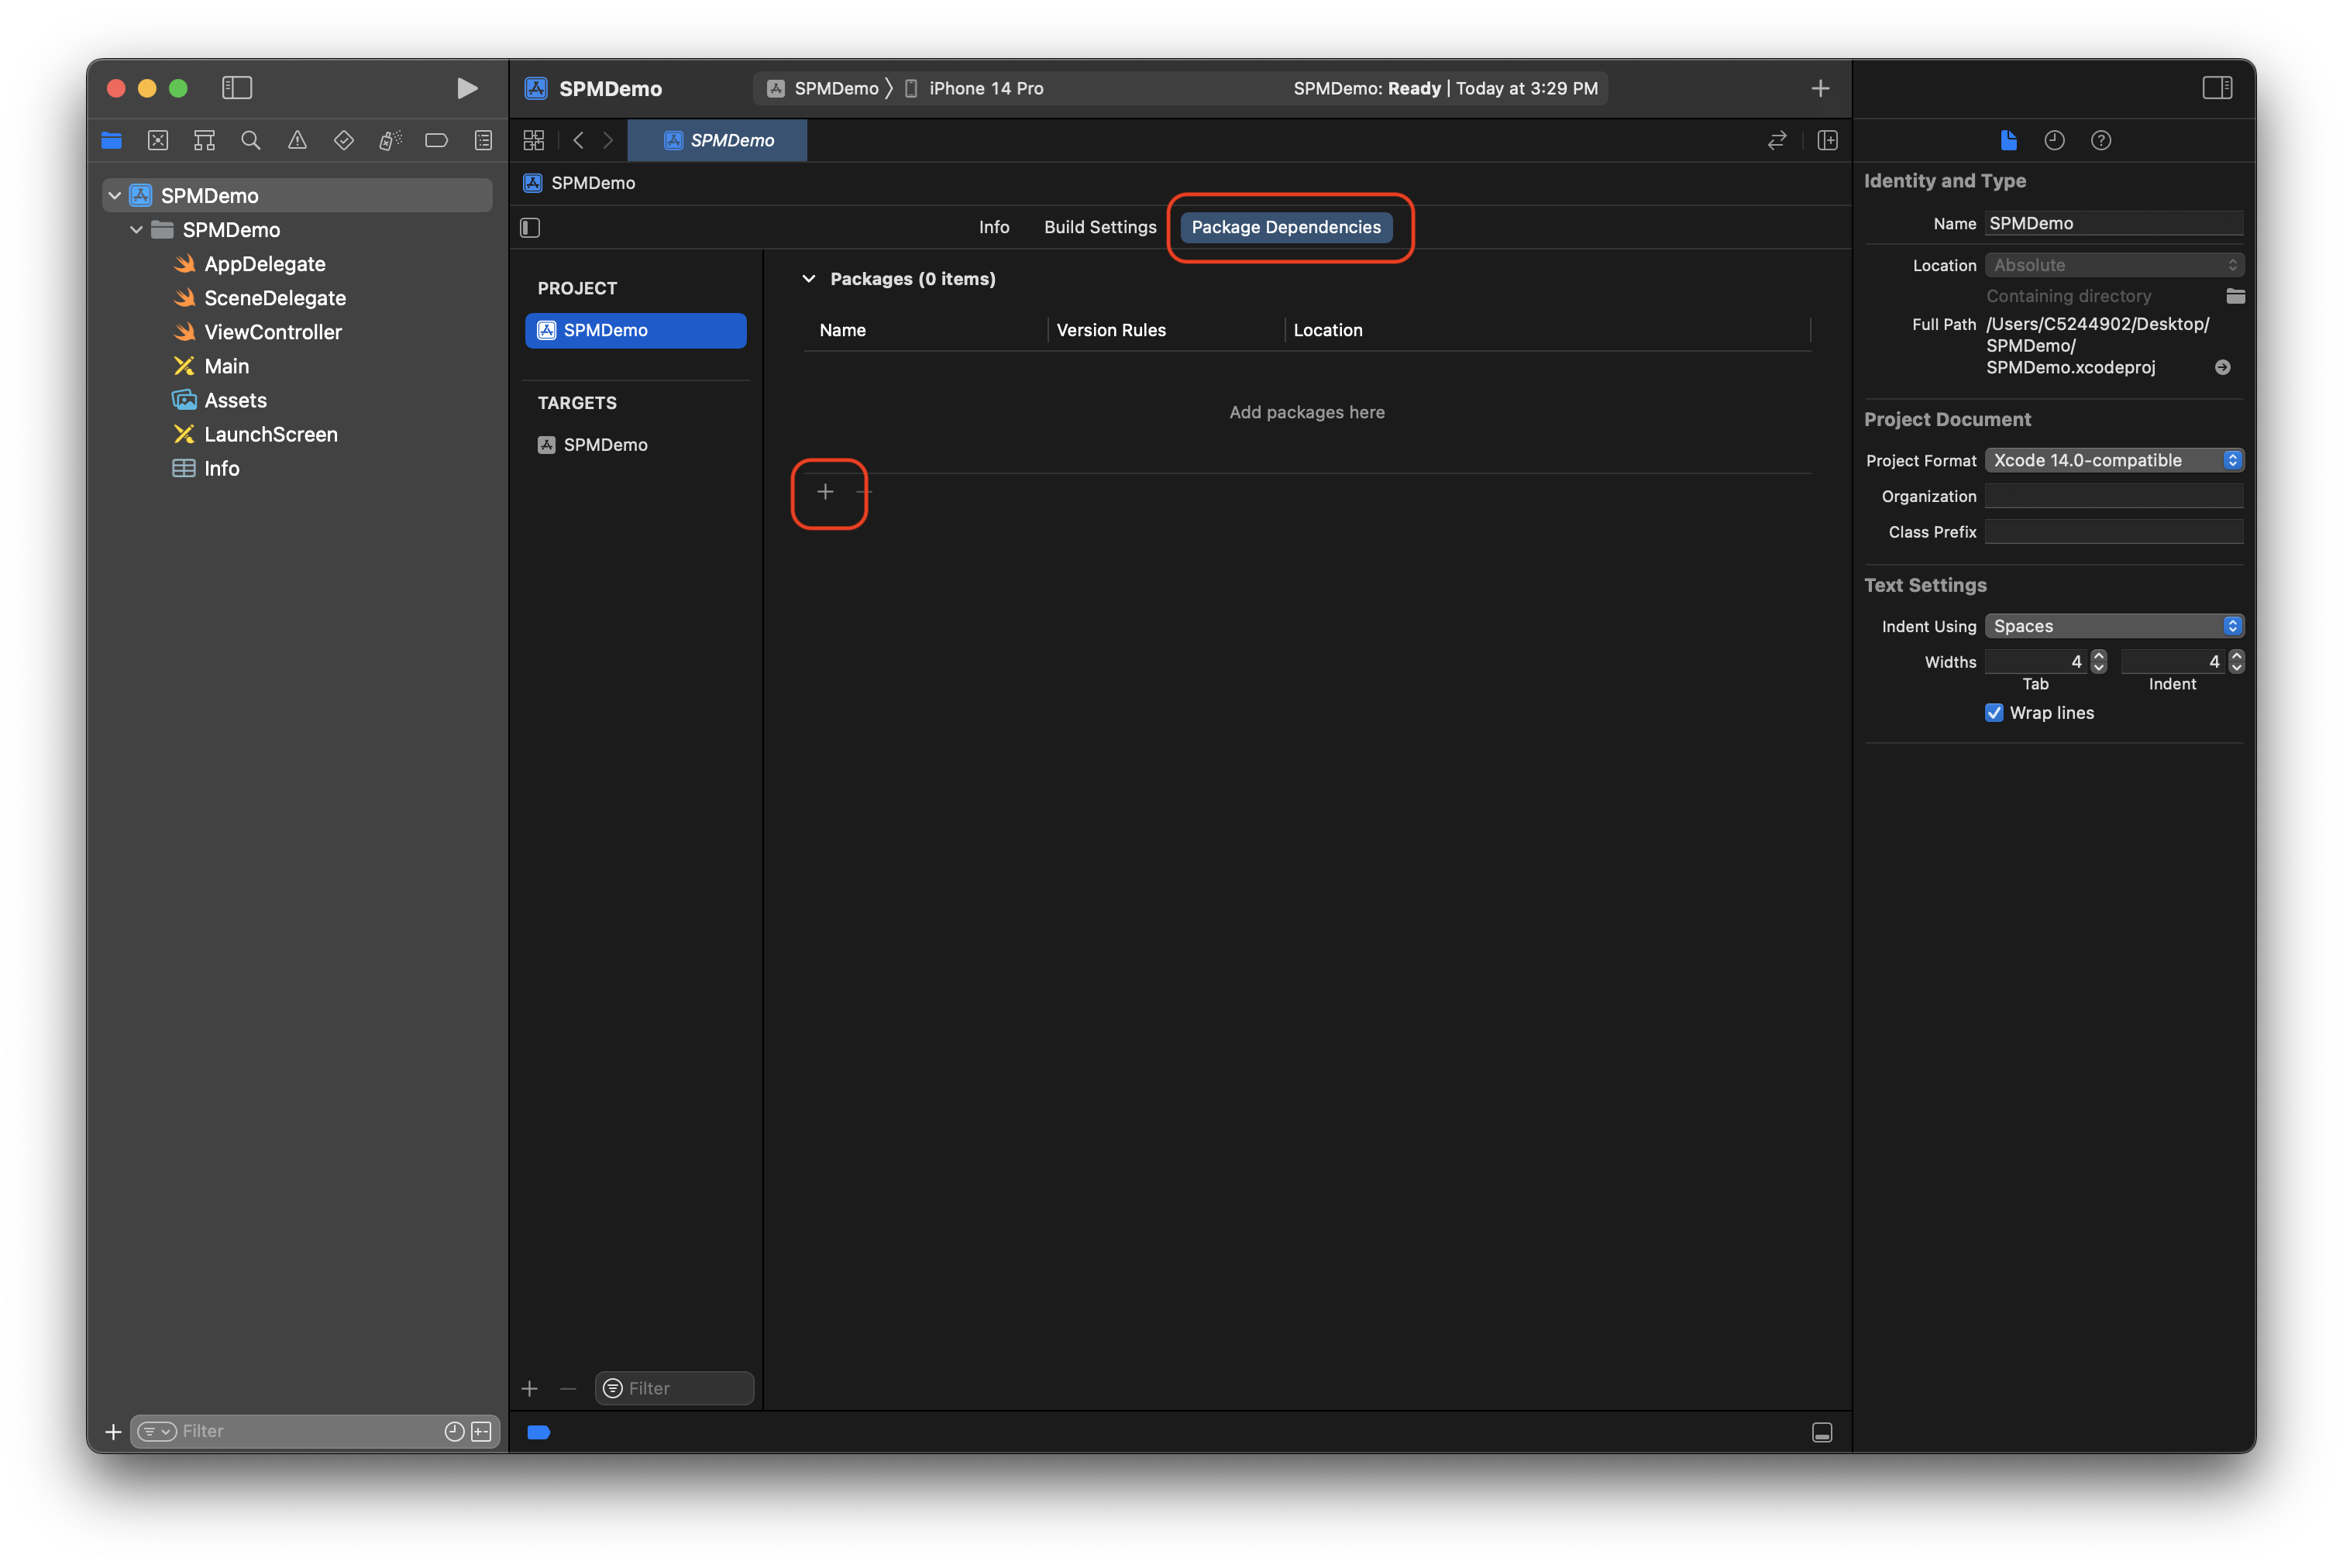
Click on
project name under
Project section.
In our case click on SPMDemo under Project as shown below.

After this click on
Package Dependancies and click on
+ action.
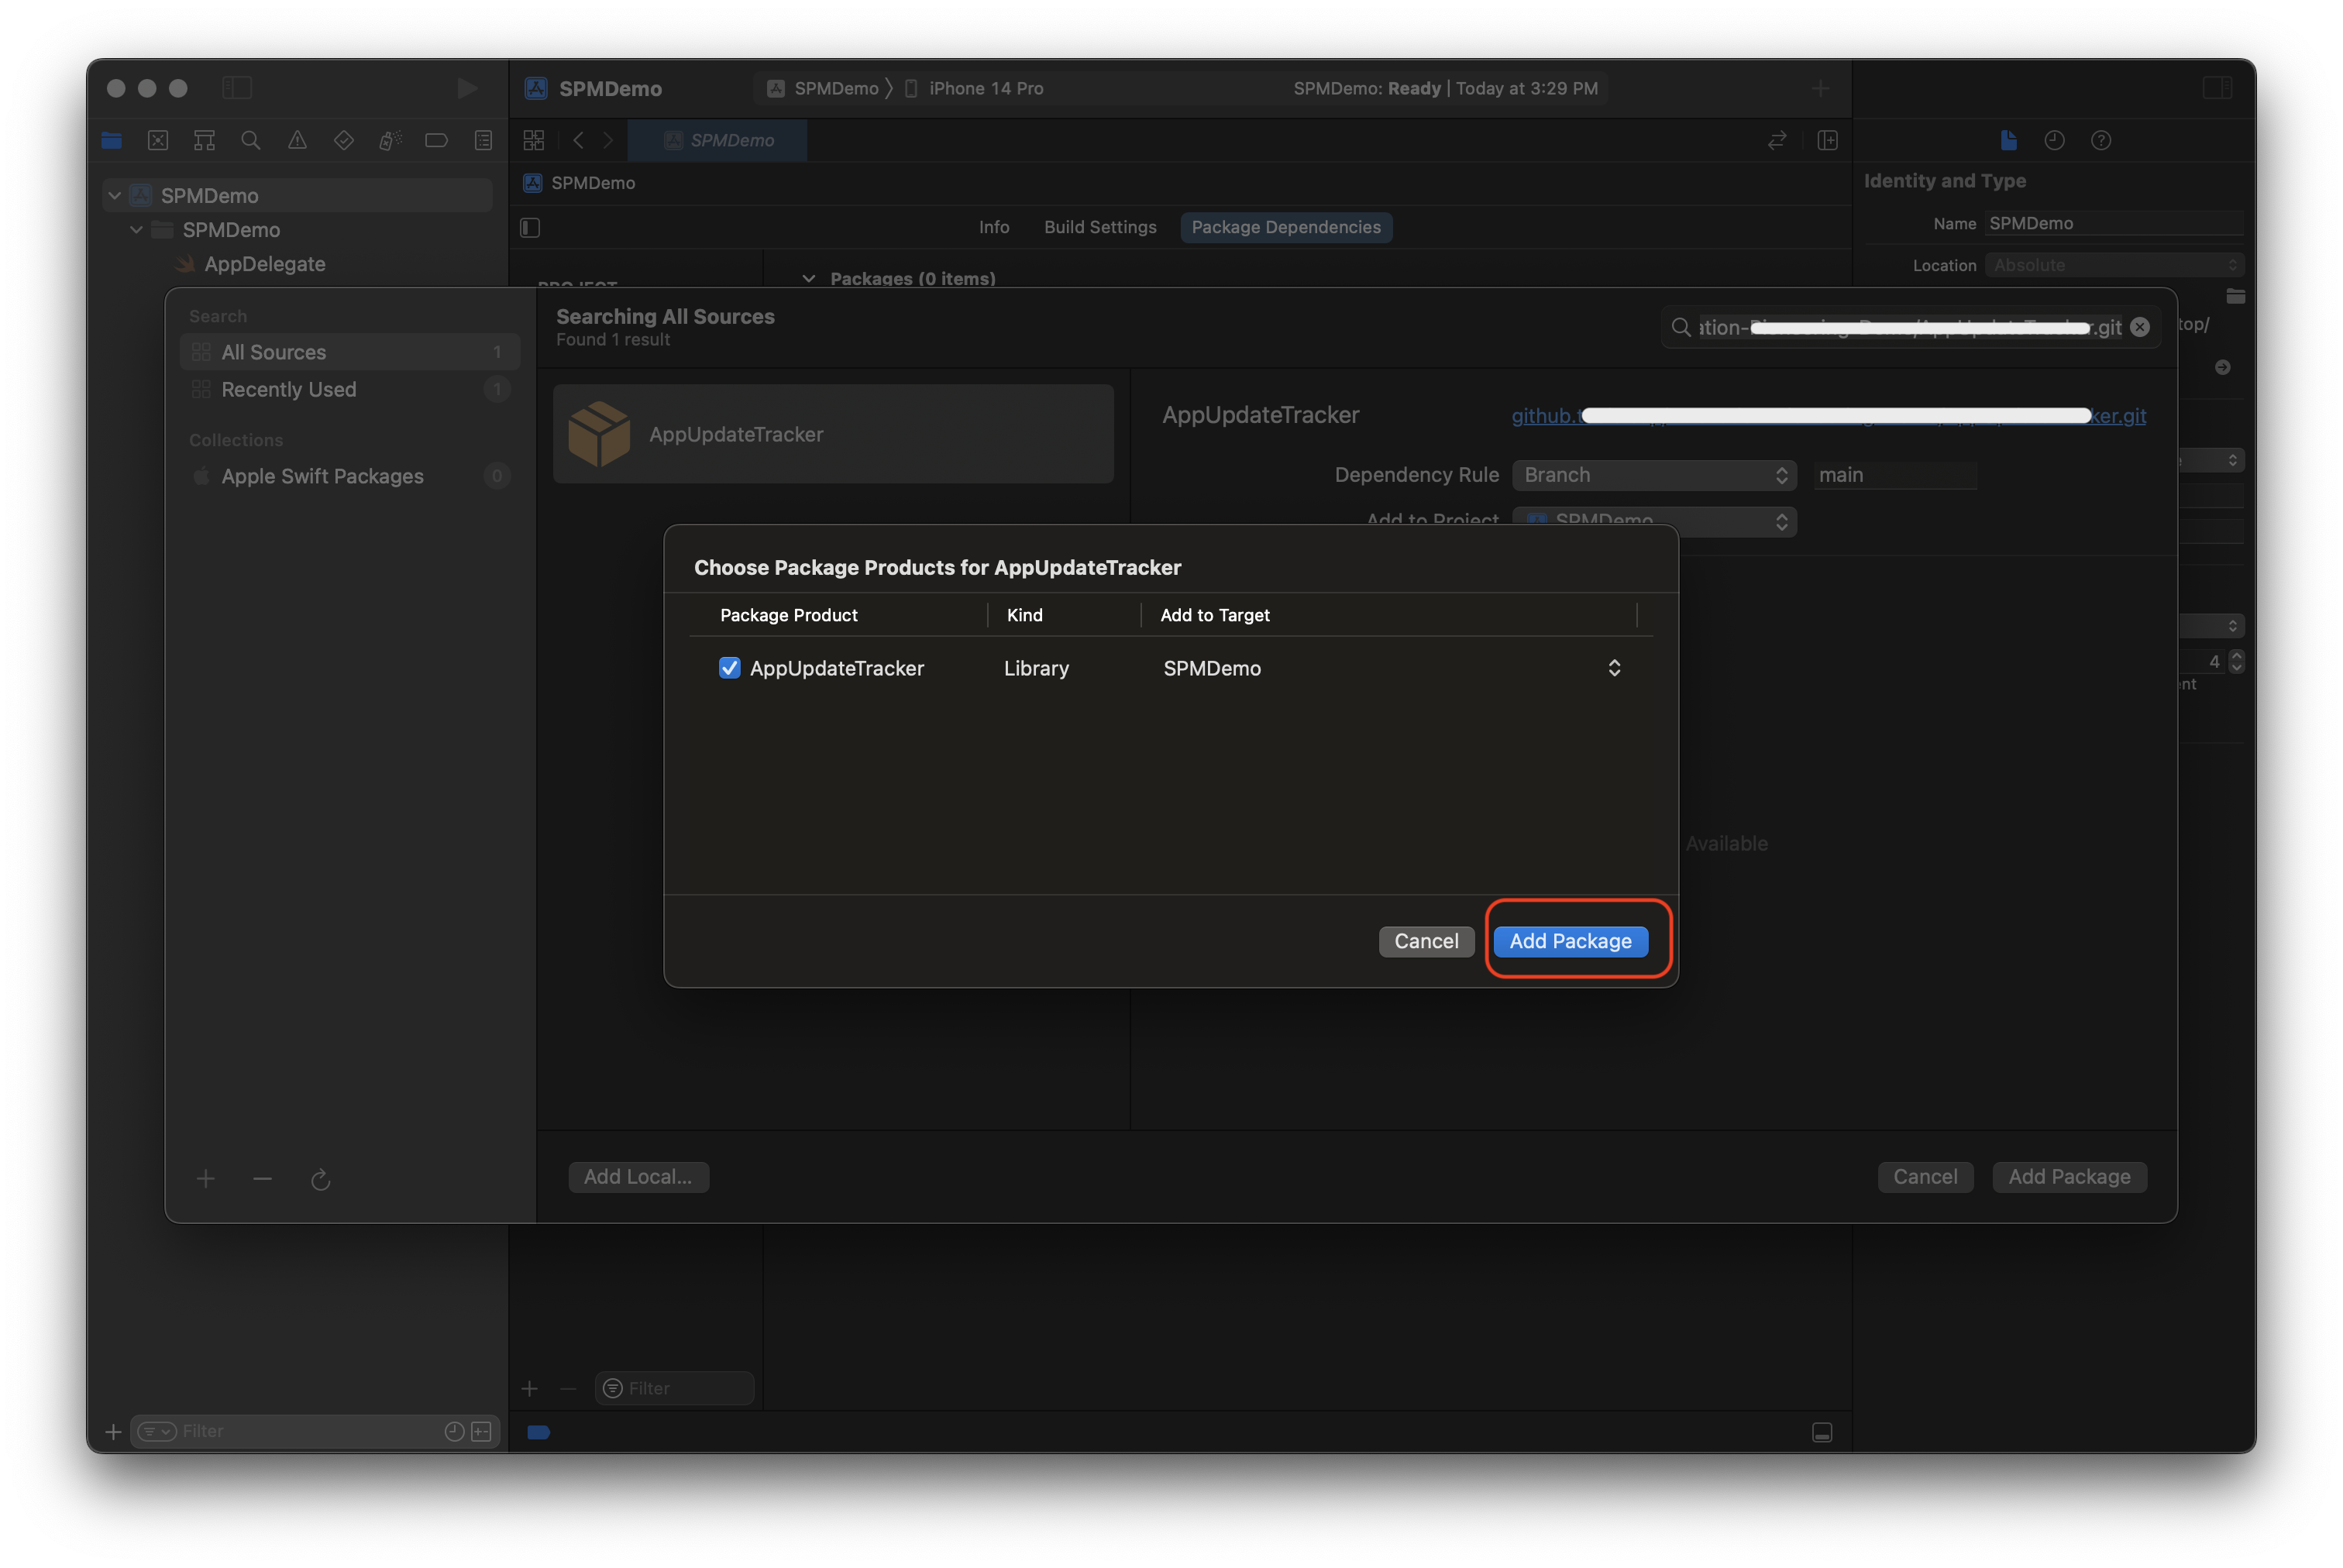
Now,
Search or
Enter the package URL you want to utilise for your Xcode project and click on
Add Package.


 Once the package loaded it will look like below.
Now, simply click on Add Package and select the specific target (if you have multiple targets) in which you want to use this package.
Once you add the package you can check the package details as shown below.

Update Swift Package
If already added Swift Package has been enhanced with some new features/modifications in the future then, in Xcode project you need to update the Swift Package if you want to utilise latest features/modifications.
So, to update the Swift Package just right click on package name under
Package Dependancies and click on
Update Package.

We are done.
Result

With this blog post, you have learned,
- Add Swift Package into Xcode project.
- Update Swift Package into Xcode project
Hope this helps!
Your thoughts matter!
GD
