
- SAP Community
- Products and Technology
- Technology
- Technology Blogs by SAP
- AppGyver UI Extension with SAP AI Core
Technology Blogs by SAP
Learn how to extend and personalize SAP applications. Follow the SAP technology blog for insights into SAP BTP, ABAP, SAP Analytics Cloud, SAP HANA, and more.
Turn on suggestions
Auto-suggest helps you quickly narrow down your search results by suggesting possible matches as you type.
Showing results for
Product and Topic Expert
Options
- Subscribe to RSS Feed
- Mark as New
- Mark as Read
- Bookmark
- Subscribe
- Printer Friendly Page
- Report Inappropriate Content
09-02-2022
7:04 AM
Motivation
Building a UI extension was never easy before, thanks to AppGyver which empowers citizen developers to design, build, and deploy business-critical applications in a productive environment in very less time. This section will not explain the fundamentals of AppGyver, but will see how we can build a UI extension that consumes AI core service and brings the intelligence to the device itself.
What will you learn?
At the end of this tutorial, you will be able to build a mobile application that will consume an SAP AI core service API to infer the data on the cloud using a pre-built image classification model. The approach that will be used to consume the AI core service API can be extended to other Business technology platforms API's which require an oAuth2.0 authentication mechanism for authentication.
Pre-requisites
- You should have subscribed to the following service to get started with AppGyver.
- SAP Process Automation – Service Details
- Basic understanding of AppGyver solution and tools used for development - Developer Guide
- Access to the AppGyver Previewer App on a smartphone or tablet: iOS / Android
- Train and Deploy ML model using AI Core - Blog
Architecture

Tutorial
It’s time to see things working in action. Let go step by step to build this UI extension.
- Create AppGyver Application
- Define Data source
- Design UI and declare page variables
- Design UI using AppGyver composer tool
- Test the application.
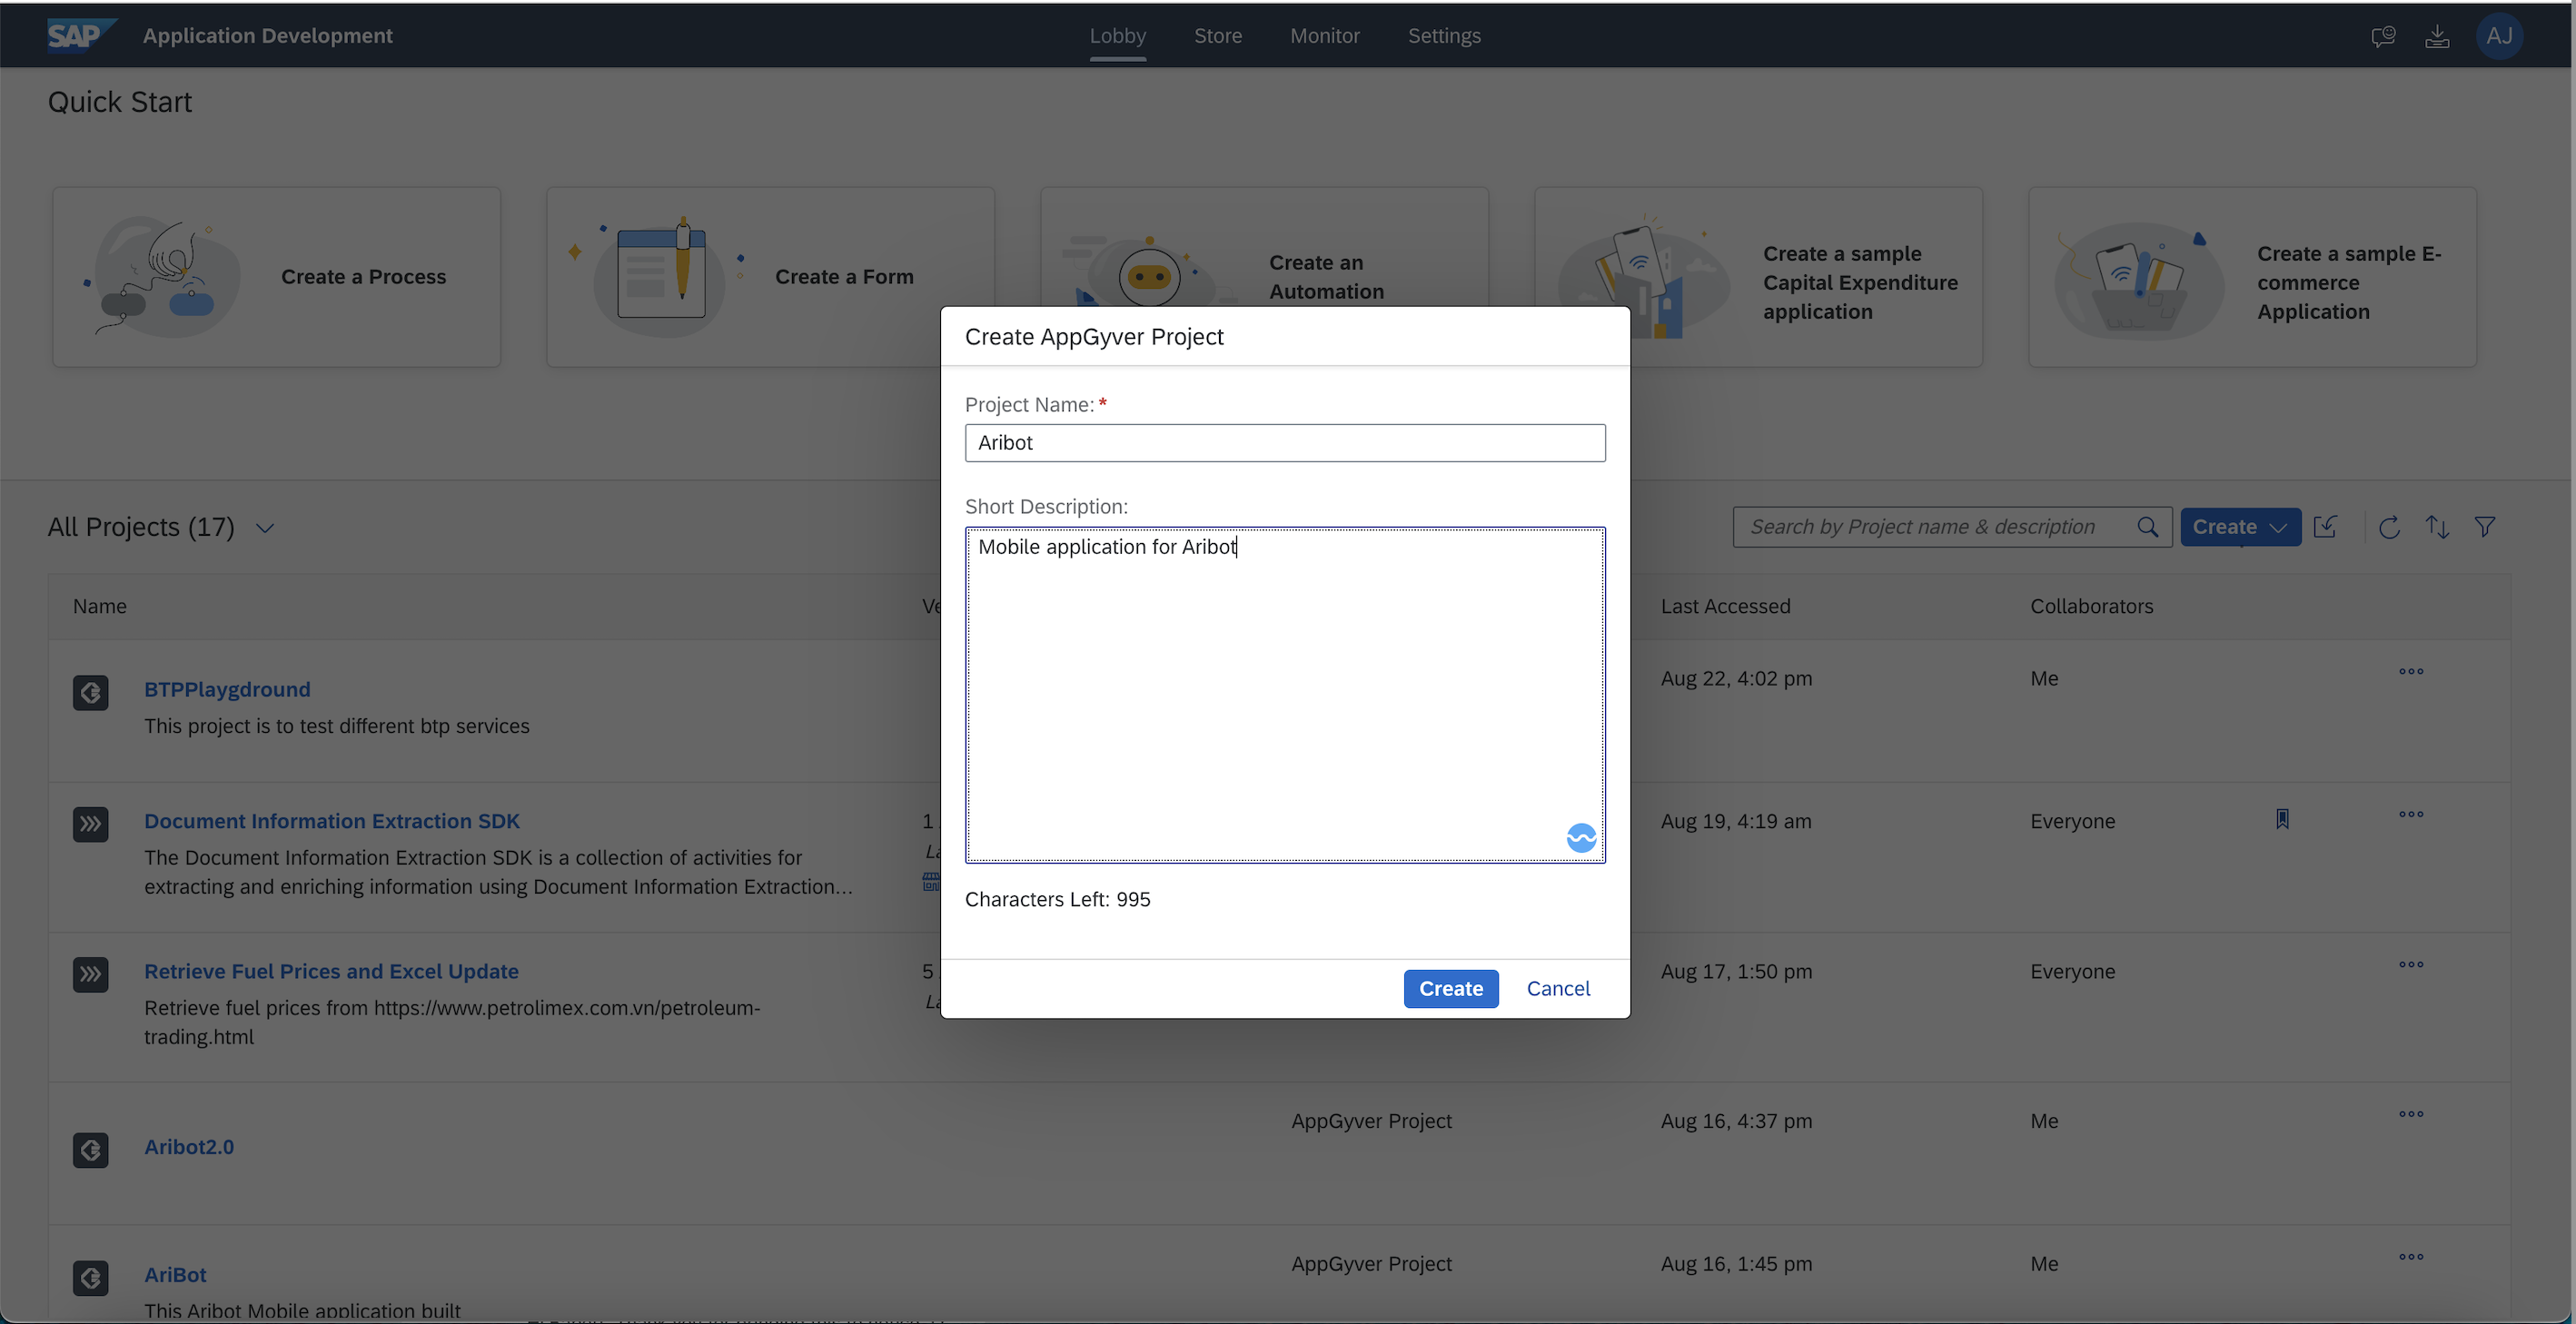
Create AppGyver Application - First will create an application using AppGyver option from the dropdown and give a name as per your choice.

Define Data Source -
To define a data source which in our case is AI core service API we have to navigate to the Data section from the top navigation bar on AppGyver web tool. AI Core service API uses oAuth2.0 authentication mechanism, which requires calling in an additional API that returns the Bearer token.
Before we move further, let’s get the API details and credentials handy.
- AI Core Service API endpoint
- Authentication URL
- Client ID
- Client Secret
- Convert the above credentials to base64 encoded string (Client ID : Client Secret)
First, will create a data entity that will call the authentication API and persist the “access_token” that will be later passed with the actual AI Core Service API.
Select the REST API direct integration option to create the first data entity.

Enter the Authentication URL as the base URL. This is the same URL that we had copied earlier

This will be a POST call, so we have to configure headers and a query parameter within the Create Record (POST) section. Will add Authorization in the header section and grant_type in the query parameter section.

Now its time to test the authentication api and set the schema from the response. Successful execution of api will return the access_token.Set the schema from the response which will create variables locally after looking at the actual response.


We are done with creating our first data entity, which is fetching the access token. It’s to time configure the next data entity which is AI Core Service. Again, the same process will be a POST call and will follow the same steps to create the entity.

Scroll down to the header section where we will add a couple of headers required and set the respective Is Static flag to them.
Note - For Authorization make sure you disable isStatic flag as it will be assigned a value at runtime.


Design UI using AppGyver Composer tool-
As the next step, it's time to design UI using the UI Canvas option within AppGyver tool. Let’s drag the following UI components highlighted in the following screenshot on the canvas.

We also need to define few page variables which will be needed in our next to bind those with the UI components. The page variables will the information relevant to this page what we have created.
Note – imagePath variable will have type as image URL

We will have our logic assigned on the tap of the capture image, button. Select the “Capture Image” button and navigate the logic console, which will build the actual logic with different controls.

Please refer to the following video which shows the logic control flow which has been defined.

Finally, we have all the building blocks of our application in place, and it's time to test it. The following video shows the demonstration of our application. We will use the application to capture the spare part photo and send inference the same to get details of the spare part.

Extending Application with SAP Ariba -
In this tutorial, we have not covered the Ariba integration, but we won't disappoint you. Please check the Aribot demo. With help of this application, the user can capture the spare part photo and then get the result using AI Core and then he/she can select the quantity which is sent as a purchase requisition to SAP Ariba.

Let's not restrict ourselves to this integration/use case, as you can follow the process with other intelligent services provided by BTP and come up with business applications that solve your day-to-day problem without having huge efforts involved in development. If you have liked this blog series, please do let us know which is the next service on BTP you would like to explore with us together.
Thank you !!
Credits
vriddhishettyThank you for helping with AI Core Integration.
Sanraj Mitra Thank you for building the ML model and realizing this E2E integration.
mohiniverma & gunteralbrechtKeep inspiring us on the low-code/no-code journey.
- SAP Managed Tags:
- Ariba Cloud Integration,
- SAP AI Core,
- SAP Build Apps,
- SAP Build Process Automation
Labels:
8 Comments
You must be a registered user to add a comment. If you've already registered, sign in. Otherwise, register and sign in.
Labels in this area
-
ABAP CDS Views - CDC (Change Data Capture)
2 -
AI
1 -
Analyze Workload Data
1 -
BTP
1 -
Business and IT Integration
2 -
Business application stu
1 -
Business Technology Platform
1 -
Business Trends
1,658 -
Business Trends
92 -
CAP
1 -
cf
1 -
Cloud Foundry
1 -
Confluent
1 -
Customer COE Basics and Fundamentals
1 -
Customer COE Latest and Greatest
3 -
Customer Data Browser app
1 -
Data Analysis Tool
1 -
data migration
1 -
data transfer
1 -
Datasphere
2 -
Event Information
1,400 -
Event Information
66 -
Expert
1 -
Expert Insights
177 -
Expert Insights
298 -
General
1 -
Google cloud
1 -
Google Next'24
1 -
Kafka
1 -
Life at SAP
780 -
Life at SAP
13 -
Migrate your Data App
1 -
MTA
1 -
Network Performance Analysis
1 -
NodeJS
1 -
PDF
1 -
POC
1 -
Product Updates
4,577 -
Product Updates
344 -
Replication Flow
1 -
RisewithSAP
1 -
SAP BTP
1 -
SAP BTP Cloud Foundry
1 -
SAP Cloud ALM
1 -
SAP Cloud Application Programming Model
1 -
SAP Datasphere
2 -
SAP S4HANA Cloud
1 -
SAP S4HANA Migration Cockpit
1 -
Technology Updates
6,873 -
Technology Updates
421 -
Workload Fluctuations
1
Related Content
- SAP Build Process Automation Pre-built content for Finance Use cases in Technology Blogs by SAP
- Fiori Smart Table in Technology Q&A
- ABAP Cloud Developer Trial 2022 Available Now in Technology Blogs by SAP
- Convert multiple xml's into single Xlsx(MS Excel) using groovy script in Technology Blogs by Members
- 10+ ways to reshape your SAP landscape with SAP Business Technology Platform – Blog 4 in Technology Blogs by SAP
Top kudoed authors
| User | Count |
|---|---|
| 38 | |
| 25 | |
| 17 | |
| 13 | |
| 7 | |
| 7 | |
| 7 | |
| 7 | |
| 6 | |
| 6 |