
What is Jupyter Notebook?
Jupyter Notebook is an open-source web application used to
create and share documents that have live code, equations, visualizations, and text. It’s maintained by the Project Jupyter community. In 2014, Project Jupyter and Jupyter Notebook became spin-off projects from IPython and the IPython Notebook.
In addition to the Jupyter Notebook, there’s also
JupyterLab, which is a web-based IDE for Jupyter Notebooks. It allows you to set up your user interface to support various workflows in machine learning, data science, scientific computation, and more. With JupyterLab, you can run terminals, text editors, and code consoles in your web browser. You can also create your own plugins.
JupyterHub is another offering from Project Jupyter. JupyterHub is a multi-user version of Jupyter Notebook, designed for teams, classrooms, and labs. The hub allows you to deploy your notebooks to your organization, scale your deployment with Docker and Kubernetes, and provide uniform data management and access within your company.
Jupyter Notebook is a popular computational notebook, with over 2.5 million public notebooks available on GitHub. It’s
used for a variety of things, such as:
- Data analysis
- Data cleaning
- Data transformation
- Data visualization
- Machine learning
- Numerical simulation
- Statistical modeling
Etc.

Let's start deploying Jupyterlab to Cloud Foundry
Step 1 : Create a folder name Jupyter ( or any name you would prefer)
Step 2 : Go to Jupyter folder and create a file "Procfile" and Open & save below line
web: jupyter lab --ip 0.0.0.0 --port $PORT --no-browser
Step 3 : Create a file "requirements.txt". Open& Save below line
jupyterlab
Step 4 : Open the terminal and run this below command (Cloud foundry must to have and follow cf login first)
cf push jupyter-cf --random-route

Successfully deployed to cloud foundry
Step 5 : run this below command, you need to get a generated token from the logs.
cf logs jupyter-cf --recent
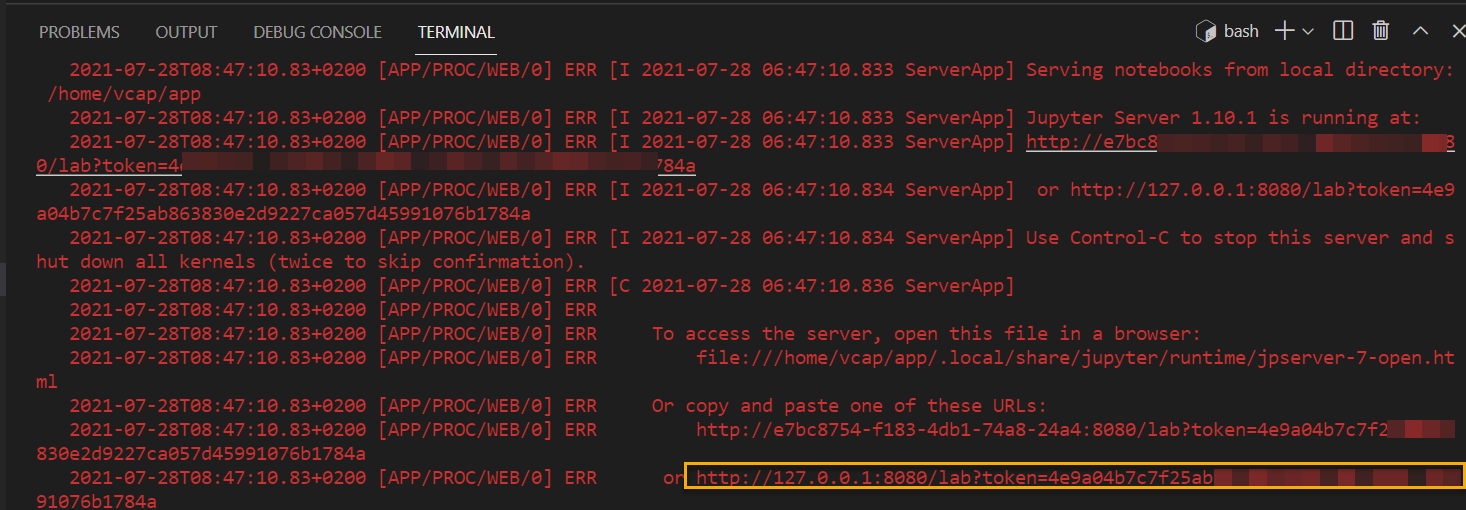
The token above will be like highlighted in yellow box
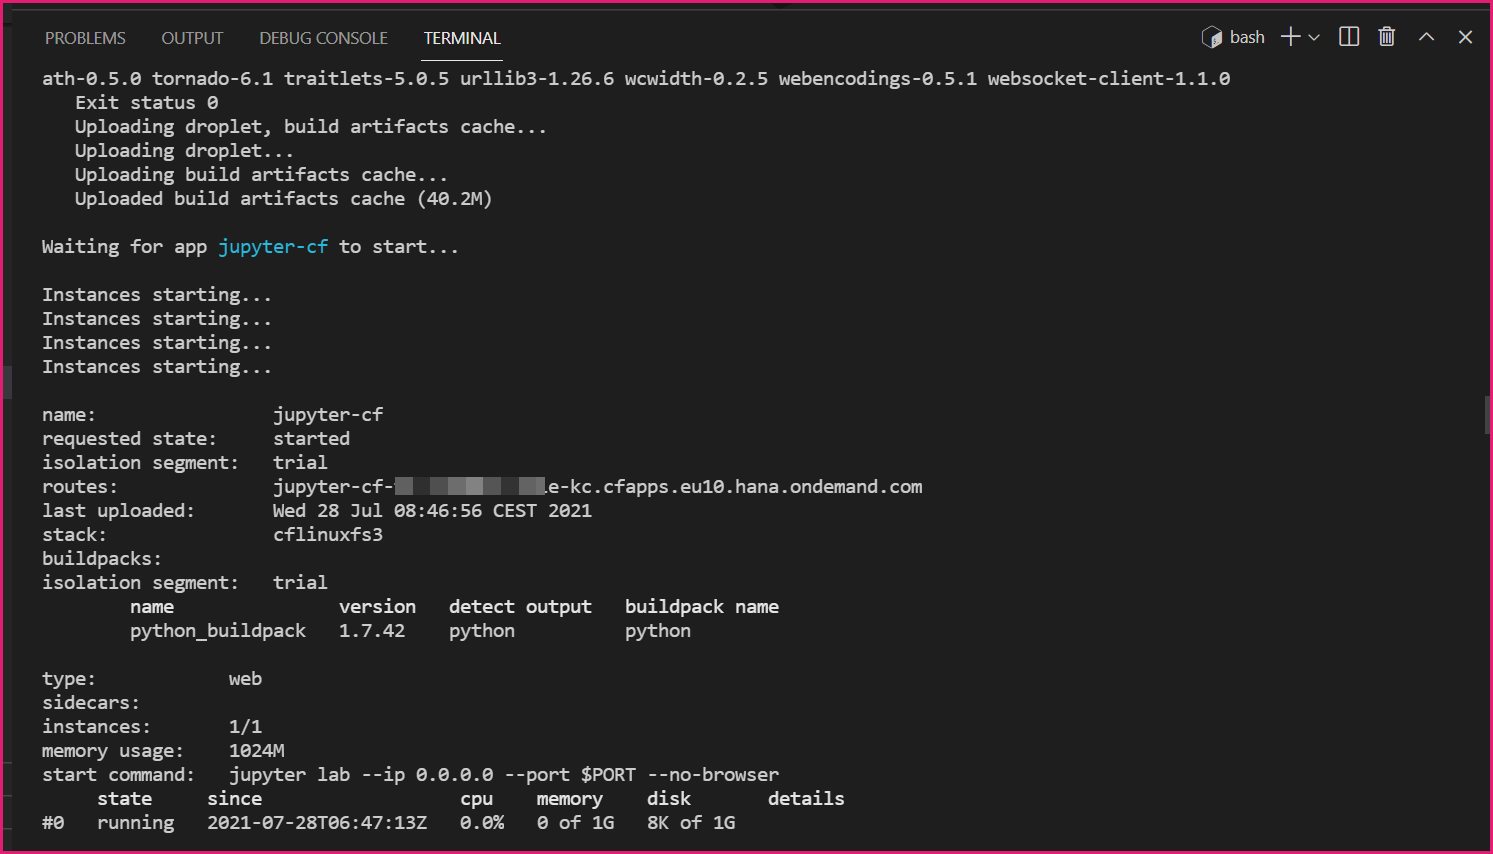
Step 6 : To get your Cloud Foundry route: (example below)
$ cf app jupyter-cf

name:              jupyter-cf

requested state:   started

routes:            jupyter-cf-something-apple-kc.cfapps.eu10.hana.ondemand.com

...
Step 7 : When you open the URL in your browser, provide the token.

Step 8 : Get started with Jupyter


When we first create a new Jupyter Notebook, the
first cell defaults to using code and the kernel we selected at the beginning. Since we started with Python 3, we can run Python code in our cells.
Let’s check it out! We can follow these steps:
- Enter
”print(“SAP BTP”) into the first cell
- Select the cell
- Select “Run”
Here’s what our notebook should look like now:

pip
We can use pip to install Jupyter Notebook using the following command:

Happy learning!

References
https://github.com/jupyterlab
