In this blog post you will learn how to use the newly introduced Language Adaptation oData Service for exporting text bundles to be sent to translators. It will show you how to set the filter parameters for this oData Service to retrieve the desired result. And how to import it again once the texts have been translated either in-house or by external translation agencies.
Introduction
Many
SAP Cloud for Customer (C4C) customers use the Language Adaptation tool for either adapting the terminology according to their needs and/or for translating their custom developments. One main pain point in the past was the Excel Integration that comes with the Language Adaptation. It uses different templates for down- and upload which as a result requires doing copy-paste between them. Furthermore, the Excel export does not entirely support a WYSIWYG behaviour. Means it only considers filter criteria given in the UI table’s filter row but it ignores filter actions, such as ‘Only Show Custom Fields’. As a consequence, what you see in the table is not what you get in the Excel download.
In order to overcome these usability gaps a new oData Service has been developed. It offers much more flexibility in exporting Language Adaptations, such as:
- Export either one or many Language Adaptations in one step.
- Export all collected texts or custom texts only.
- Export only texts that are not yet translated/adapted.
The following chapters will show different use cases for which the oData Service together with the Data Workbench can be used.
Use case 1: Export, translate, and import a single language adaptation with all 4 text types (UI, Code, Message, Report) but with non-translated custom texts only
Go to the Data Workbench workcenter. Go to the Export workcenter view. Prepare the export of the Language Adaptation. Do the selections as shown in the subsequent screen shot.

When you are done, press ‘Next’ and watch the summary. It should show the Language Adaptation header in the first facet and the 4 different text types in the adjacent facets on the right side.

Start the background export process by pressing ‘Export Data’. Go to the ‘Monitor’ workcenter view and wait for the export task to finish. Press on the export zip file and download it to your local file system. Unzip it. It will look like in the following screen shot.

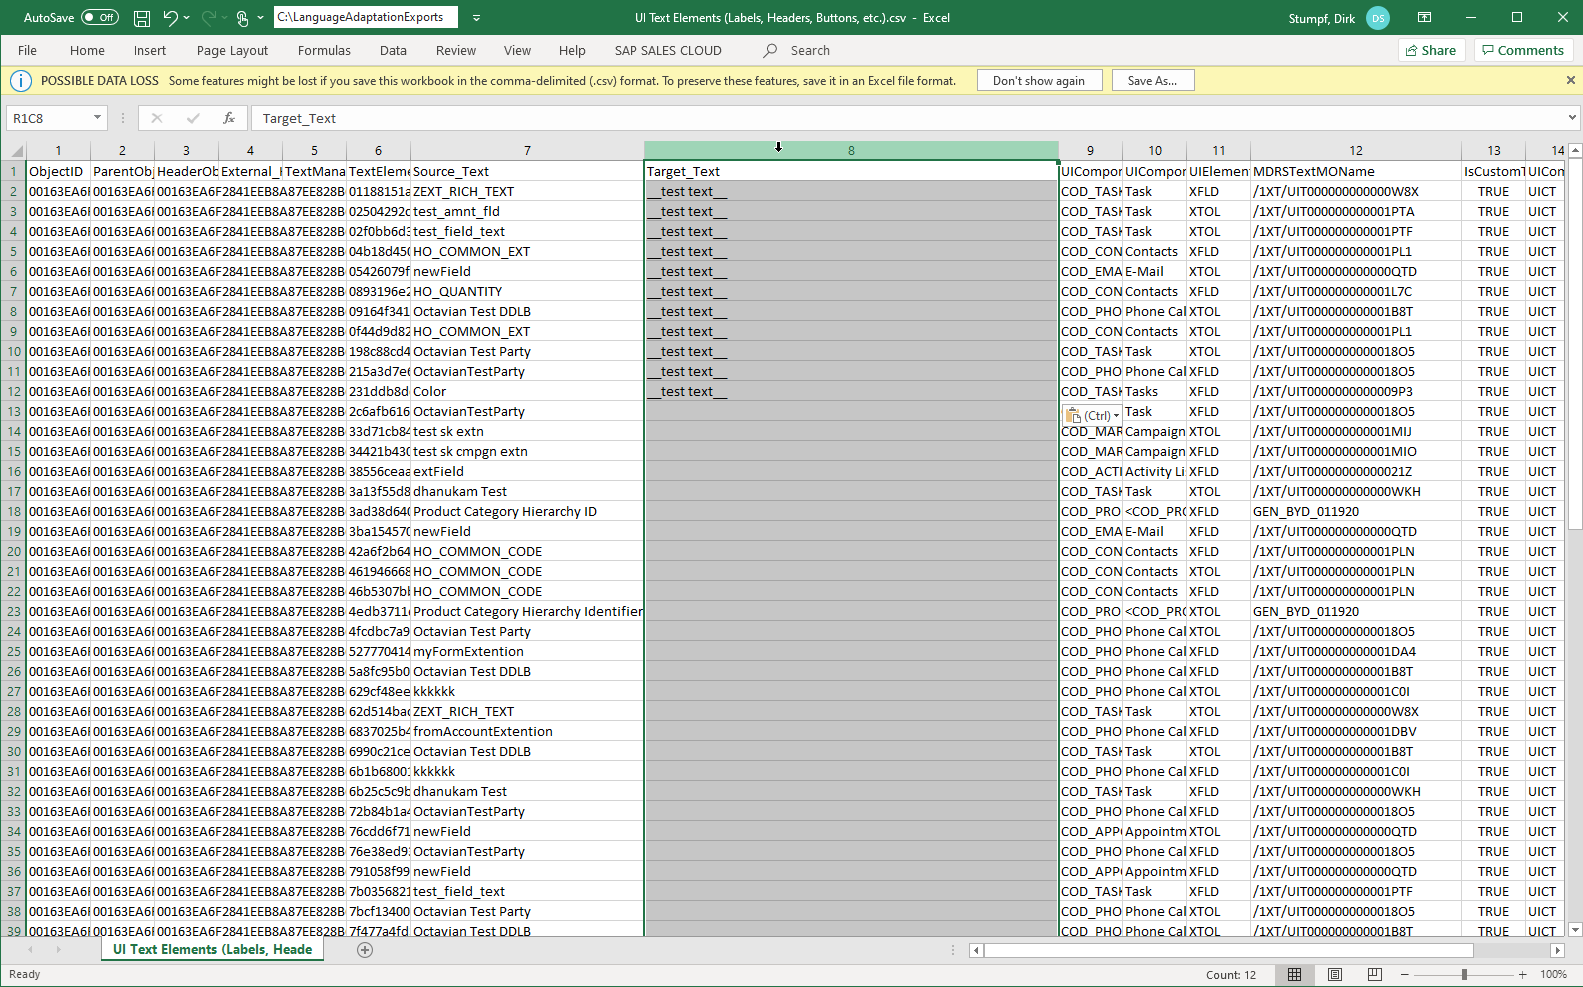
Start with any of the text types being exported, e.g. the UI Texts. In accordance with the declared export selection criteria the csv file will only show custom texts that are not yet adapted/translated.
Translate your custom texts into the ‘Target Text’ column. The example below shows some pseudo ‘__test text__’ translations.
Once you are done with your translations for all given text files, start importing these files back into the system again using the ‘Import’ workcenter view. To do so, select ‘Individual Object’. The Language Adaptation only supports the ‘Update’ operation, neither ‘Insert’ nor ‘Upsert’. Now select a text type of your choice and press ‘Next’.

Press ‘Upload’ and watch the preview.
Press Next and check for a successful data validation.

Submit the data.
Go to the Data Workbench ‘Monitor’ view and wait for the upload to finish.
Make sure there are no errors but only succeeded items.

If errors occurred you can open them as an Excel file and watch the details. Potential reasons for getting errors are described further down in this blog, see the
'Important Hints' section.
Finally open your Language Adaptation and verify that your translations arrived.
Use case 2: Export, translate, and import multiple language adaptations for a distinct target language with non-translated custom texts only
One frequent use case is to send all custom texts originating from key user extensions or PDI developments to translation agencies from time to time. These texts typically are shared across multiple Language Adaptations. But ideally all texts for a particular target language should be collected in one CSV/Excel file per text type. Means having a maximum of 4 files per target language independent from the number of Language Adaptations.
The following example shows a scenario where we have three Language Adaptations with target language = German. We would like to translate all custom fields into German that are not yet translated irrespective which Language Adaptation they belong to.

In order to do so, just follow the steps shown in the screen shots below.
Define filter selection criteria like shown in the following screen shot:

Press ‘Next’ and watch the preview.

Press ‘Export Data’ and go to the Data Workbench Monitor. Watch the Success counter.
Download the zip file. Open the CSV’s and do your translations.
When you are done import your translations by selecting the data file for each text type separately.
Cross check whether the translations arrived in the Language Adaptation.
Important Hints
- Export: Individual Object vs. Complete Business Object
We highly recommend to use the Complete Business Object option only ! Exporting Individual Objects such as UITexts will end up in an exported list without giving the explicit information what Language Adaptations the texts belong to. If you don't do it right it might even lead to exported lists that might by mistake contain texts coming from Language Adaptations with the same source languages but different target languages. Expecting one distinct target language a translator will fill the target texts column with one language. But when being imported later on it will lead to texts having the wrong target language in their Language Adaptation. Only if you are able to give the technical parent key(s) as selection criteria the ‘Individual Object’ option makes sense.
- What data can I change in the CSV file?
- Only the ‘Target Text’ column can be changed. Trying to upload any other changes will lead to error messages.
- UI Texts and Message Texts locked by another Language Adaptation can’t be changed. The standard Export filter criteria will only download texts that are write enabled. In order to export also read-only texts the filter selection criteria ‘Get Read Only Texts’ must be set to ‘True’. The CSV file will now contain all data, the write enabled ones and the read-only texts. But trying to change and import the read-only texts will throw errors.
- How to clear existing translations via data import.
If you want to overwrite existing target texts by empty target texts coming from the import list, don’t forget to switch the ‘Blank Fields’ drop-down to ‘Update’.

Usability Considerations: How to get rid of columns that are not needed for performing the translation.
At the Export preview screen you can de-select columns that are not required for importing back the data later on after the translations have been done.
For example, the two External Key columns are not needed for doing ‘Updates’. And ‘Inserts’ and ‘Upserts’ are anyways not possible for Language Adaptations.
Also, for
UITexts, the UI Type columns is just the code value for the belonging UI Type Text column and can be deselected as well.
If you don’t need the TextID for locating the texts inside the UI by using the Adaptation Mode in order to see where exactly it is located you may deselect that column as well.
Now the list which is downloaded is much easier to handle by external translation agencies.

Similarly, for
Code Texts, you can omit the following columns: the two external keys, the Text Element ID, the Code Type Name, and the IsCustomText. Even though the Code Type Name might be helpful for translators because it gives a hint about the purpose of a code text.
For
Message Texts you can omit the following columns if you don’t need it: the two external keys, Text ID, Message Type, Message Group, and IsCustomText.
And for
Report Texts you might want to omit the following columns: the external keys, the Text ID, and IsCustomText.
Summary
In this blog post you learned how to use the new Language Adaptation oData Service inside the Data Workbench. This should make life easier for you when you want to export the texts of your custom developments to be translated into the languages used at your company.
I want to emphasize the
Important Hints section in this blog post. Please make sure you have read it before using the oData service.
The existing Excel export/import capabilities can still be used but will go into retirement in one of the next releases.
