
- SAP Community
- Products and Technology
- Technology
- Technology Blogs by SAP
- Integrate Google Analytics into SAP Cloud Platform...
Technology Blogs by SAP
Learn how to extend and personalize SAP applications. Follow the SAP technology blog for insights into SAP BTP, ABAP, SAP Analytics Cloud, SAP HANA, and more.
Turn on suggestions
Auto-suggest helps you quickly narrow down your search results by suggesting possible matches as you type.
Showing results for
former_member24
Explorer
Options
- Subscribe to RSS Feed
- Mark as New
- Mark as Read
- Bookmark
- Subscribe
- Printer Friendly Page
- Report Inappropriate Content
12-11-2020
2:31 PM
In this blog post we will integrate Google Analytics (GA) into the SAP Fiori Launchpad (FLP) site to track the data usage of SAP Fiori apps.
Following information might be interesting:
To track the data usage, we will develop a Shell Plugin and integrate it into a FLP site on SAP Cloud Platform, Cloud Foundry environment.
We will use the AppLifeCycle Service to attach the app loaded event. Every time a user opens an application inside the FLP the Shell Plugin sends a request to GA with the respective information.
SAP Business Application Studio is the development environment.
1. Create or sign in to your GA account: https://www.google.com/analytics
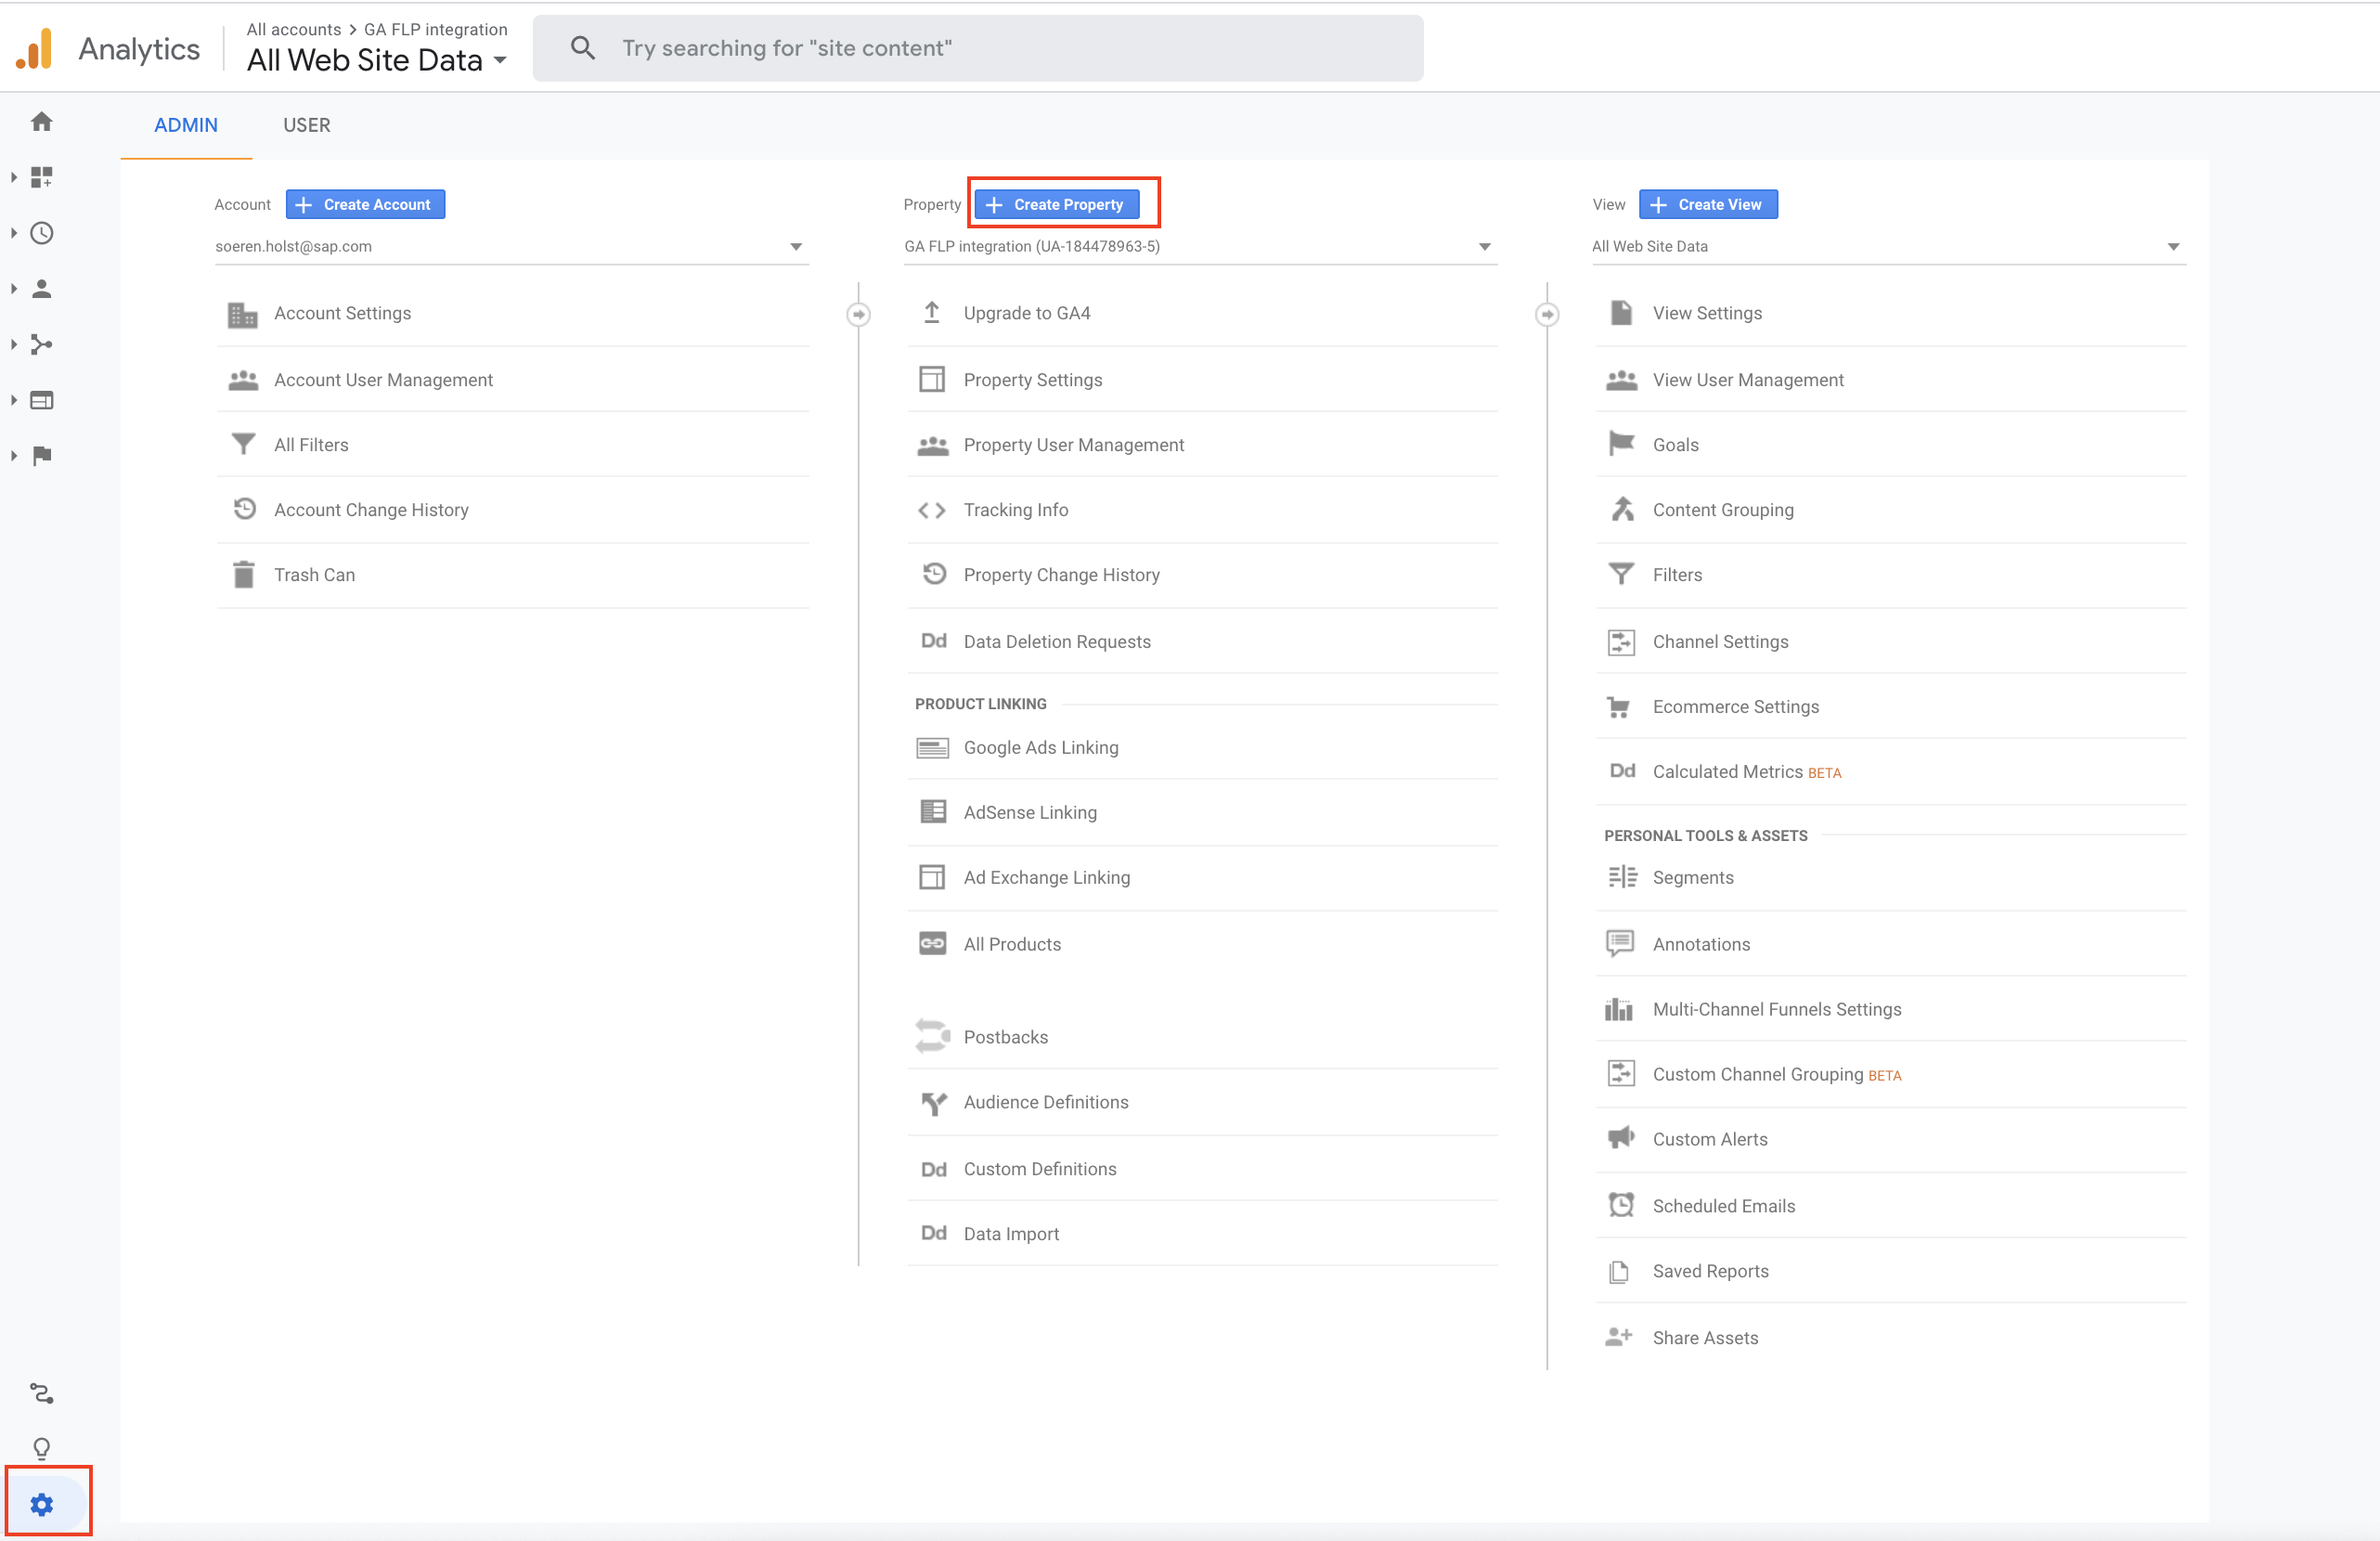
2. Create a property in the admin area.
3. Enter a property name and select “Show advanced options”.
4. Switch on “Create a Universal Analytics property”.
5. Copy the URL of your FLP site without the hash (Open the Launchpad subscription in your SAP Cloud Platform, Cloud Foundry environment account and click on the settings button of you FLP site).
6. Click on next and save the property.
7. Select “All accounts” on the top-left side and choose the property with the Tracking-ID starting with UA in the second line.
8. Note the Tracking-ID for later.
1. To develop the Shell Plugin, please follow steps 1-3 of my previous blog post Developing a Shell Plugin for SAP Fiori Launchpad on SAP Cloud Platform, Cloud Foundry environment w...
2. Replace the code of the Component.js with following:
3. Build and deploy the project and assign the Shell Plugin to your FLP site as described in my previous blog post in step 4-6.
Open the FLP site from your Site – Manager and navigate to any app.
Open GA and select Realtime - Overview on the left side. You will see the real-time activities in your FLP.
Following information might be interesting:
- Usage of specific SAP Fiori apps in their FLP sites
- Number of unique users, new users and user sessions
- Distribution of those according to Geo-location, accessed browsers, devices and languages
To track the data usage, we will develop a Shell Plugin and integrate it into a FLP site on SAP Cloud Platform, Cloud Foundry environment.
We will use the AppLifeCycle Service to attach the app loaded event. Every time a user opens an application inside the FLP the Shell Plugin sends a request to GA with the respective information.
SAP Business Application Studio is the development environment.
Prepare GA
1. Create or sign in to your GA account: https://www.google.com/analytics
2. Create a property in the admin area.
3. Enter a property name and select “Show advanced options”.
4. Switch on “Create a Universal Analytics property”.
5. Copy the URL of your FLP site without the hash (Open the Launchpad subscription in your SAP Cloud Platform, Cloud Foundry environment account and click on the settings button of you FLP site).

6. Click on next and save the property.
7. Select “All accounts” on the top-left side and choose the property with the Tracking-ID starting with UA in the second line.


8. Note the Tracking-ID for later.
Create the Shell Plugin
1. To develop the Shell Plugin, please follow steps 1-3 of my previous blog post Developing a Shell Plugin for SAP Fiori Launchpad on SAP Cloud Platform, Cloud Foundry environment w...
2. Replace the code of the Component.js with following:
//Boostrap Google Analytics

(function(i, s, o, g, r, a, m) {

    i['GoogleAnalyticsObject'] = r;

    i[r] = i[r] || function() {

        (i[r].q = i[r].q || []).push(arguments)

    }, i[r].l = 1 * new Date();

    a = s.createElement(o), m = s.getElementsByTagName(o)[0];

    a.async = 1;

    a.src = g;

    a.crossorigin= "anonymous";

    m.parentNode.insertBefore(a, m)

})(window, document, 'script', 'https://www.google-analytics.com/analytics.js', 'ga');


sap.ui.define([

    "sap/ui/core/UIComponent"

], function (UIComponent) {

    "use strict";


    return UIComponent.extend("ns.MyShellPluginModule.Component", {


        metadata: {

            manifest: "json"

        },


        /**

         * The component is initialized by UI5 automatically during the startup of the app and calls the init method once.

         * @public

         * @override

         */

        init: function () {

            UIComponent.prototype.init.apply(this, arguments);

            this.initGoogleAnalytics();

        },


        initGoogleAnalytics: function() {

            //Get GA tracking ID from Portal configuration

            var trackingID = "UA-********";

            //Initalize the tracker

            ga('create', trackingID, 'auto');

            this.registerPortalSiteNavigationEvents();

        },


        registerPortalSiteNavigationEvents: function(){

            //Track app and page navigation events

            var oAppLifeCycle = sap.ushell.Container.getService("AppLifeCycle");

            oAppLifeCycle.attachAppLoaded(function(oEvent){

                var oParameters = oEvent.getParameters();

                oParameters.getIntent().then(function(event){

                    var sSenanticObject = event.semanticObject;

                    ga('send', 'pageview', {

                        'page': sSenanticObject

                    });

                });


            }.bind(this));

        }

    });

});
3. Build and deploy the project and assign the Shell Plugin to your FLP site as described in my previous blog post in step 4-6.
Open the FLP and check GA
Open the FLP site from your Site – Manager and navigate to any app.

Open GA and select Realtime - Overview on the left side. You will see the real-time activities in your FLP.

Labels:
2 Comments
You must be a registered user to add a comment. If you've already registered, sign in. Otherwise, register and sign in.
Labels in this area
-
ABAP CDS Views - CDC (Change Data Capture)
2 -
AI
1 -
Analyze Workload Data
1 -
BTP
1 -
Business and IT Integration
2 -
Business application stu
1 -
Business Technology Platform
1 -
Business Trends
1,661 -
Business Trends
87 -
CAP
1 -
cf
1 -
Cloud Foundry
1 -
Confluent
1 -
Customer COE Basics and Fundamentals
1 -
Customer COE Latest and Greatest
3 -
Customer Data Browser app
1 -
Data Analysis Tool
1 -
data migration
1 -
data transfer
1 -
Datasphere
2 -
Event Information
1,400 -
Event Information
64 -
Expert
1 -
Expert Insights
178 -
Expert Insights
273 -
General
1 -
Google cloud
1 -
Google Next'24
1 -
Kafka
1 -
Life at SAP
784 -
Life at SAP
11 -
Migrate your Data App
1 -
MTA
1 -
Network Performance Analysis
1 -
NodeJS
1 -
PDF
1 -
POC
1 -
Product Updates
4,577 -
Product Updates
325 -
Replication Flow
1 -
RisewithSAP
1 -
SAP BTP
1 -
SAP BTP Cloud Foundry
1 -
SAP Cloud ALM
1 -
SAP Cloud Application Programming Model
1 -
SAP Datasphere
2 -
SAP S4HANA Cloud
1 -
SAP S4HANA Migration Cockpit
1 -
Technology Updates
6,886 -
Technology Updates
403 -
Workload Fluctuations
1
Related Content
- Consolidation Extension for SAP Analytics Cloud – Automated Eliminations and Adjustments (part 1) in Technology Blogs by Members
- 10+ ways to reshape your SAP landscape with SAP BTP - Blog 4 Interview in Technology Blogs by SAP
- 10+ ways to reshape your SAP landscape with SAP Business Technology Platform – Blog 4 in Technology Blogs by SAP
- Top Picks: Innovations Highlights from SAP Business Technology Platform (Q1/2024) in Technology Blogs by SAP
- SAP Successfactors Implementation and Maintenance in Projects in 2024 in Technology Blogs by Members
Top kudoed authors
| User | Count |
|---|---|
| 12 | |
| 10 | |
| 9 | |
| 7 | |
| 7 | |
| 7 | |
| 6 | |
| 6 | |
| 5 | |
| 4 |