Learn how to extend and personalize SAP applications. Follow the SAP technology blog for insights into SAP BTP, ABAP, SAP Analytics Cloud, SAP HANA, and more.
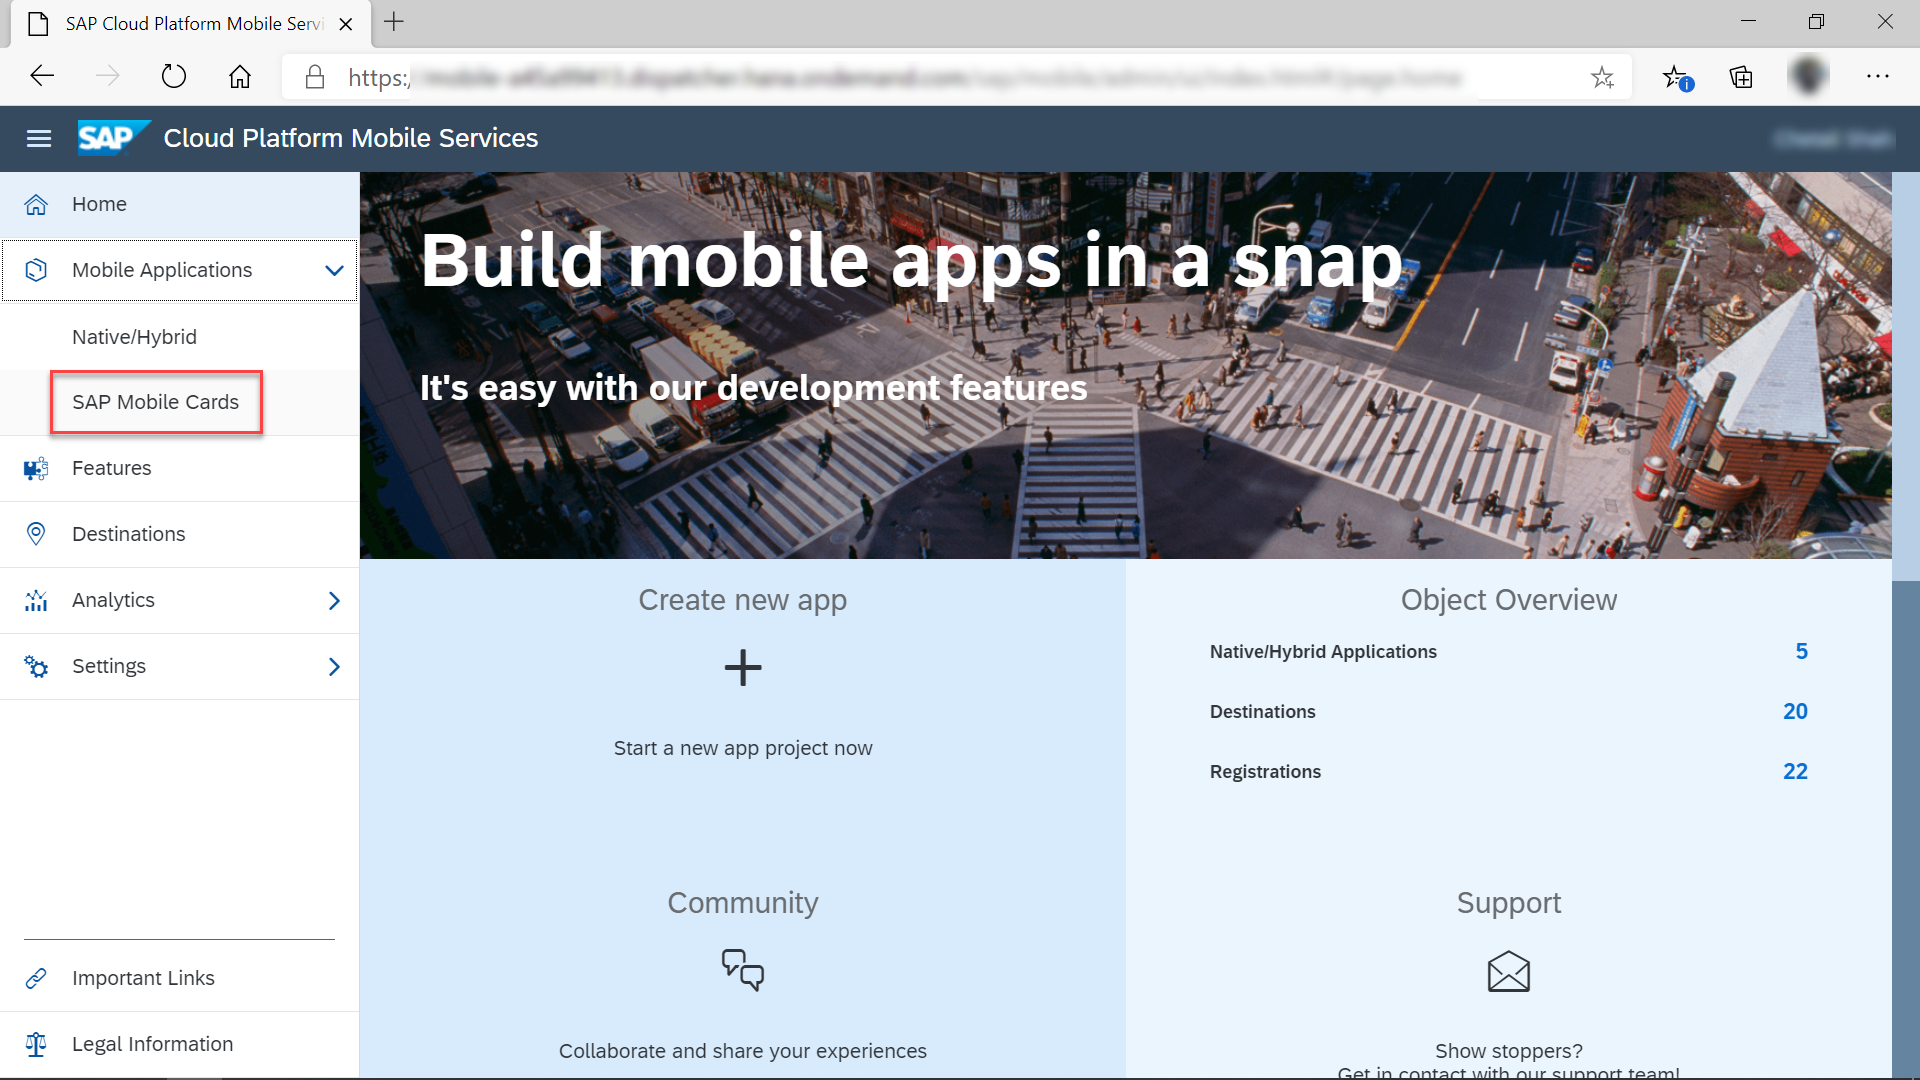
Open your mobile services cockpit (neo environment) and under Mobile Application click on SAP Mobile Cards.
Click on Features tab and click on Connectivity.
Click on + icon.
Search for the destination ‘sap.edm.sampleservice.v2’ and click the checkbox and click on OK.
You can see the destination added.
Click on create card icon under card templates tab and provide the required information mentioned below.
Name
Automatic Instance Card
Version
1.0
Template Source
Template Manager
HTML Template
Sample Sales Order Template
Destination
com.sap.edm.sampleservice.v2
Click Save.
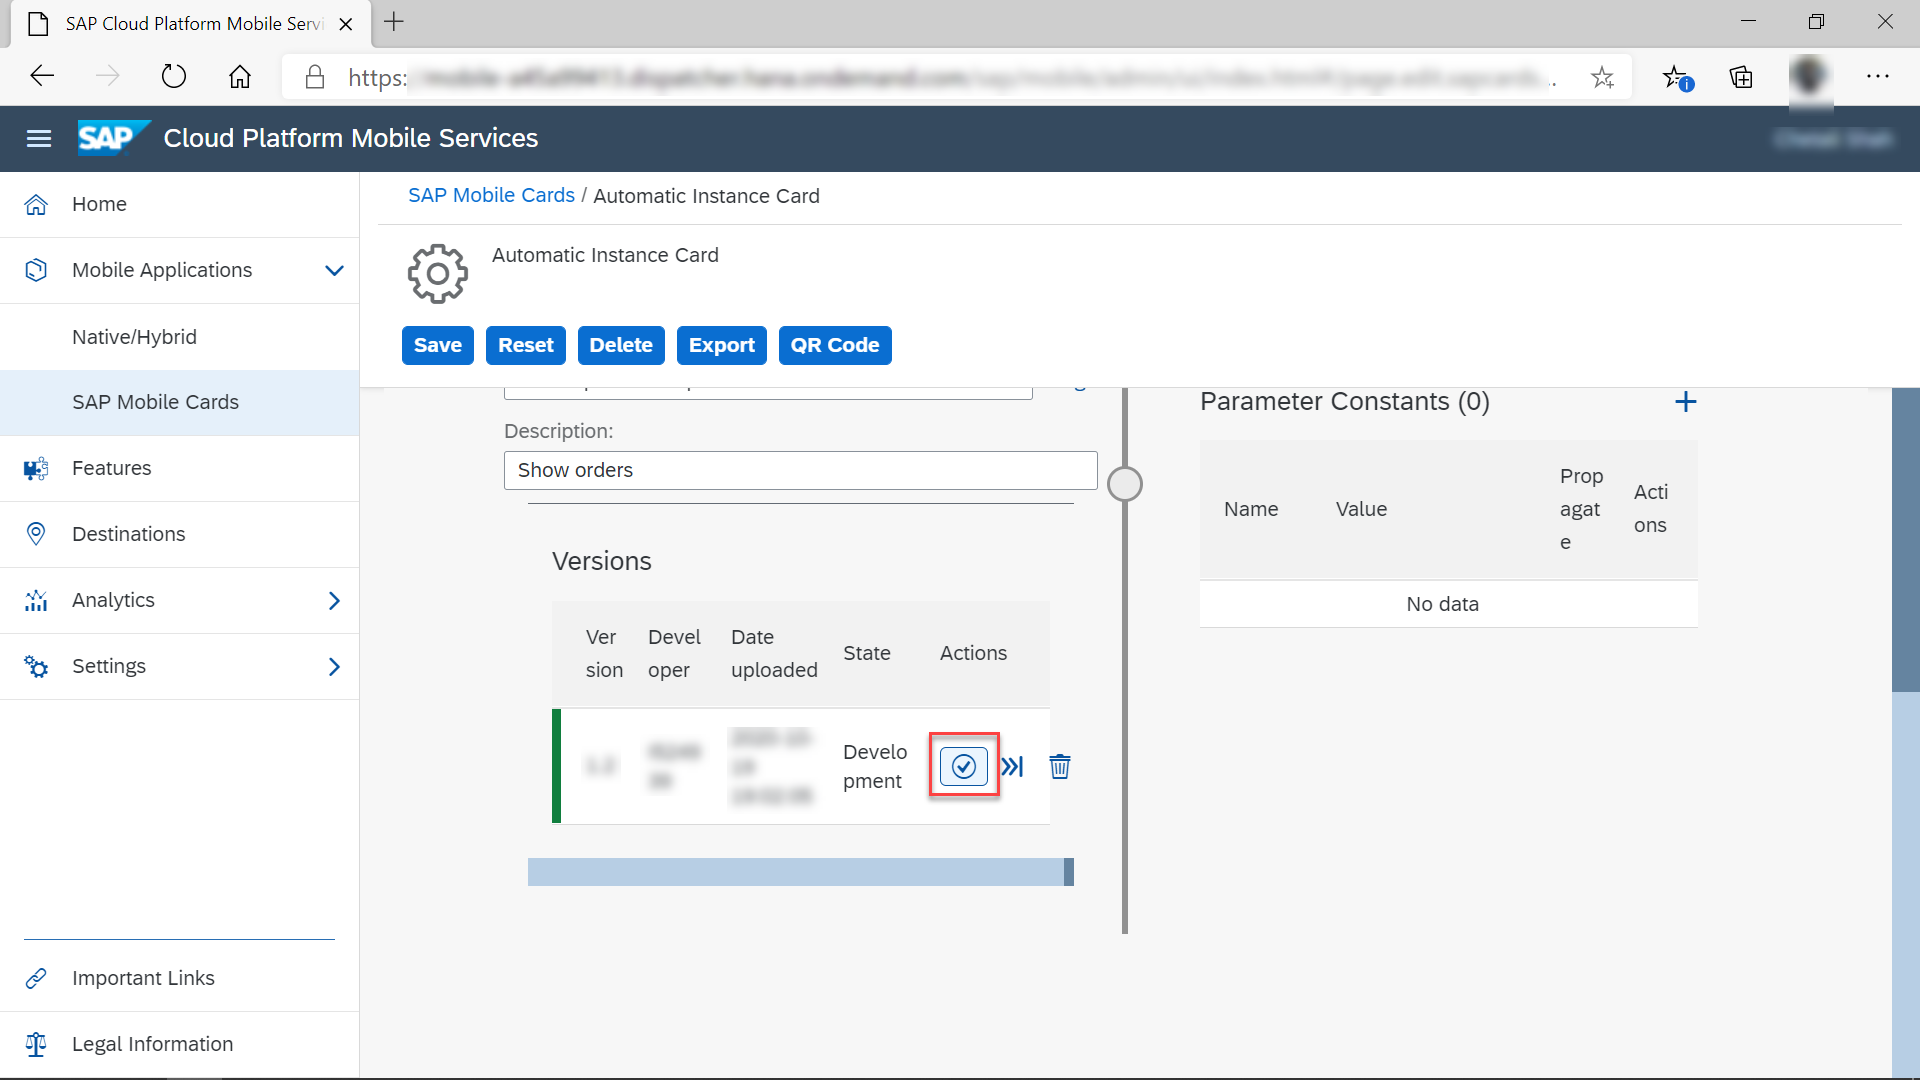
Click on ‘Automatic Instance Card’ in the Card Templates and set the card as productive as shown in the image given below.
Content Action Card
Click on create card icon and provide the required information mentioned below.
Name
Content Action Card
Version
1.0
Template Source
Template Manager
HTML Template
Sample Product Template
Destination
com.sap.edm.sampleservice.v2
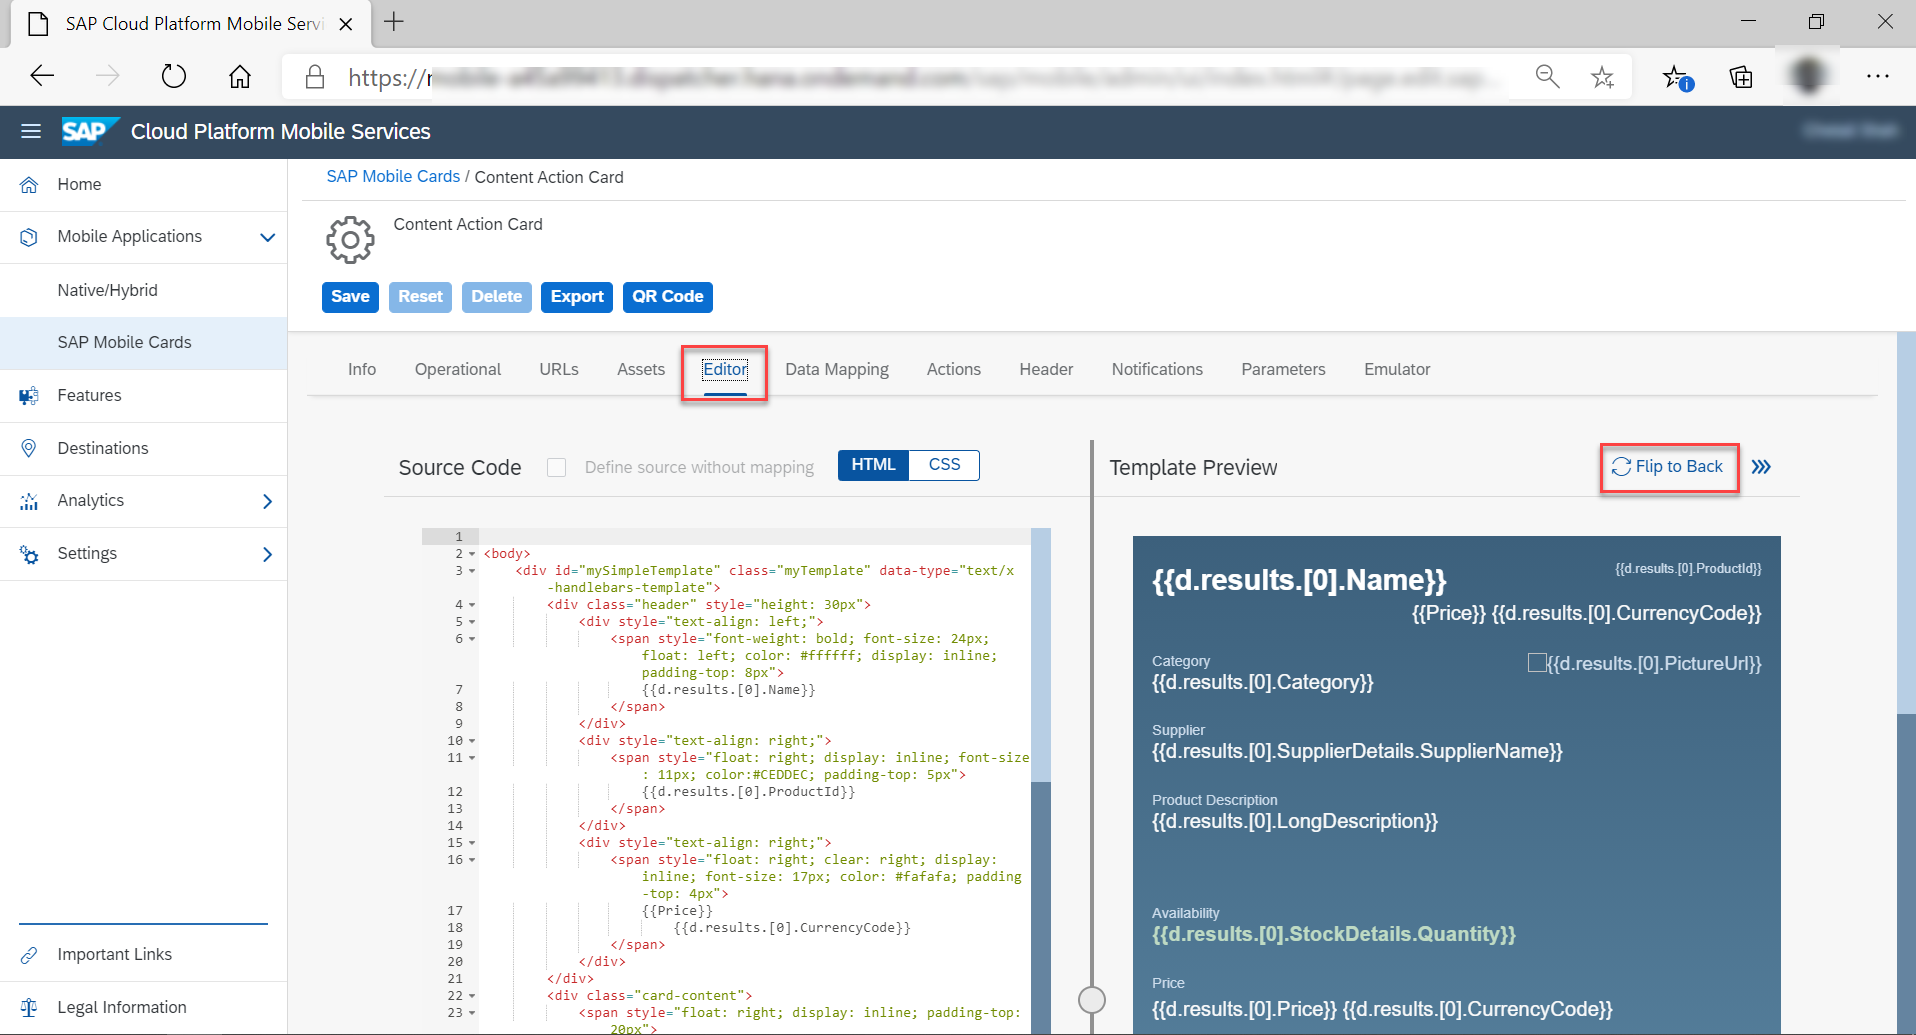
Click on the Editor tab and click on Flip to Back.
Replace the Supplier Email span with the following code as shown below.
Click on ‘Content Action Card’ in the Card Templates and set the card as productive.
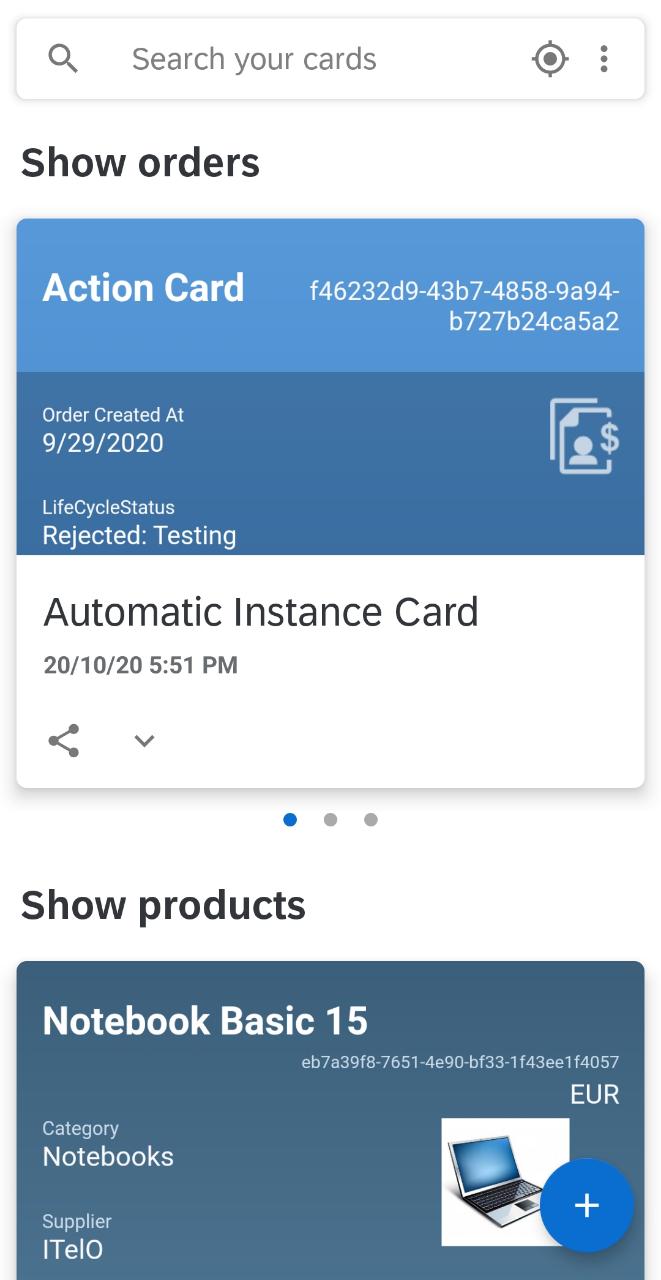
You can see the Mobile Cards you created on your mobile device:
Now, let’s migrate these cards from Neo to Cloud Foundry:
In the SAP Mobile Cards (Neo environment), click on Configurations tab.
To download all your mobile card configurations, click on ‘Export the entire system’. The exported configuration is encrypted and stored on your local machine.
Now, go to your Mobile Services Cockpit (Cloud Foundry environment) and navigate to SAP Mobile Cards -> Features -> Mobile Connectivity.
Add the destination ‘com.sap.edm.sampleservice.v2’ under connectivity. NOTE: In a real-world scenario, the destinations consumed are different. So, you will have to create all the destinations that your mobile cards will be using which is present in the Neo environment.
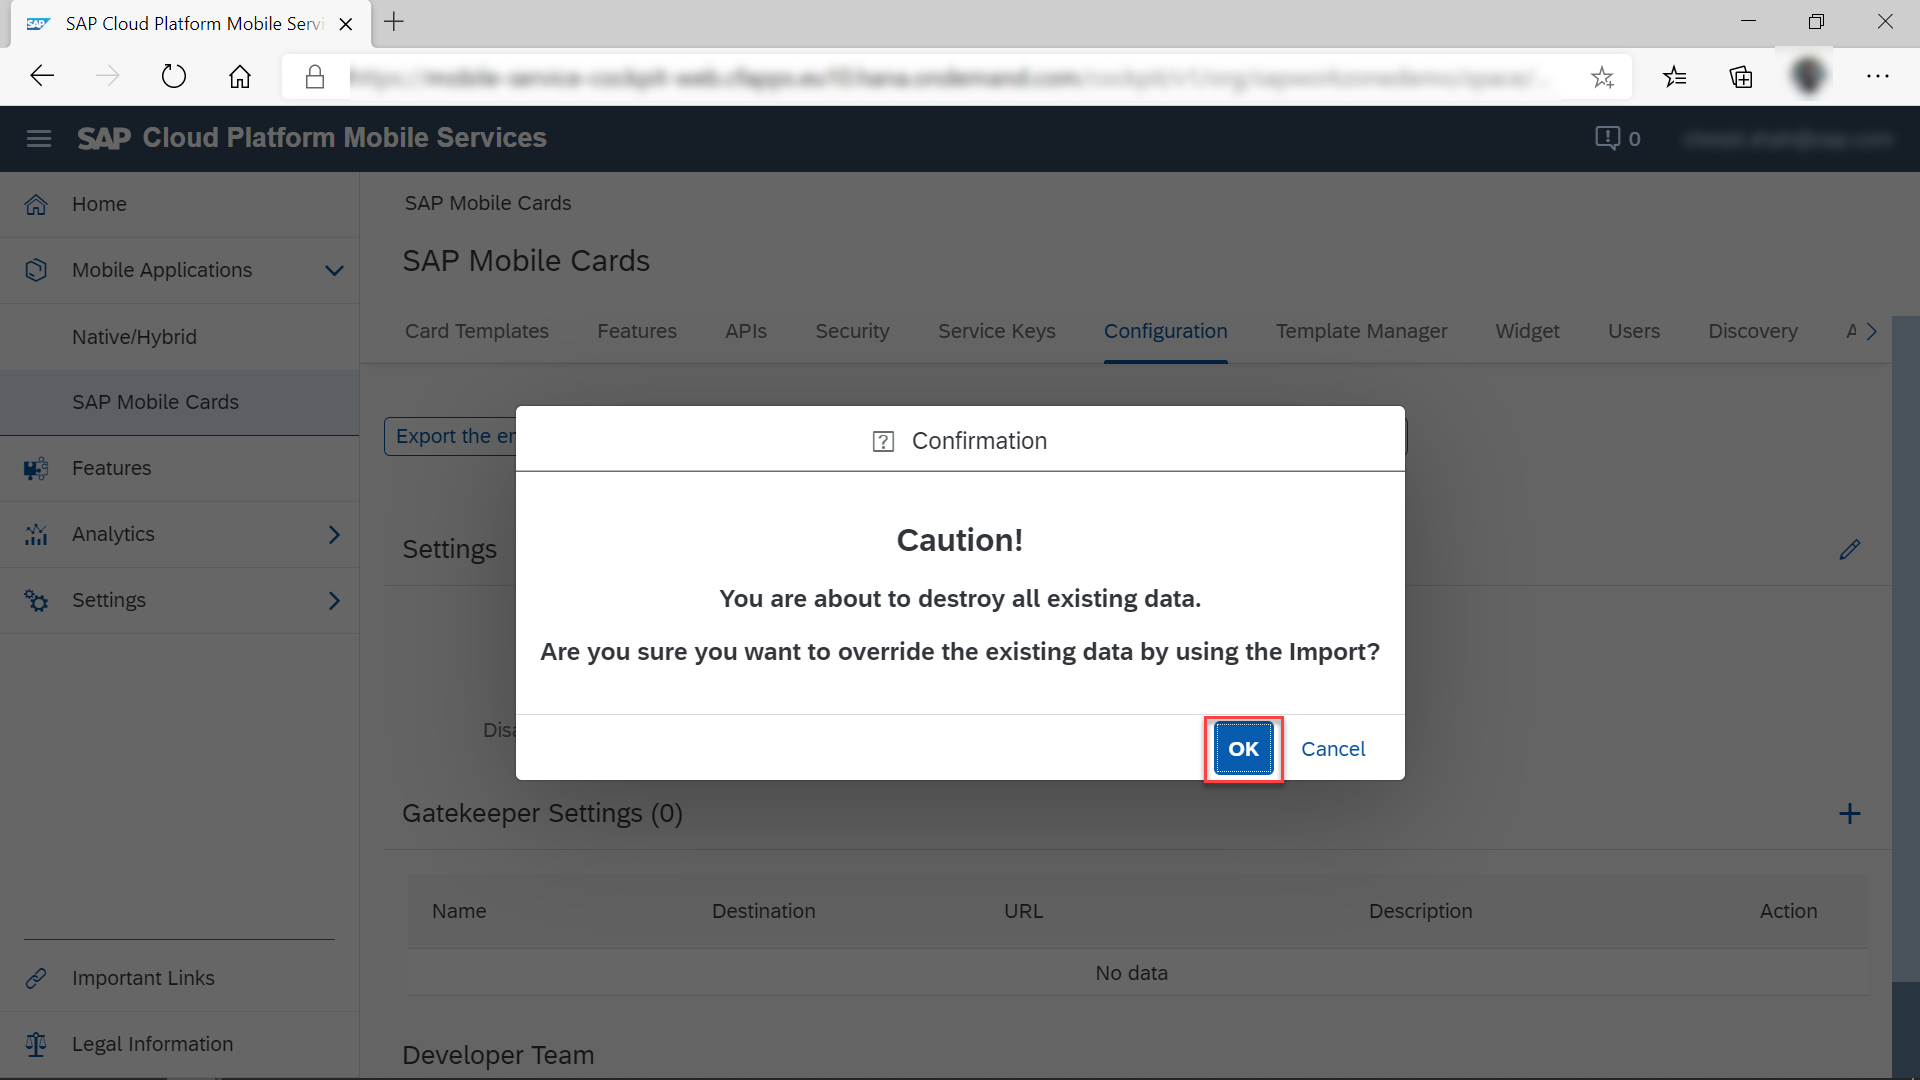
To import all your mobile card configurations into your Cloud Foundry environment, Go to SAP Mobile Cards -> Configuration and click on ‘Import an entire system’.
Your cards are successfully migrated from your Neo to your Cloud Foundry.
You need to reset your app and then scan the QR code from the Cloud Foundry environment and login.
You can see the Mobile Cards migrated from Neo to Cloud Foundry on your mobile device:
Now you have mobile cards migrated to SAP Cloud Platform running on Cloud Foundry with minimal number of steps.
To know more about the mobile cards, you can visit: