Intelligent Robotic Process Automation: Basic Scen...
Technology Blogs by SAP
Learn how to extend and personalize SAP applications. Follow the SAP technology blog for insights into SAP BTP, ABAP, SAP Analytics Cloud, SAP HANA, and more.
This blog attempts at exploring some of the options available in SAP Intelligent RPA and creating a small scenario that gives some insight into the topic especially for a new developer.
We will login to a Fiori App. Do some search on the screen and then eMail the result to the user.
Prerequisite:
You should have the below installed on your system
>>Desktop Studio
>>Desktop Agent
>>Access to Cloud Platform Cockpit. In the subscription tab SAP Intelligent RPA should have been enabled.
Give some Project Name , Title and Client Name then press Save.You can change the default location for the project files being saved here
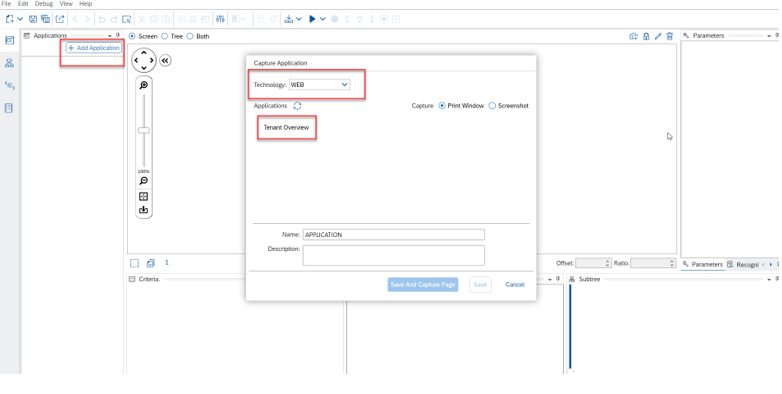
Once project is created press on Add Application.
In the add application window we have selected technology as Web as we are capturing a web page here. Select the application you wish to capture and press Save and Capture Page.
Once capture page pop up comes you can CTRL+HOVER your web page to capture it.
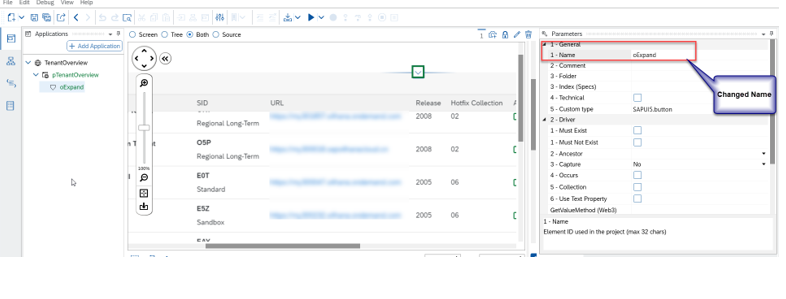
Once web page is captured declare criteria for the application and page both. Also one very important step is to select SAPUI5 in Custom Type drop down at application level as we are doing this for a Fiori app.
In my case Expand button is present. I want to use that to see the filter bar. Select the expand button and right click on it to select Associate to New Item. I am not changing the criteria selected by default here.
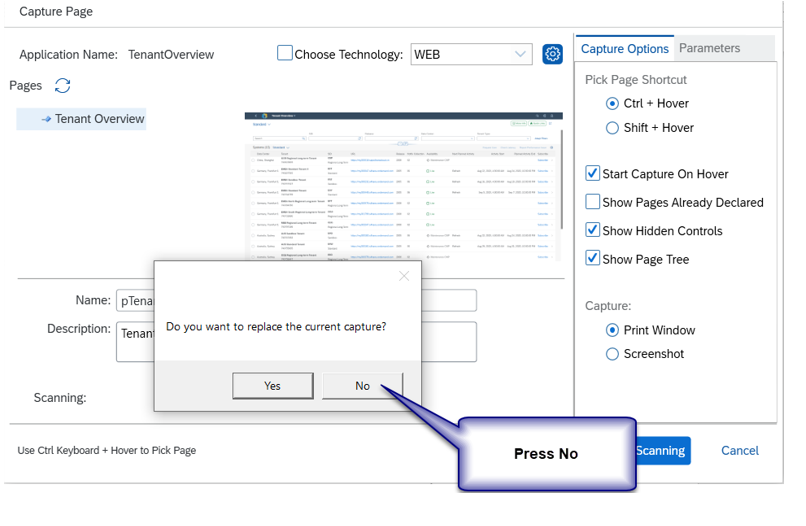
Click on the expand button in the app. Then right click on the page in Desktop studio and select Capture this page again.
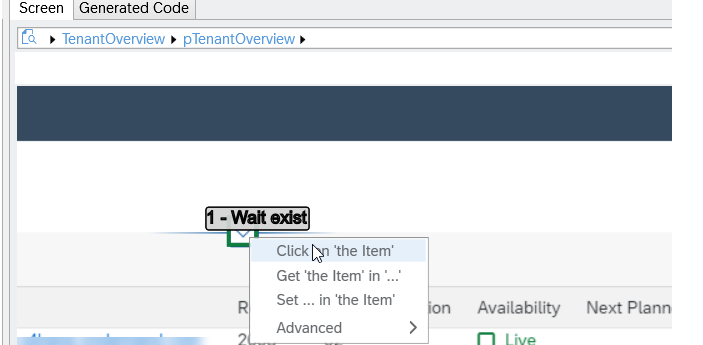
Select Search and right click to select “Associate to New Item”.
Right click on Share Icon and select “Associate to New Item”
Right click on Send Email Text from the option and select “Associate to New Item”
Click on Send Email on the application window in the browser. Now we will capture the outlook window that appears.
Before capturing this window go to scripts tab and Select “Include Library Script”. On the pop up window check that Outlook Integration is selected.
Now click on Add Application again.From the technology drop down Select UI Automation.Select the outlook app.
On the captured page in desktop studio select To .Right click and select ‘Associate to New Item’
Right click on Send and click on Associate to New Item.
Before proceeding further check that criteria for all these captured elements is there.
We will change to workflow perspective and create a new workflow.
Drag and drop Start Application from activities. Select the application you want to start. TenantOverview in my case.
Drag and drop Tenant Overview page.
Double click and enter this third step. We will select screen shot 1 and make changes for Expand button
Select “Search” bar.Right click and select “Set in the Item”.
Please define Source data.I had set it to some default value.
Added a delay of 4000ms.
Define further clicks as in screen shot
Next drag and drop outlook app in our workflow.
Enter the step for outlook. Here we will try to set the email address for the recipient.
Define the Click activity for Send.
And we are done!!!
In real time scenarios you may have to add many conditions e.g. what should be the behavior if the application is already running etc. This was only created for our understanding purpose.
Hopefully this is helpful for others who are new to this topic like me.