Developers can extend the functionality of SAP Fiori launchpad using Shell Plugins. The concept of plugins allows SAP Fiori implementers to hook into the SAP Fiori Shell and add new elements like menu items, custom footers, header extensions and many more.
In this blog post I will show you how to extend your SAP Fiori launchpad on SAP Cloud Platform, Cloud Foundry environment.
As a SAP Fiori developer you might be familiar with the 'SAP Fiori Launchpad Site Module'. Since this is not available for SAP Cloud Platform, Cloud Foundry environment, I would like to show you how to develop a simple Shell Plugin anyway with SAP Web IDE.
In this example we will add a button to the SAP Fiori launchpad header, which opens a pop-up with some basic information.
Following steps are necessary to deploy your shell plugin successfully to SAP Cloud Platform, Cloud Foundry environment.
1. Prepare SAP Web IDE for SAP Cloud Platform, Cloud Foundry environment development
Open SAP Web IDE Full-Stack via your SAP Cloud Platform, Neo environment subaccount.

Enter API Endpoint, Organization and Space for SAP Cloud Platform, Cloud Foundry environment in SAP Web IDE settings.

You can find this information in the overview of your SAP Cloud Platform, Cloud Foundry environment subaccount.

2. Develop your Shell Plugin
2.1. Create a Multi Target Application (MTA)
Workspace -> New -> Project from Template -> Multi-Target Application.


2.2 Create a HTML5 Module
Since there is no creation wizard for a Shell Plugin, we create an HTML5 Module and will change the project structure afterwards.
MyMultiTargetApplication -> New -> HTML5 Module -> SAPUI5 Application.


Open the Application Settings and change Project Type from SAP Fiori to Plugin.
My Shell Plugin -> Project -> Project Settings.

Delete the unneeded folders controller, css, model, view and file index.html in webapp directory.
For the Shell Plugin source code you can either use the code from an existing plugin, or you can create a 'SAP Fiori Launchpad Plugin' (for SAP Cloud Platform, Neo environment) and grab this coding.
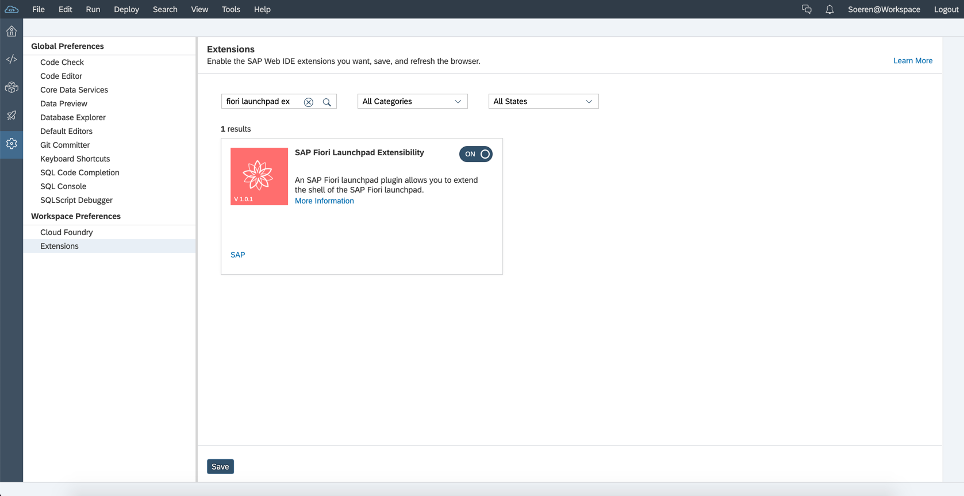
Please make sure you activated the 'SAP Fiori Launchpad Extensibility' Extension in your SAP Web IDE settings.
Workspace -> New -> Project from Template -> SAP Fiori Launchpad Plugin.


Copy the methods init() and _getRenderer() from Component.js of your created 'SAP Fiori Launchpad Plugin' and paste them into the Component.js of your HTML5 module in the MTA.

Adapt the manifest.json of your HTML5 module:

2.3 Create a SAP Fiori Launchpad Site Module
Workspace -> New -> SAP Fiori Launchpad Site Module.


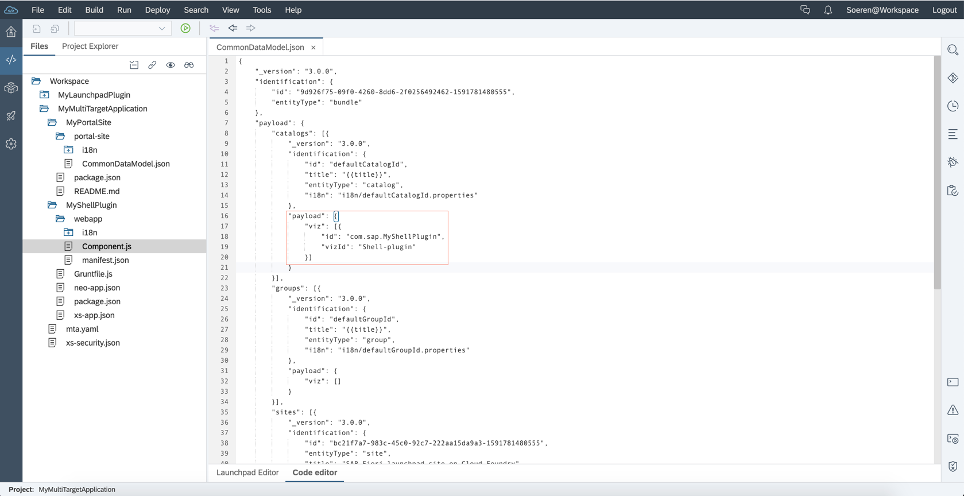
Add the HTML5 module component ID as a Catalog to the portal sites CommonDataModel.json
3. Build and deploy MTA project
3.1 Start build process

3.2 Start deploy process
The folder mta_archives is created after the build process has been successfully completed.
mta_archieves -> MyMultyTargetApplication_0.0.1.mtar -> Deploy -> Deploy to SAP Cloud Platform.
Please note that this may take a few minutes.

4. Run Launchpad Site with integrated Shell Plugin
Open SAP Cloud Platform Cockpit and navigate to the used space.
The App Router, in this case mymultitargetapplication-approuter should already be running. Select it and open the Application Routes.

You should see a SAP Fiori launchpad site with an additional button top left.

I hope this blog post provides the necessary information to develop and deploy your Shell Plugins successful to SAP Cloud Platform, Cloud Foundry environment. Please leave a comment if you have further questions.
If you prefer using SAP Business Application Studio please check
this blog post.
