Introduction
Qualtrics is a great tool for building and distributing surveys related to different operations. In the previous blog post we have seen how to integrate Qualtrics surveys with our back end services. Now, lets discuss a new use case. What if we have to calculate score of a survey response and send it back as well. These scores are calculated based on custom weightage assigned to different answers of a question. In this blog post we will explore Qualtrics scoring feature and see how to get back the score. This blog post is a part of my Qualtrics technical
series
Requirements
- Qualtrics Production account. Trial account doesn’t provide actions and triggers which will be used in this case.
- A simple back end service to test the integration. I have deployed a Python flask service that just prints the data received from Qualtrics.
- Basic Knowledge of Qualtrics like creating surveys, survey flows etc.
Process
So, with all that defined, lets get started with the actual thing. There are four main steps that we have to perform to calculate the score of a survey and push the data. But before that lets check the demo service controller which is as follows.
from flask import Flask, request, jsonify

from waitress import serve

import json

import os


app = Flask(__name__)

port = int(os.getenv("VCAP_APP_PORT", 9000))


@app.route('/')

def check_health():

    return jsonify(

        status=200,

        message="Up"

    )


@app.route('/showSurveyData', methods=['POST'])

def show_survey_data():

    data = json.loads(request.get_data())

    print(data)

    return jsonify(

	    status = 200,

	    results = data

    )


serve(app, port=port)
As you can see, we just have two end points. One for health check and the other one for displaying the survey data pushed back to the service. You can use your own service here to do more with the data. O
ne thing to mention, the Qualtrics instance we are using is on public cloud. So it can only access services that are deployed on public cloud. That’s why I have deployed this service on hanatrial account for now.
Survey
In this demo, we are using the same survey from previous blog post which contains only 2 questions for simplicity as follows.

Scoring
Now, lets assign some weightage to the answers of these questions. To access the scoring portal, click the gear icon under any question and click on "
Scoring" as follows.

In the scoring portal we can easily assign weights to each answer. In this case I have assigned '1' to each of the slider. Because, in case of slider the formula to calculate weight is:
weight_of_answer = weight_of_slider * slider_value
So in this case as weight of slider is '1', so the calculated weight from the slider will just be equal to the slider value. The weights will look as follows.

Once, weights are assigned, we can click on the "
Back to Editor" button on top to go back to the survey layout.
Embedding Weight
Once the weights are assigned, Qualtrics will automatically calculate the weight for each answer and add them together at the end to get the total score of the survey. Now, we need to define some embedded variable on Qualtrics which will store this calculated score. So that we can access it later on. For this we have to create an "
Embedded Data" block where we will create one embedded variable.
To add one "
Embedded Data" click on "
Survey Flow" button in the Survey tab and add one embedded data block as follows.

In this block, I have specified an embedded variable called "
weight" which stores the "
Score" metric calculated by Qualtrics as follows.

Once done, we can save the survey flow and get back to the Survey tab. The Embedded block should look like this now.

Actions
We have an embedded variable which will store the response scores for each response. No, we can also push this score along with other survey data using an action as shown in the previous blog post. This time we will add another item called "
score" and assign embedded field "
weight" to the score as follows.
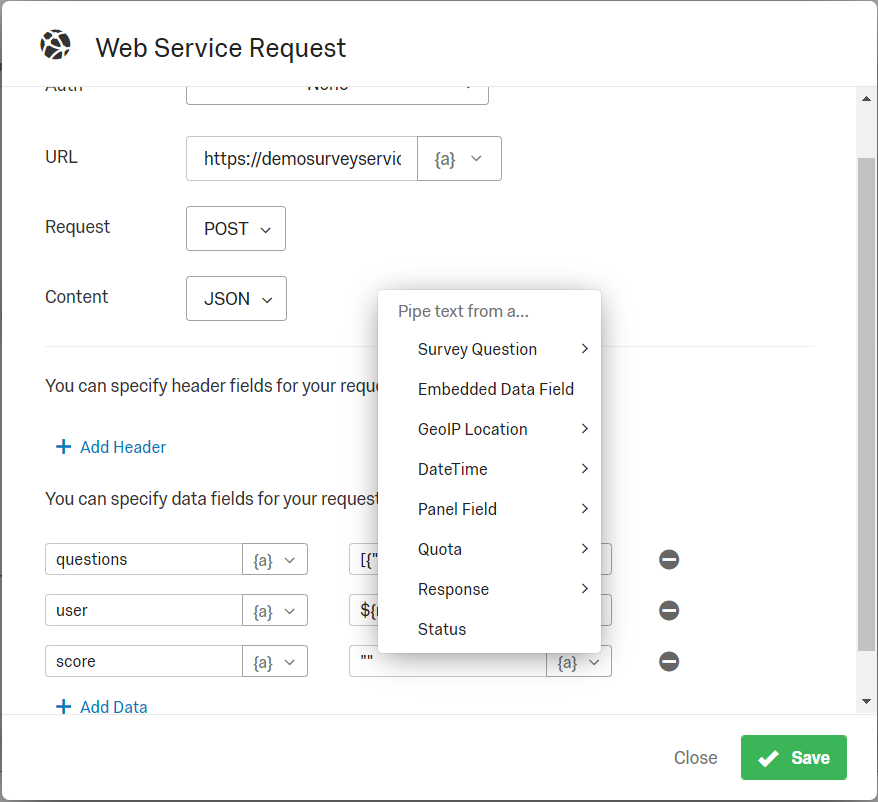
Once added the task will look as follows.

Now, we can save the task and
now most importantly we have to publish this survey by going back to the Survey tab.
Testing
To test this application, we can simply open the preview mode and complete the survey. Now, if we check the logs of our service we should be able to see the score along with rest of the survey data as follows.

And this concludes the topic. If you really liked it make sure to leave your feedback or suggestions down below.
Important Links
Next Blog post: How to perform sentiment analysis on Qualtrics and push sentiment data back to a service - Qualtrics...
Previous Blog Post: How to push Qualtrics Survey Responses to back end service - Qualtrics Technical Part 1
Entire Series: Qualtrics Technical Blog Series
References
- Qualtrics Scoring Support.
- How to push Qualtrics Survey Responses to back end service - Qualtrics Technical Part 1.
- Piped Text Qualtrics Support.
