In this blog post, we will demonstrate how you can utilize the Function Import in
SAP Marketing Cloud using a simple Java program.
By the end of this blog post, we will have a demo Java Spring Boot app running on SCP Cloud Foundry, which has an exposed endpoint that can be called through Postman to trigger rebuilding the target group.
In this program, we call the
/RebuildTargetGroup endpoint of the
API_MKT_TARGET_GROUP_SRV OData API. For more information, see:
Target Groups.
Build a Spring Boot App:
You can either clone the github
here, which contains a sample application, or create your new project as described below.
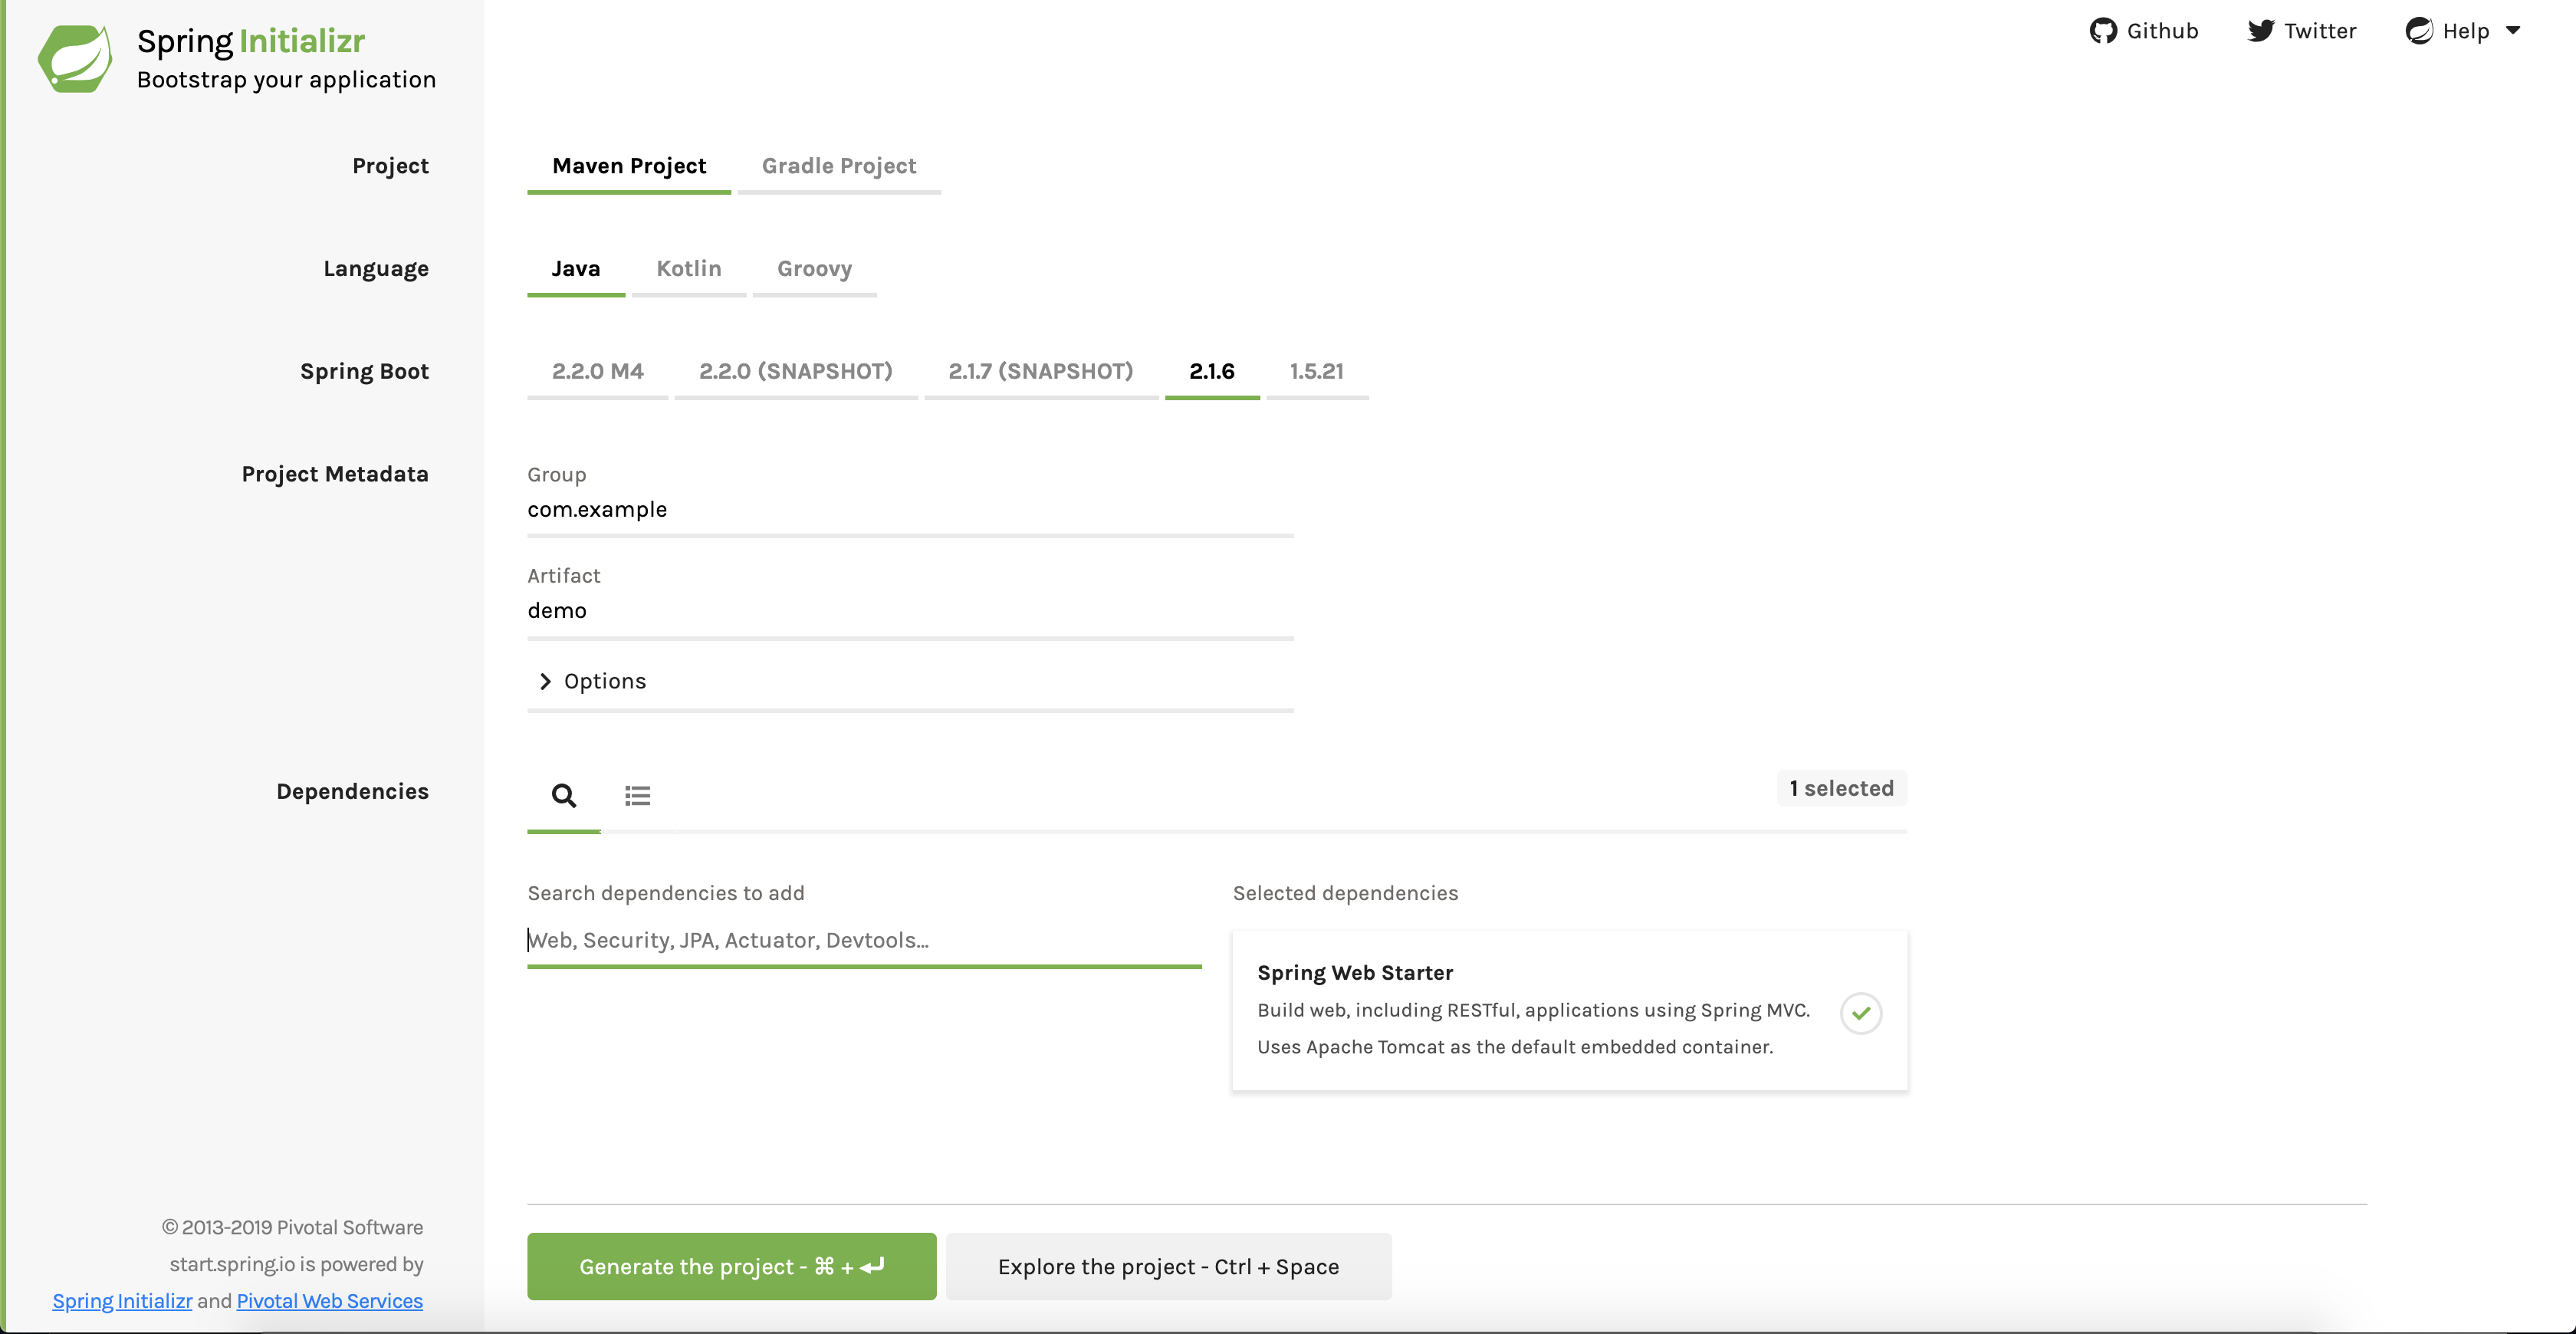
An easy way to get started is to use the
Spring Initializr. The Initializr generates a Spring Boot project for you to get started.
In the Spring Initializr project:
- Keep defaults for Project, Language, and Spring Boot fields.
- Enter your project metadata, and add Spring Web Starter dependency information.
- Click Generate the project. A zip file is generated containing your starter project. An example is shown in the below screenshot:
- Unzip and import the MavenProject to your IDE (eclipse, STS, etc.).
- After the import, you will notice that the MavenProject contains an xml file, which contains all the dependencies and configurations for the project. The MavenProject also generates a Java file in the src/main/java directory. This file has the same name as you mentioned in the Artifact field.
- Run the project by selecting a Java application from run options.NOTE: If you have trouble creating, importing, or running an Initializr project, see: https://www.javatpoint.com/spring-initializr.
- Expose a REST endpoint, which calls the /RebuildTargetGroup endpoint internally. To enable this call to an SAP Marketing system, you will need three inputs:
- An Authorization: To reach the marketing system a communication arrangement (for SAP_COM_0205 scenario) with an associated communication user and a communication system in the marketing system is required. For more information, see: Communication Management. You will also need the configured communication user details to authenticate the call to the marketing system. The demo app receives the basic authorization header and uses the same to authenticate the call to the marketing system.
- Marketing system URL: You will need the URL of the marketing system to which you want to connect.
- Target group UUID: You will need the UUID of a valid target group in the marketing system.
NOTE: The exposed endpoint receives these inputs as follows:
- The authorization header contains the basic authorization of the communication user.
- JSON body which contains both the marketing system URL and the target group UUID.
- To implement this call, add the following three classes to the project:
- TargetGroupRequestEntity: This is a simple POJO to represent the received JSON body.
- TargetGroupController: This is the RestController of the application which exposes the REST endpoints. The two endpoints are:
- A greeting endpoint, which prints a greeting message to verify if the app is deployed successfully.
- A /RebuildTargetGroup endpoint, which accepts the authorization header and a JSON body which contains a systemURL and a targetGroupUUID which gets serialized to a TargetGroupRequestEntity object.
- TargetGroupService: This service assembles all the essentials and connects to the marketing system. The calls to the marketing system are authenticated by an x-csrf-token and a corresponding cookie passed as a header.
At first, obtain the csrf token and the cookie before calling the actual marketing endpoint. This is handled by the getCsrfTokenAndCookie. This method fetches the x-csrf-token and cookie from the marketing system by calling the /$metadata endpoint of the /RebuildTargetGroup API. This call is authenticated using basic authentication with the communication user details which is configured in the marketing system. You receive this as the authorization header in our end point. We have to add a header with key=x-csrf-token and value=fetch while making this call. This communicates with the server to send you back an x-csrf-token.
With this our demo app is ready! You can now run this Java application in your IDE.
Alternatively, you can also deploy this on Cloud Foundry.
Deploy the App on Cloud Foundry:
- Run a mvn clean install to generate the jar file.
- Add a manifest.yml file to the root folder of the app. For the path parameter in the manifest, enter the correct relative path to the previously generated jar file.
- Open the command prompt at the root folder of the demo project, and do a CF login to log in to your CF account.
- Perform a CF push. This should deploy your .jar file to CF. Note down the route mentioned in the logs on successful deployment. This is your application’s base URL (cfBaseURL).
Test the App:
To test this app, test the base URL on either Postman or a browser. If your app is up and running, you will get the following response:
“Hello! Your app is up and running :)”
You can now test the /RebuildTargetGroup endpoint that was exposed using Postman as follows:
URL: <baseURL>/rebuildTargetGroup
For example:
http://localhost:8080/rebuildTargetGroup or cfBaseURL/rebuildTargetGroup
Request Type: POST
Header: Basic authentication with a valid communication user’s username and password.
Body:
{

   "systemURL":"<MarketingSystemURL>",

   "targetGroupUUID":"<ValidTargetGroupUUIDPresentInMKTSystem>"

}
Congrats! You have successfully consumed an SAP Marketing Function Import!
You can now go ahead and consume other Function Imports in a similar manner.
I hope this blog post was helpful. Please leave a comment in case you face any difficulty while following along.
