INTRODUCTION
This Enhancement is used to extend Cross Project Overview Application and Multi Project Overview Application in SAP S/4HANA Commercial Project Management. Here, the purpose is to display below Custom KPIs
- ZCFA - Capex
- ZTNP - Transaction price
Cross Project Overview:
The following steps are followed to display custom KPIs in Cross Project Overview:
- Creation of required custom KPI IDs through customization in implementation guide (SPRO settings)
- Implementation of BADI /CPD/PWSSE_MP_KPI to get the values for custom KPIs
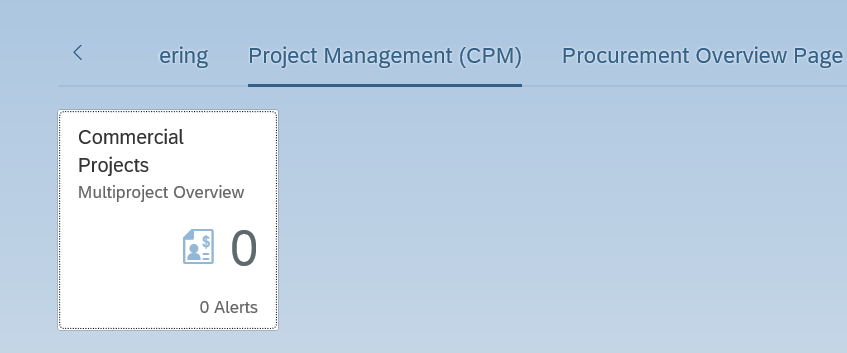
Multi Project Overview:
The following steps are followed to add custom KPIs in multi project Overview:
- Creation of Required custom KPI IDs through customization in implementation guide (SPRO settings)
- Extension of the standard application CPD_MASTERPROJECT_OVERVIEW through gateway service and web IDE
- Implementation of BADI /CPD/PWSSE_MP_KPI to get the custom values for custom KPIs
STEP1: CUSTOMIZATION in SPRO
All custom KPIs that are maintained will appear in both cross project overview and multi project overview FIORI apps
- The custom KPIs to be added are maintained at the SPRO setting
Path: Master data -> Commercial Project -> Define KPIs

- Define the KPI name, sequence number and description.
 STEP2: BADI IMPLEMENTATION
CROSS PROJECT APP
STEP2: BADI IMPLEMENTATION
CROSS PROJECT APP
- Create Implementation for BADI /CPD/PWSSE_MP_KPI
- Execute Method
- Importing parameter IV_MP_GUID contains the project ID and IV_MP_KPI_ID contains KPI ID
- Corresponding Actual data and planned data are passed to exporting parameter EV_ACTUAL_DATA & EV_PLANNED_DATA.
- GET_EXP_DATA_TYPES Method
- Exporting field EV_OUT_DATA_TYPE is populated with the type of the actual and planned data
MULTI PROJECT APP
BADI Implementation
- Create Implementation for BADI /CPD/PWSSE_MP_KPI
- Execute Method
- Importing parameter IT_MP_GUID contains all the project IDs and IV_MP_KPI_ID contains KPI ID which is common for all the projects
- Corresponding actual data planned data and variance data are passed to exporting parameter ET_DATA.
- GET_EXP_DATA_TYPES Method
- Importing parameter IV_MP_KPI_ID contains KPI ID
- Exporting field EV_OUT_DATA_CHARACTERISTIC and EV_OUT_DATA_TYPE is populated with the type of the actual and planned data
- Based on KPI ID exporting field EV_ACTUAL_FIELD_NAME, EV_PLAN_FIELD_NAME and EV_VARIANCE_FIELD_NAME
STEP3: APP EXTENSION
MULTI PROJECT APP
Custom KPI fields are to be added in the data model and the fields are to be added in the UI layout through web IDE
Add fields in Data Model
- Add role SAP_NW_APS_EXT_CFD & SAP_NW_APS_EXT_CFL_APP
- Log on to the SAP Fiori Launchpad with a user assigned with Business Catalog SAP_CORE_BC_EXT
- Select the app “Custom Fields and Logic”.

- Click the ‘+’ (plus sign) button to add a new field.

- When the popup opens, select the commercial project KPI Business Context(/CPD/MASTER_PROJECT_KPI) from the above table, Fill other necessary details like label, type etc

- Click “Create and Edit” button
- In the tab “UIs and Reports” enable Master project Header details for KPI and master project KPI and Click “Save” and “Publish” buttons.
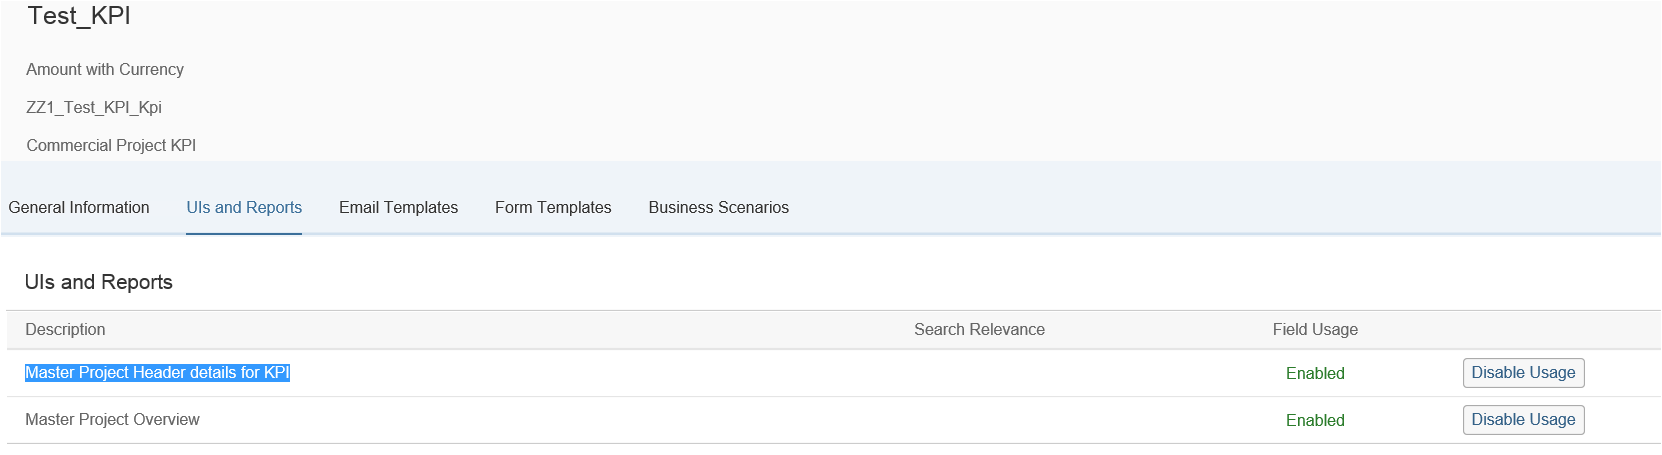
- Once the extended field ZZ1_TEST_KPI is successfully published, it will be part of the metadata of the OData service and the corresponding database include

After adding above fields (Required KPI fields) , these fields are available in Layout without graph or color.
To display fields with chart and color, so changes are to be made in the layout
Steps to add fields /change fields in Layout
- In the WEBIDE Application, Extension project is created in the workspace folder

- In the select application dropdown box, SAPUI5 ABAP repository is selected

- The system and the name of the application is selected

- Extension Name and Version is provided if required

- The finish button is pressed to open the application in preview mode

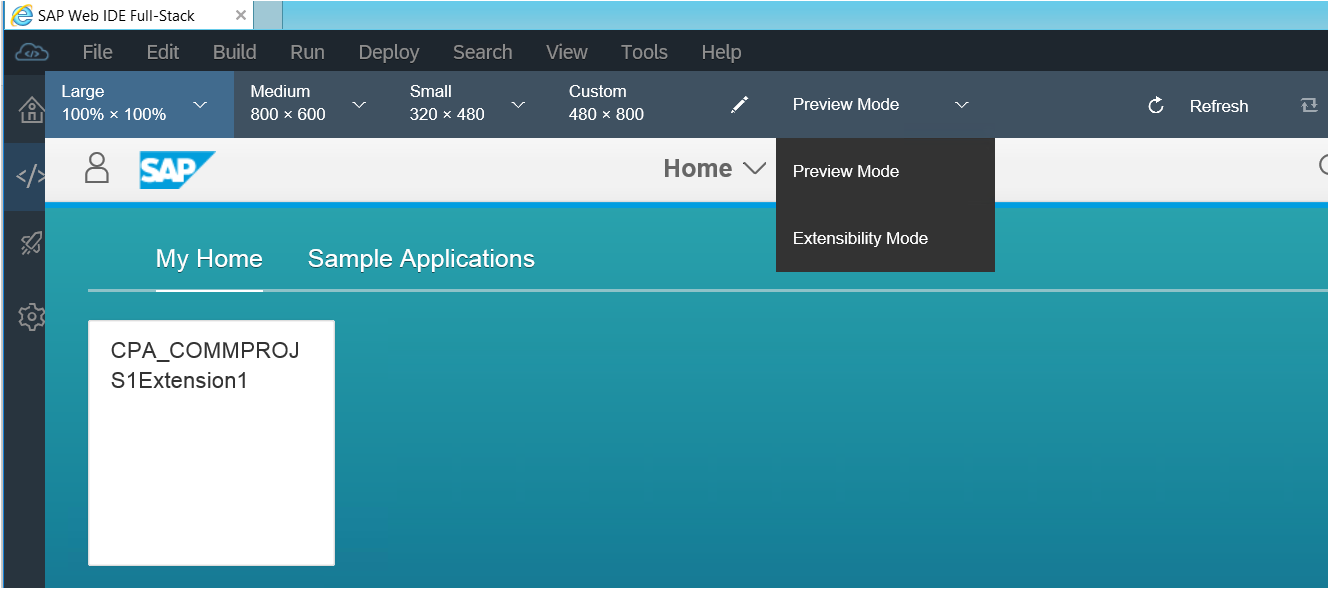
- In the workspace, the Project will gets created with all required components but with an empty view

- The extensions are viewed in the extensibility mode

- In outline menu, Select show extension points to display all possible extension points


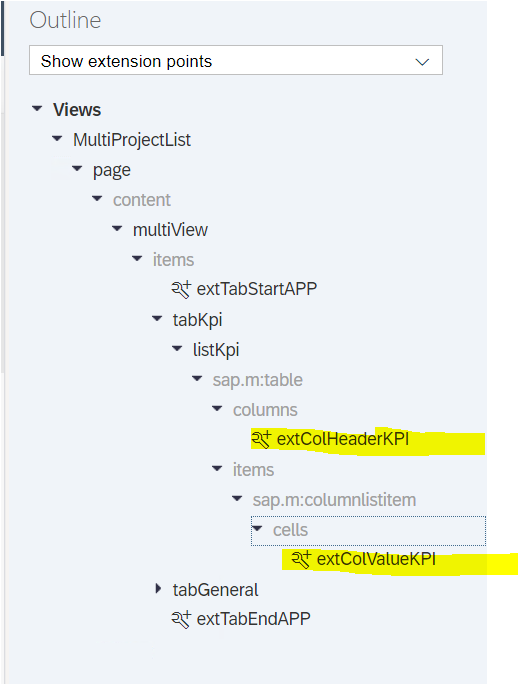
- In our Application we want to add custom fields in KPIs.
First extend header level
- select header KPI and extend view/ Fragment
- Click on create extended view to create the view


- After creating extension, view entry is to be added in MANIFEST.JSON with extended components


- Add below Code for Custom field header in KPIs
<Column

cd:p13nData="{columnKey:'TransactionPriceP', leadingProperty:'TransactionPrice', additionalProperty:'Currency,TransactionPrice,TransactionPriceV,CostColor'}"

	hAlign="Center" vAlign="Middle" width="10rem" id="cpaKpiZTPC" visible="false">

	<Text text="Transaction Price (Current Vs Last Month)" tooltip=""/>

</Column>

- Repeat above steps for extending items


- Copy below code for adding Custom KPI item
<l:VerticalLayout>

    <FlexBox height="5rem" width="10rem">

<suim:DeltaMicroChart isResponsive="true" size="Auto" title1="{i18n>KPI_PLAN}"      title2="{i18n>KPI_ACTUAL}"

value1="{parts:['TrasactionPriceP'],

formatter:'icd.cpa.commercial.projectss1.model.formatter.parseDecimalValue'}"

value2="{parts:['TransactionPrice'],  formatter:'icd.cpa.commercial.projectss1.model.formatter.parseDecimalValue'}"

displayValue1="{parts:['TransactionPriceP'], formatter:'icd.cpa.commercial.projectss1.model.formatter.formatCurrencyShort'}"

displayValue2="{parts:['TransactionPrice'], formatter:'icd.cpa.commercial.projectss1.model.formatter.formatCurrencyShort'}"

deltaDisplayValue="{parts:['TransactionPriceV'], formatter:'icd.cpa.commercial.projectss1.model.formatter.formatCurrencyShort'}"

color="{= ${CostColor} ? ${CostColor} : 'Neutral'}" press="_onChartPressed"/>

</FlexBox>

<Text text="{Currency}" width="100%" textAlign="End"/>

</l:VerticalLayout>

- Press save and run the application

- when run the application it will open default view open

- Press setting button to display all columns with custom fields


- Select required / custom field as seen in this case where the Capex/CFA field had been added in the only ODATA entity type and Transaction price had been added in UI5 extended layout and ODATA entity type


- Deploying application in Fiori App.

- Select project and deploy application as ABAP repository and select target system


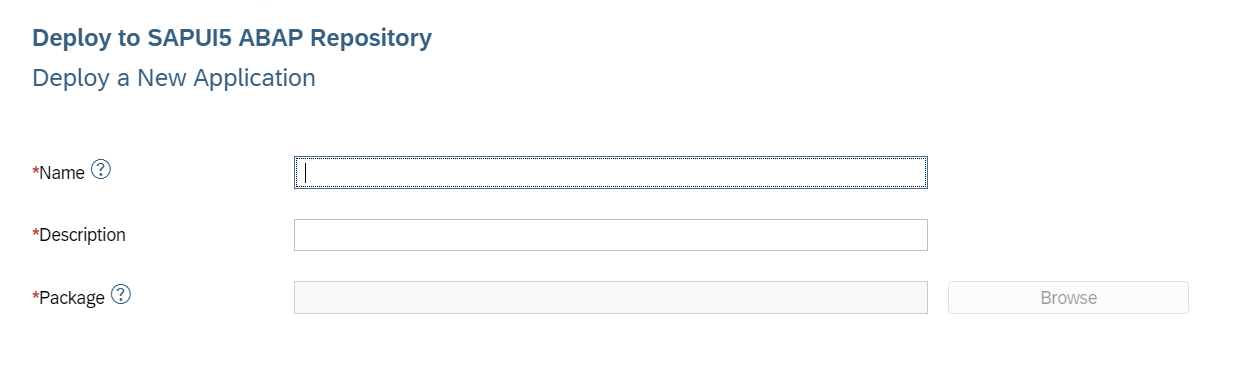
- Provide App Name , Description and Package

- Provide transport request to move other systems.

- Once successfully deployed application then in project .dist folder will create as shown in below
 Conclusion
: After completing above steps Custom KPI will available in Multi project overview Page