Technician can use the FSM Field Service Mobile app for iOS to accept and work on service calls, to execute checklists, to view current inventory, to log effort and expense, and so on.
After a service call is assigned to a technician and released in the Planning and Dispatching application, the service call will be pushed to the technician in the Field Service Mobile app.
Let's take the service call created with the steps mentioned in
Step by step to dispatch service calls in FSM as an example.
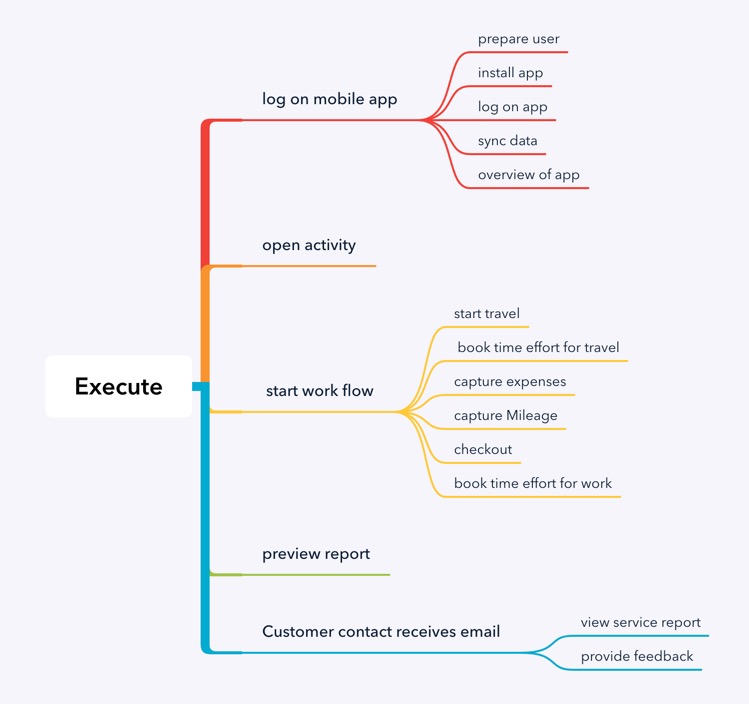
Here is an overview about the whole steps.
1. Log on mobile app
1.1 Prepare user
The technician needs to have a user in order to use the Field Service Mobile app. Within the Planning and Dispatching application, navigate to the Master Data application.

Navigate to the People page and locate the employee record for the technician. Note down the user name which will be used in logging into mobile app.

When the employee record is created, the initial password is sent via email to the registered email address. When login to the FSM system mentioned in the email, you will be asked to change password.

1.2 Install app
On your IPhone mobile device, open the Apple iTunes App store and search using “SAP Field Service Management”. Click Install.
1.3 Log on app

Enter Account Name. Enter the user and password you noted down for the technician in step 1.1.

1.4 Sync data
During first time Log-in, you will be asked to choose the company and synchonize data. During Subsequent logins the Sync icon can be used for synchronizing.

1.5 Overview of app
The first released activity is displayed on the home page.

Click the menu icon at left top. The menu items are displayed.

2. Open activity
Navigate to the Activities page. Click the activity you want to work on.

3. Start work flow
3.1 Start travel
The activity details are displayed. Field technician starts travel to customer site. Click TRAVEL button.


Once the technician arrives at customer site, he or she starts working on the activity. Click WORK button.


3.2 Book time effort for travel
Before working on the step, the technician books the time effort for the Travel.
Select the effort as Chargeable and Click SAVE.

3.3 Capture expenses
Once the work is completed, the technician captures the expense, for example spare parts used in maintenance or meals, etc. Click "+" icon and then choose EXPENSE.


Choose expense type as Other.


Select a currency. Enter internal amount and external amount. Switch on Chargable flag and save.

Click the Back icon to go back to the activity detail page.

3.4 Capture Mileage
On the activity detail page, click the "+" icon and choose Mileage to capture mileage for travel to customer location.

Enter From location and customer location. Enter the number of miles. Select Mileage as “Chargeable” and click SAVE.

Click the Back icon to go back to the activity detail page.

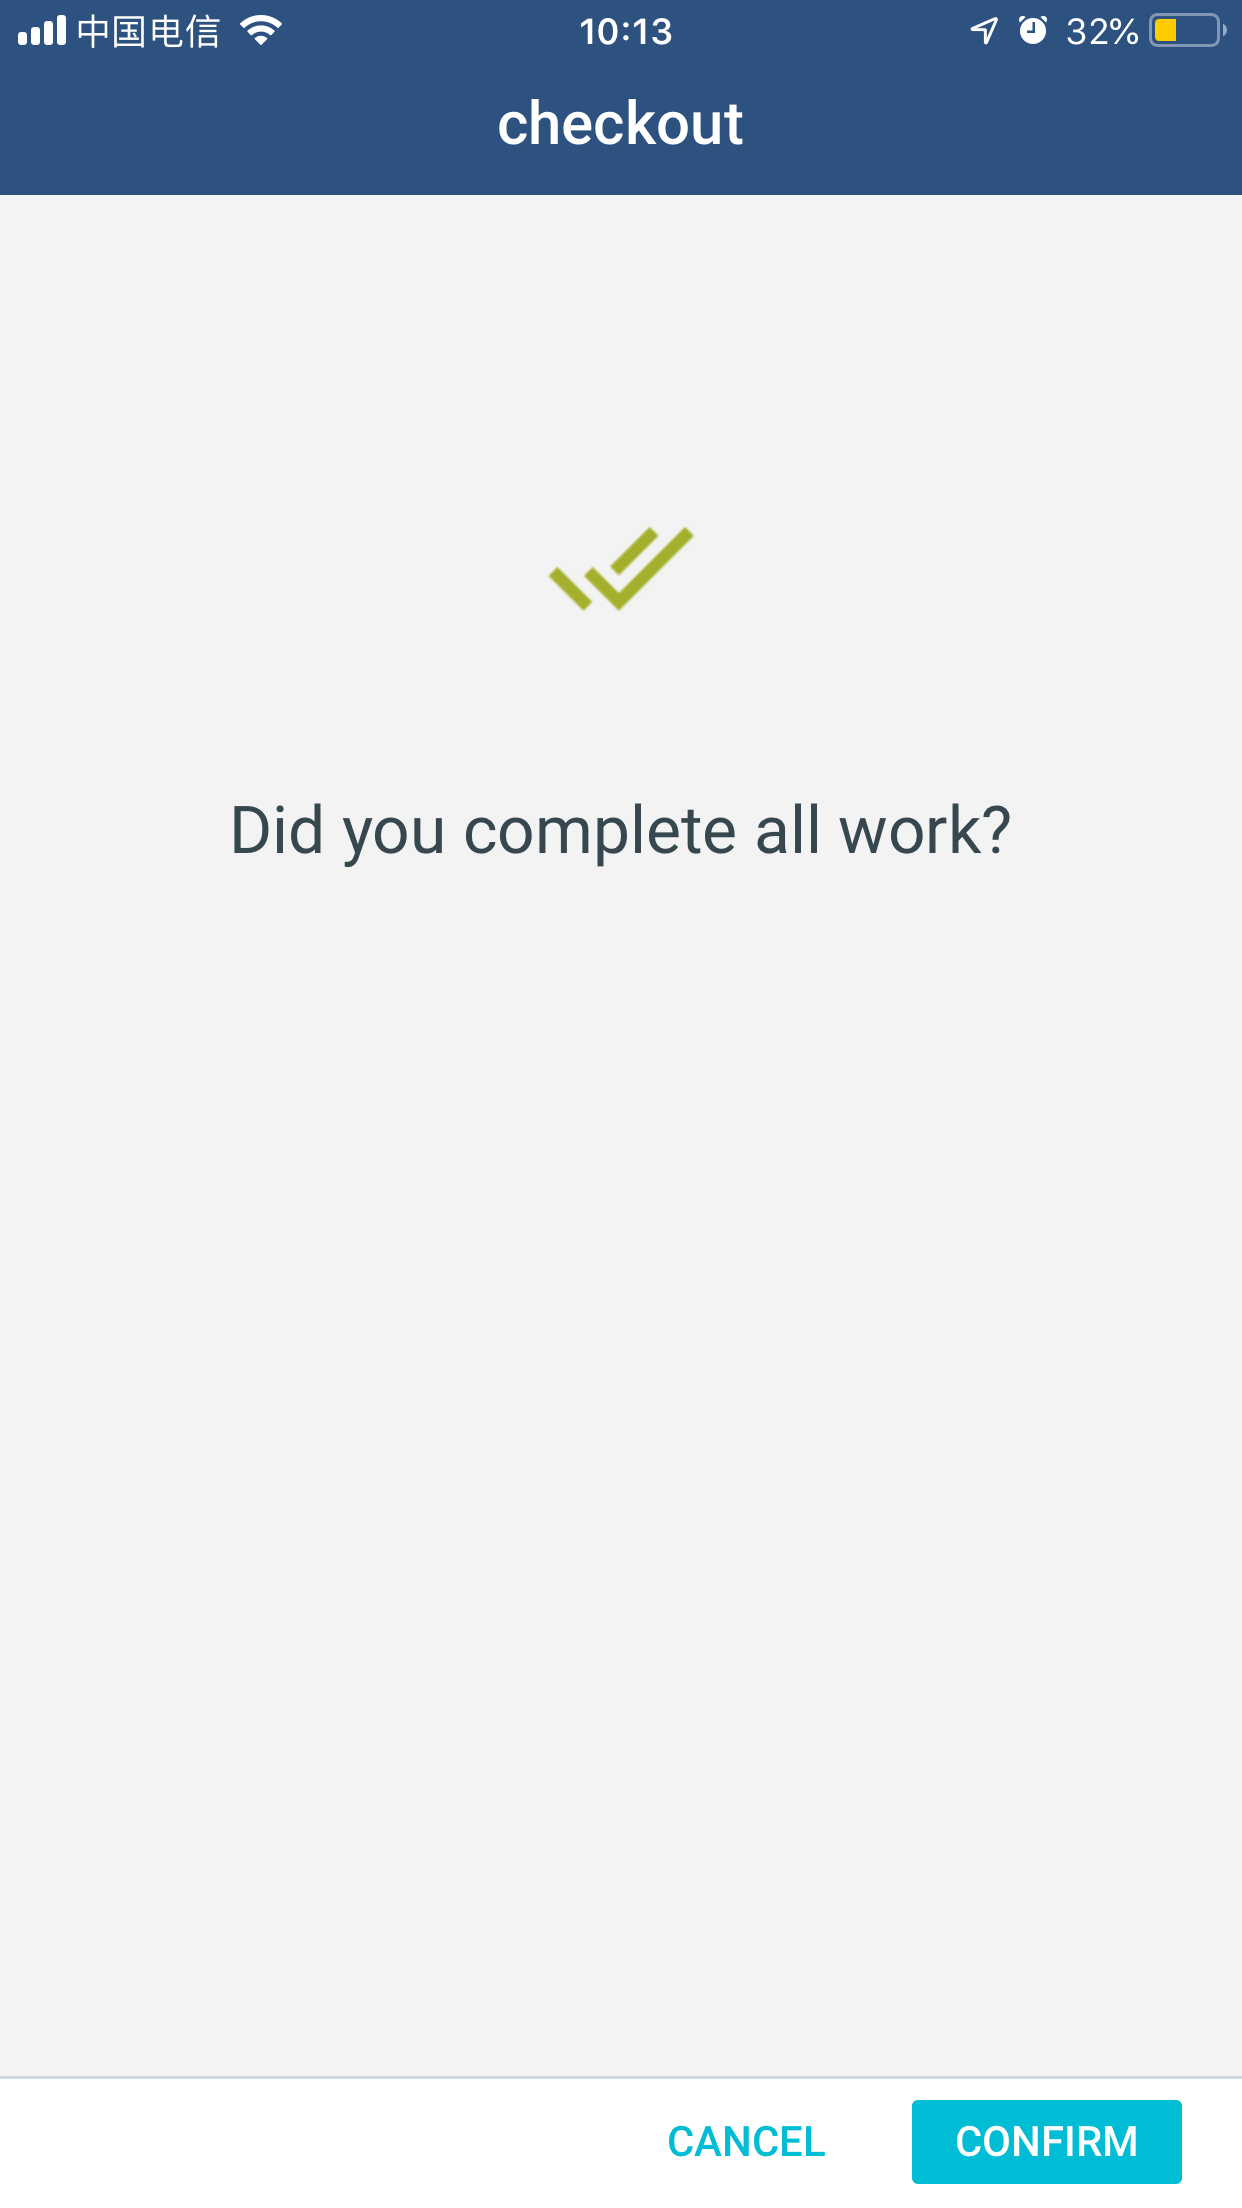
3.5 Checkout
Once the time and expenses are captured, the technician needs to click CHECKOUT.

3.6 Book time effort for work
Once confirming checkout step, the time recording form for work is displayed. Select effort as chargeable. Click SAVE.

4. Preview report
Now it's time to preview the report.

Click Sync.

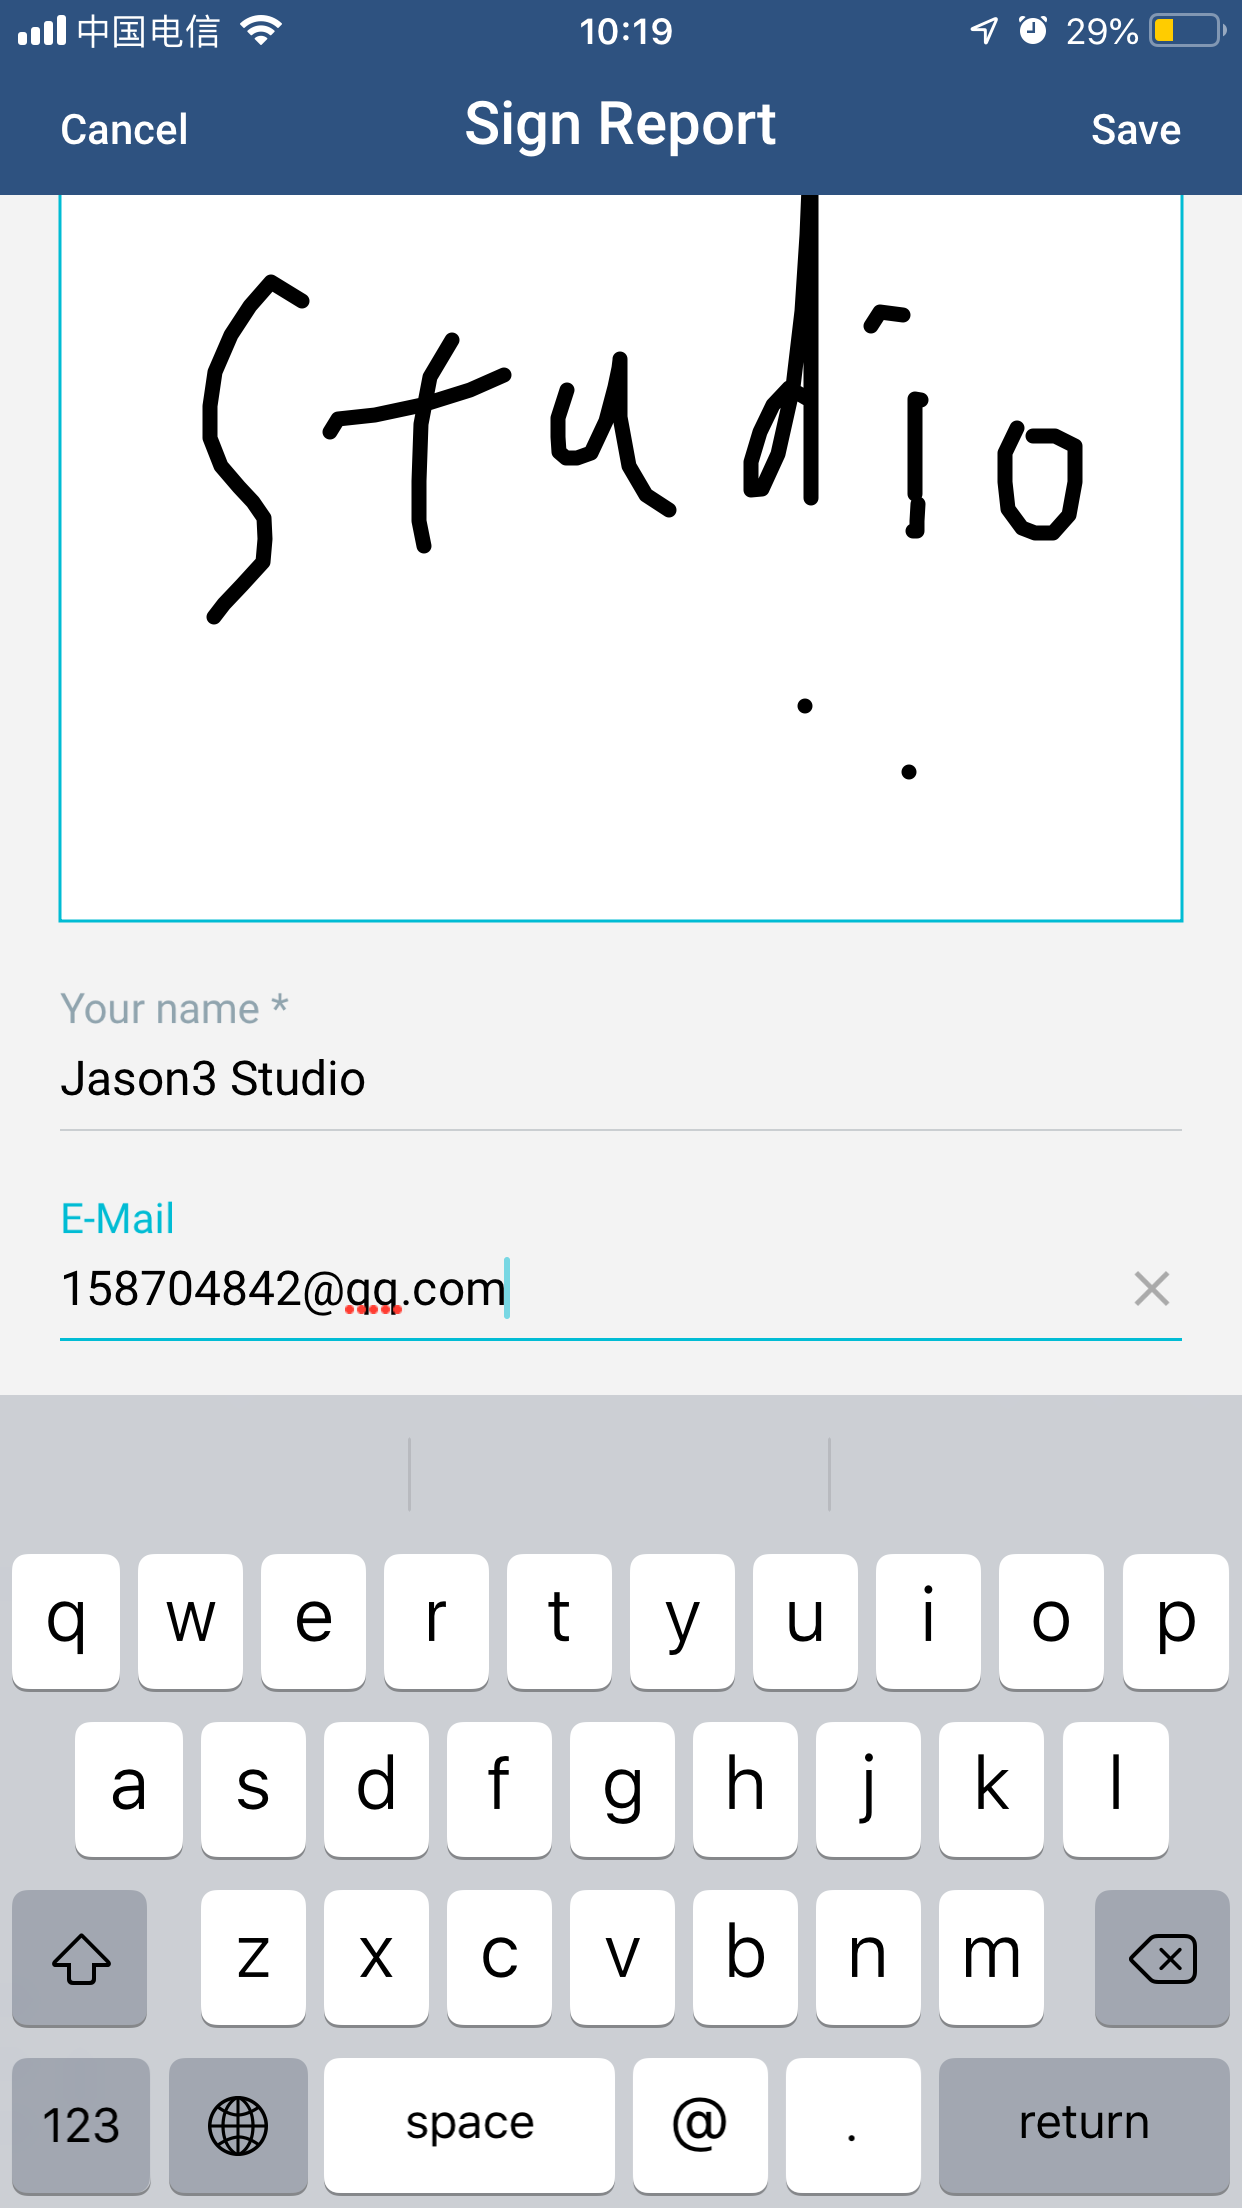
The report with the activity details is generated. The technician can show the report to the customer’s contact and gets the signature. Click Save.
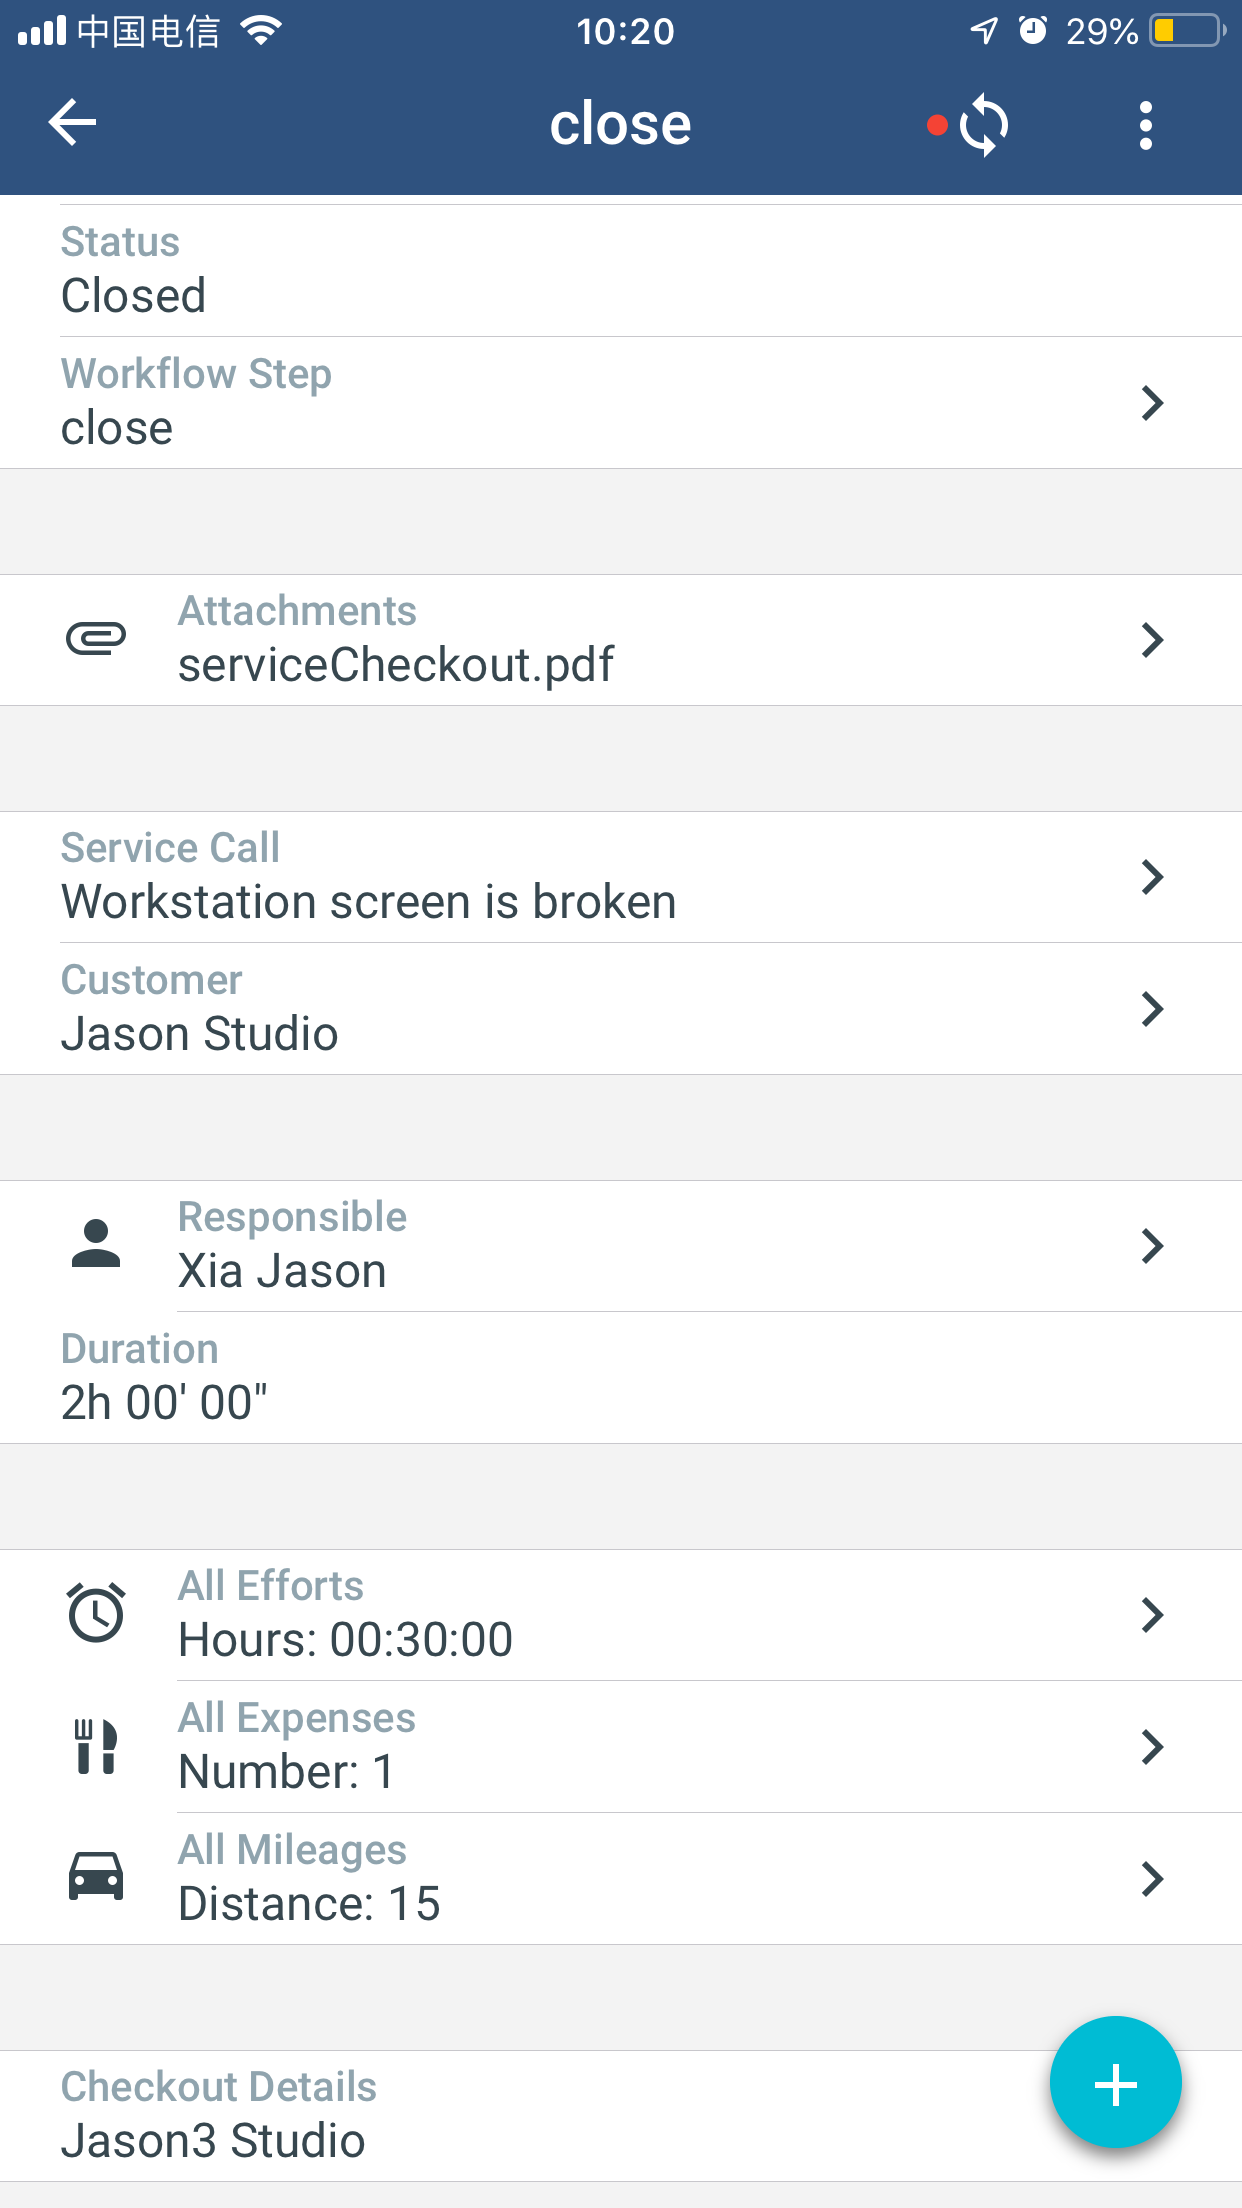
Now the report with signature is displayed. Push Done.

The activity details page is displayed again. The status becomes Closed.
5. Customer contact views service report and provide feedback
Once the service call activity is completed, the customer contact will receive a service report email.
Open the attached service report from the email.


Click the feedback button, e.g. Good.

The web page for feedback is opened. Click Send.


