In this blog post I will guide you step by step on creating a simple freestyle site in less than ten minutes.
The full implementation guide can be found in the SAP Cloud Platform Documentation,
The clock is ticking, we have 10 minutes - let's start!
Building a site takes 3 intuitive steps:

Step 1 - Create new Site
From the
Admin Space choose
Create New Site, or from
Site Directory choose the empty tile with the '+' sign


In the
Create Site wizard give your site a name, select the
Starter Site template and click
Create

Your new site was created and you are navigated directly to the
Site Designer's
Pages editor, which is perfect for the next step
Step 2 - Add Content
In this stage the newly created site has 1 page
Starter Page, we will now add another page to the site and later add content to both pages.
Step 2.1 Add Page(s)
You are now in the
Pages editor, at the bottom of the Pages panel choose '+' to add a new page.
Type
Contact Us in the
Page Name field, choose
Starter Page and click
Finish

Now we have a site with 2 empty pages, the next step is adding content to those pages.
To accomplish this task in 10 minutes we will use widgets provided by SAP
Step 2.2 Adding content to Starter Page
- Stay in Pages editor and select Starter page
- Click on the page content area, then '+' to Add Widgets
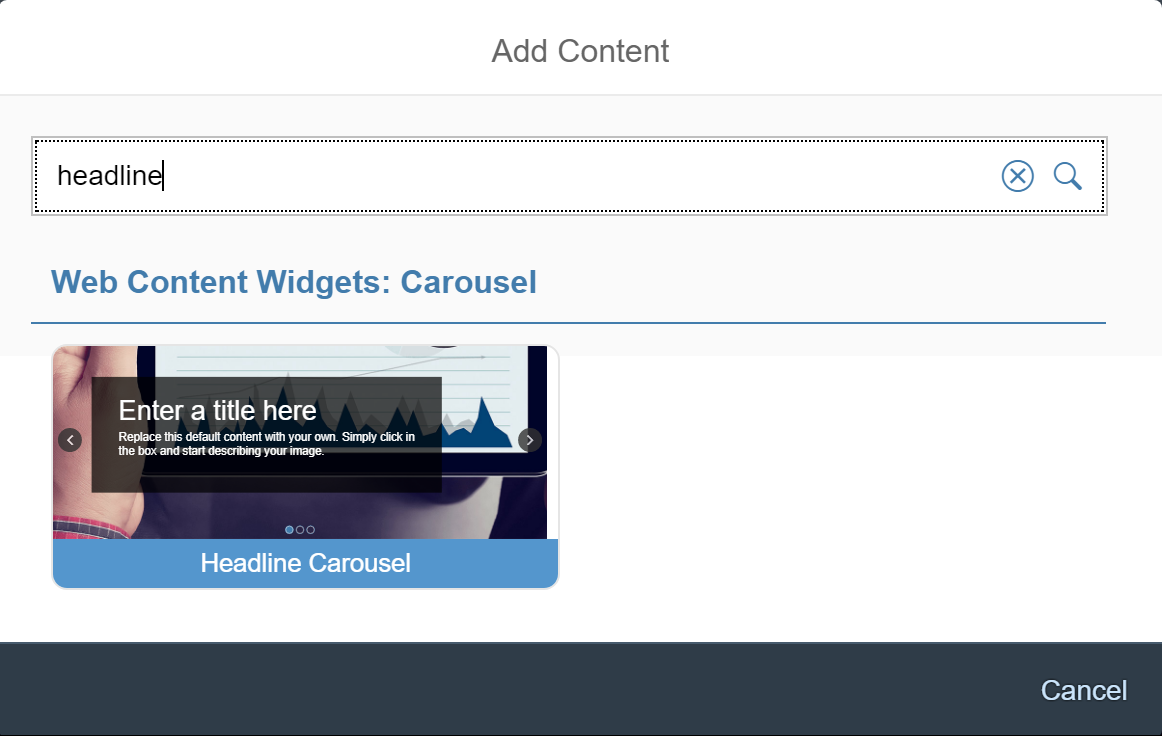
- Select Headline Carousel widget
- Repeat steps 2 and 3 to create two more widgets: Large Header and Aligned Story Card
- Click on the Large Header widget, choose the pen icon and edit the title field to News and Updates, now save your changes
- (you can repeat step 6 to edit the content of all other widgets, but it will take more than ten minutes, so for this challenge we stick to the default content provided by SAP)
Step 2.3 Adding content to Contact Us Page
- Stay in Pages editor and select Contact Us
- Click on the page content area, then '+' to Add Widgets
- Select Image widget
- Click on the Image widget, choose the pen icon and select other image that better represent a Contact US page, for example:

- Repeat steps 2 and 3 to create two more widgets: Large Icon Link Card and Social Networks
- Click on the Large Icon Link Card widget, choose the pen icon and edit the content according to the content below:


- Click on the Social Networks widget, choose the settings icon and set the Alignment value to Center
Step 2.3 Build the site menu
Up to this point we've created a site with 2 pages, but only one of the pages is visible - the
Starter Page, which is also the site's home page. In this step we will add the
Contact Us page to the menu, such that both pages are visible
- Navigate to the menu editor by selecting it from the left panel
- In the main area, hover on Starter page, click '+' and select Add Item

- Add the Contact Us page to the menu and save your changes

Step 3 - Publish site
Your new site is ready! In this quick step we will make the site available for the end users.
Choose the publish icon located on the top right side of the screen

Congratulations, YOU made it!
Enjoy exploring your new site, created in less than 10 minutes
🙂
You can now go back to the
Site Designer to further adjust the site's content
