This guide is valid for new installations and upgrades of the Ariba Network Integration for SAP Business Suite [SAP Add-On Adapter] on SAP ECC, SRM or SNC that are not using SAP Solution Manager.
The complete documentation on the installation of the Add-On can be found at:
https://help.sap.com/bni
The Installation Note 1841471 can be found at:
https://launchpad.support.sap.com/#/notes/0001841471
Step 1: Download the software
Go to
https://launchpad.support.sap.com and download the Initial version and Maintenance versions for the Ariba Network Integration for SAP Business Suite.
For a new installation, it is mandatory to download and install the installation files and all Support Package versions.
1. Search for "Ariba Network Integration"

2. Download the Installation files

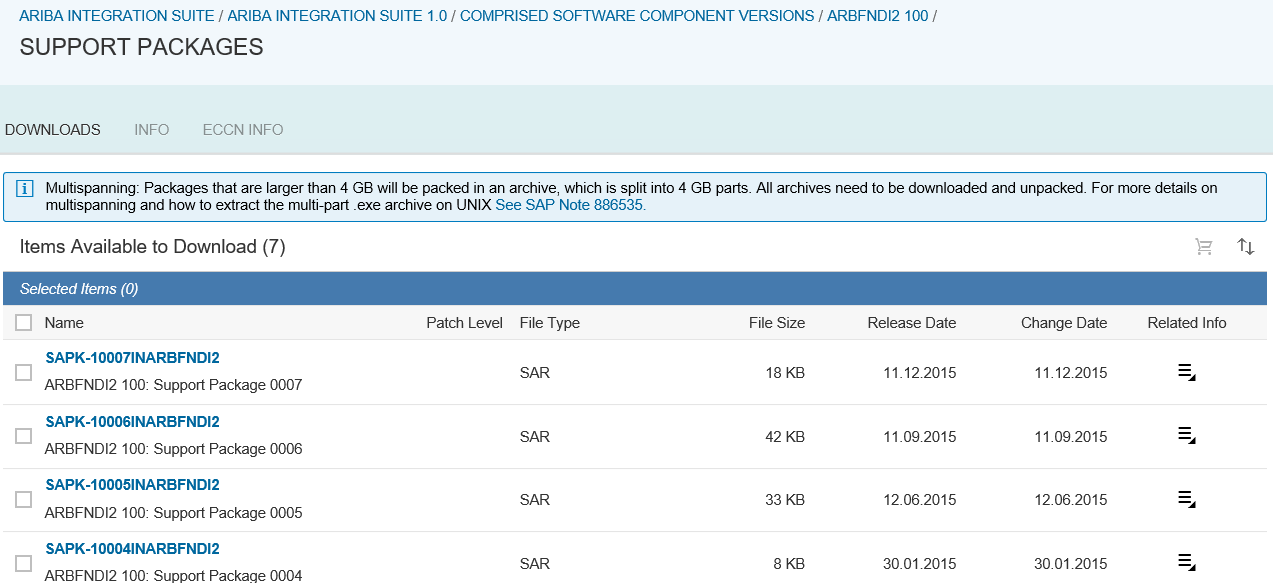
3. Download the Support Packages versions.
Note. They are not cumulative. You need to download all the versions.


Step 2: Install the component
1. Logon to client 000
2. Use transaction SAINT to install the main version of the software

2. Select the components ARBERPI1, ARBFNDI1 and ARBFNDI2 and Continue to install them
3. The components will now appear under the Installed Software tab

Step 3: Upgrade the component
1. Logon to client 000
2. Import all the relevant SP files. The SP versions are not cumulative.
You will need to install all SP versions.

3. Select "New Support Packages" and click "Display"

4. All Imported Support Packages will show up

5. Click the Display / Define button

6. Select the components you want to update

7. Click the OK button to start the process. SPAM will identify all the dependencies and install them in order

8. Check that the queue was created and click the import queue button

9. Confirm the queue
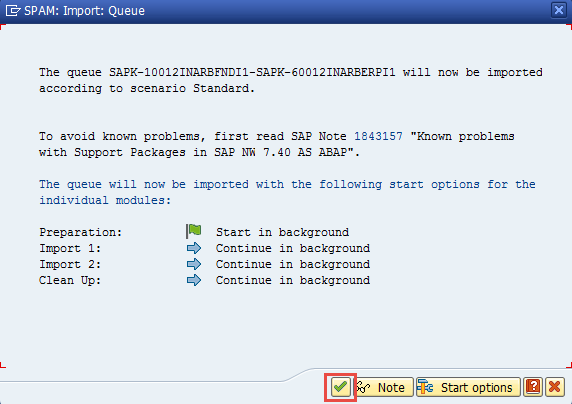
10. Confirm that the queue is being imported

11. it is possible to check the job execution on SM37

12. After the job is executed, the SPAM should display the status of Confirm queue. Click the Confirm Queue button.

Step 4: Verify the installation
1. After completing the Step 3, you can check the SP levels at SPAM


2. You can also check the status of all SP versions on Imported Support Packages option and clicking Display


