You should have finished
Part I before you can go on with this blog post.
In this tutorial, I’ll show you how you can extend the AIN equipment app, to visualize the Time Series Data from AE.
The first step is to start a new extension project.
- Open SAP WebIDE.
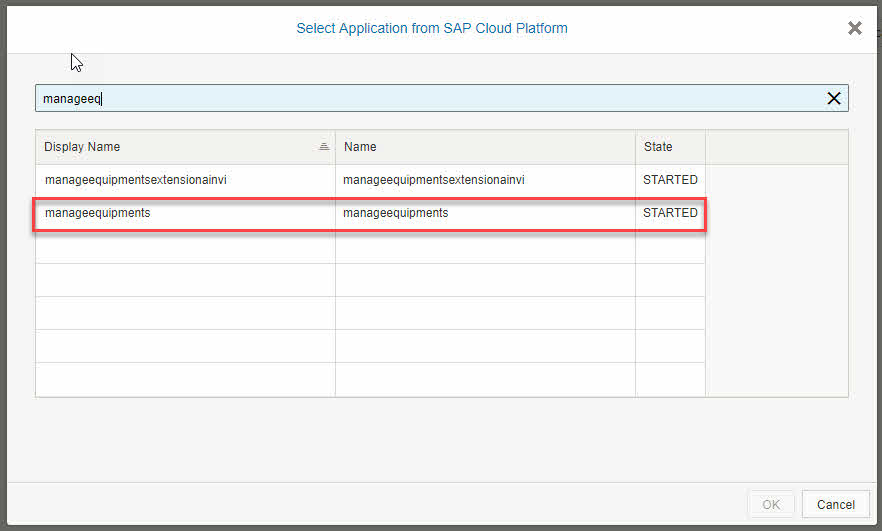
- Create a new Extension Project.

- Select the Equipment application.

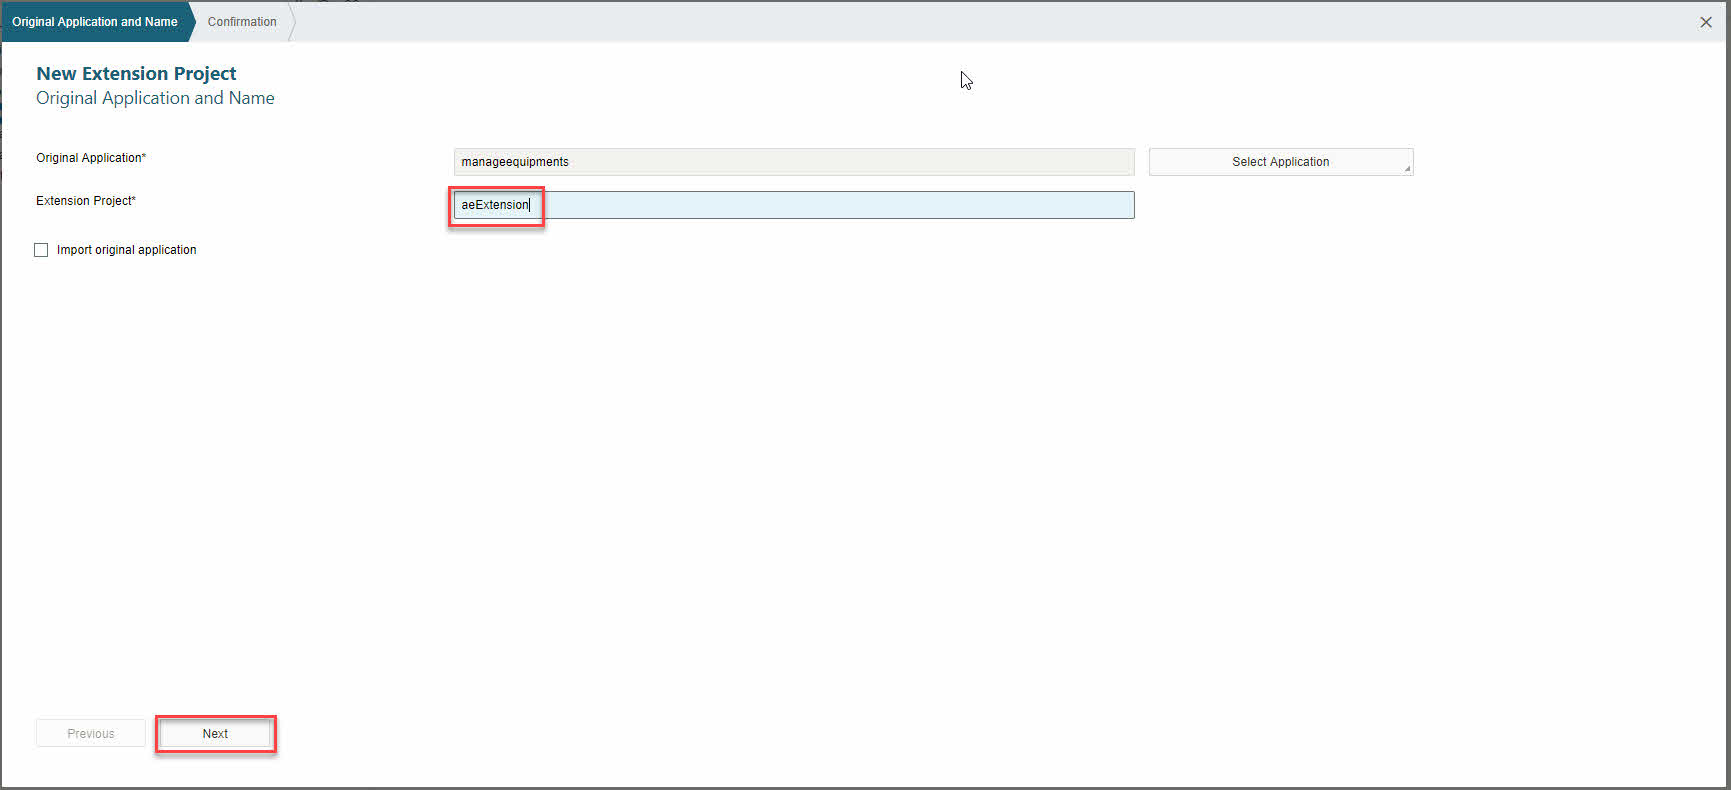
- Rename the application and click Next.
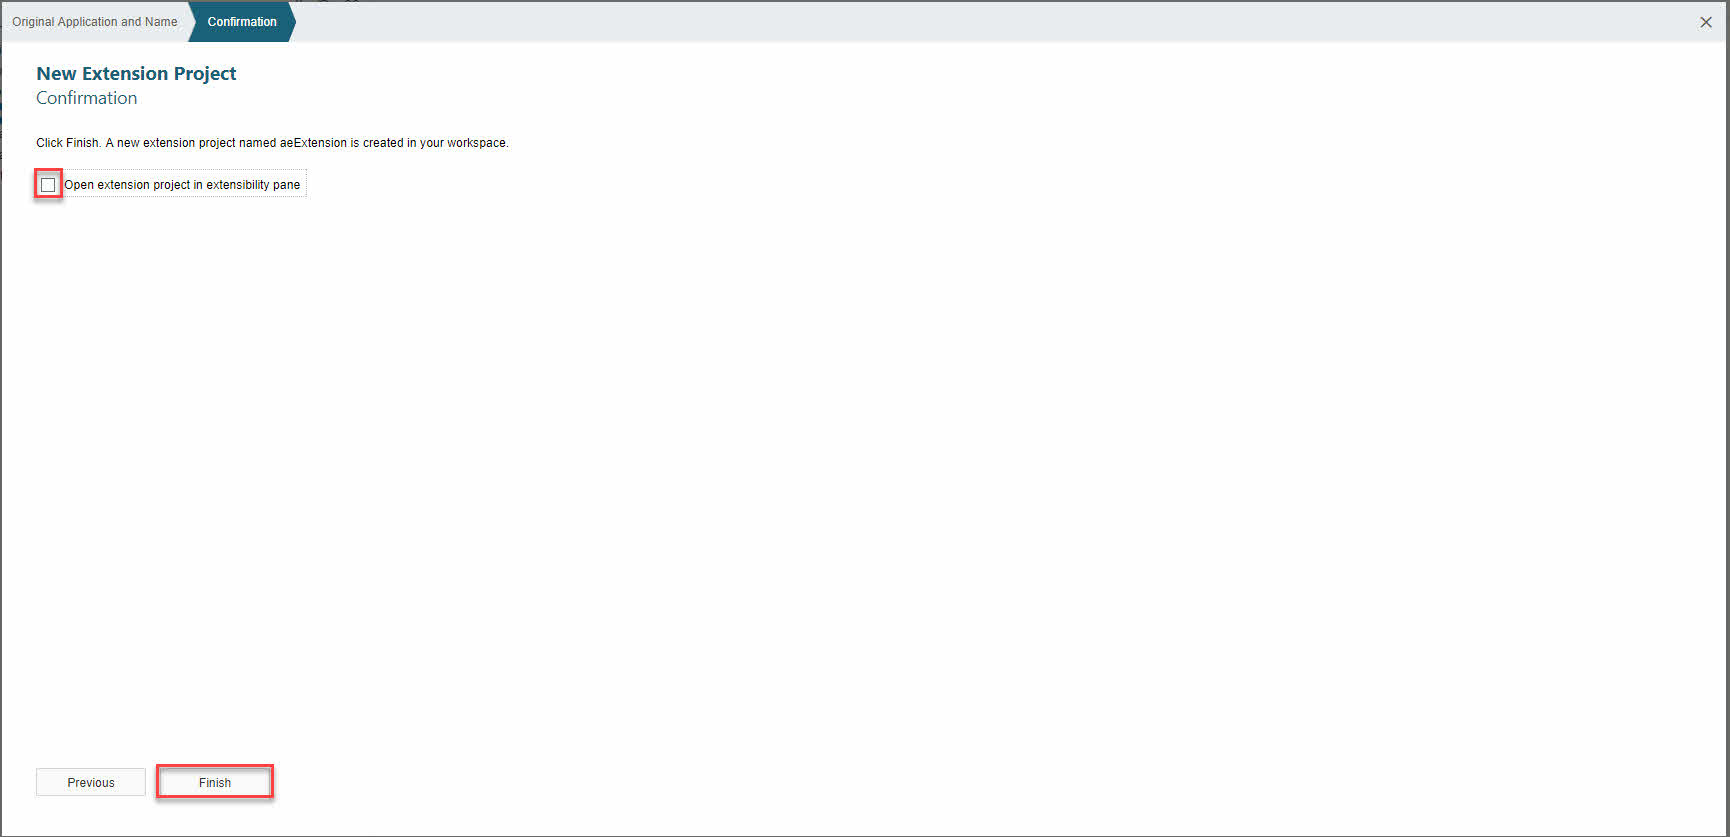
- Uncheck the checkbox and click Finish.
A new WebIDE project is created. The next step is to add the Application Enablement destinations to your project. If you have not created the destinations yet, please have a look at the prerequisites described in
Part I.
- Open the neo-app.json.

- Add the following routes.
{
"path": "/backend",
"target": {
"type": "destination",
"name": "IOTAS"
},
"description": "IOTAS"
}, {
"path": "/IOTAS-DETAILS-THING-ODATA",
"target": {
"type": "destination",
"name": "IOTAS-DETAILS-THING-ODATA"
},
"description": "IOTAS-DETAILS-THING-ODATA"
}, {
"path": "/resources/sap/ui/iot",
"target": {
"type": "destination",
"name": "IOTAS_CONTROLS"
},
"description": "IoT UI Controls library"
}, {
"path": "sap/ui5/1/resources/sap/ui/iot",
"target": {
"type": "destination",
"name": "IOTAS_CONTROLS"
},
"description": "IoT UI Controls library"
},
Next step is to configure a fragment which will be added to the
manageequipment app.
- In the webapp folder create a new directory blocks with a file called block.js.

- Add the following code to the block.js file.
jQuery.sap.declare("sap.iot.ain.manageequipments.aeExtension.blocks.block");
jQuery.sap.require("sap.uxap.BlockBase");
sap.uxap.BlockBase.extend("sap.iot.ain.manageequipments.aeExtension.blocks.block",{
metadata:{
views:{
Expanded:{
viewName:"sap.iot.ain.manageequipments.aeExtension.view.AE",
type: "XML"
},
Collapsed:{
viewName:"sap.iot.ain.manageequipments.aeExtension.view.AE",
type: "XML"
}
}
}
});
- Add the directory fragment with a file fragment.xml and the following code.

<core:FragmentDefinition xmlns:core="sap.ui.core" xmlns="sap.uxap" xmlns:b="sap.iot.ain.lib.reusable.blocks"
xmlns:nb="sap.iot.ain.manageequipments.aeExtension.blocks">
<ObjectPageSection title="AE Extension">
<subSections>
<ObjectPageSubSection>
<blocks>
<nb:block></nb:block>
</blocks>
</ObjectPageSubSection>
</subSections>
</ObjectPageSection>
</core:FragmentDefinition>
- Go to the manifest.json and replace the extends object with the following code.
"extends": {
"component": "sap.iot.ain.manageequipments",
"extensions": {
"sap.ui.viewExtensions": {
"sap.iot.ain.manageequipments.view.EquipmentObjectPage": {
"ObjectPageSections": {
"className": "sap.ui.core.Fragment",
"fragmentName": "sap.iot.ain.manageequipments.aeExtension.fragment.AEFragment",
"type": "XML"
}
}
}
}
},
Now we’ll add a view and the controller to the application.
- Create a new directory view with a file view.xml. In the view we’ll add the Application Enablement Sensor Chart reuse component.
<mvc:View controllerName="sap.iot.ain.manageequipments.aeExtension.controller.AE" xmlns:html="http://www.w3.org/1999/xhtml"

	xmlns:mvc="sap.ui.core.mvc" xmlns:iot="sap.ui.iot.controls" displayBlock="true" xmlns="sap.m" xmlns:uxap="sap.uxap" xmlns:iotele="sap.ui.iot.elements">

	<uxap:ObjectPageSection showTitle="false">

		<uxap:subSections>

			<uxap:ObjectPageSubSection title="Time Series Data" mode="Expanded">

				<uxap:blocks>

					<VBox height="600px">

						<iot:IoTChart id="tchart0" chartHeight ="100%">

						</iot:IoTChart>

					</VBox>

				</uxap:blocks>

			</uxap:ObjectPageSubSection>

		</uxap:subSections>

	</uxap:ObjectPageSection>

</mvc:View>
- Create a new directory controller with the file controller.js. In the controller, we will get the external Id we maintained in Part I. Therefore, in the onAfterRendering we first get the AIN Equipment Id. With this information, we can use the AIN APIs to get the Thing Id. The Thing Id is then used as the AssetId of the sensor chart to visualize the Thing data.
sap.ui.define([
"sap/iot/ain/lib/reusable/view/SectionBaseController"
], function(Controller) {
"use strict";
return Controller.extend("sap.iot.ain.manageequipments.aeExtension.controller.AE", {
oEquipID: "",
sThingId: "0",
onAfterRendering: function() {
if (!this.bInitialized) {
this.bInitialized = true;
this._oObjectPage = sap.iot.ain.lib.reusable.utilities.Utility.getObjectPage(this.oView);
this._oParentController = sap.iot.ain.lib.reusable.utilities.Utility.getParentControlByType(this._oObjectPage,
"sap.ui.core.mvc.XMLView").getController();
}
var that = this;
var equiID = that._oParentController.mGetObjectId();
if(that.oEquipID !== equiID){
this.oEquipID = equiID;
var sUrl = "/ain/odata.svc/ObjectExternalIDs/?iv_ain_objectid=" + equiID + "&$format=json"; //equipment = oParams.id
sap.iot.ain.lib.reusable.utilities.ServiceHandler.getData({
"url": sUrl,
"isAsync": true,
"showBusyIndicator": false,
"success": function(oData) {
var sAttributeId = "";
if (oData.d.results.length) {
for (var i = 0; i < oData.d.results.length; i++) {
if (oData.d.results[i].systemName) {
if (oData.d.results[i].systemName === 'IoT AE') {
sAttributeId = oData.d.results[i].externalID;
}
}
}
}
if (sAttributeId || sAttributeId.length > 0) {
that.sThingId = sAttributeId;
var oChart = that.byId("tchart0");
oChart.setAssetId(that.sThingId, true);
}
},
"error": function(oErrorData) {
}
});
}
}
});
});
Now you are done with your application. Let’s see if we can get some insights into Time Series Data from Application Enablement.
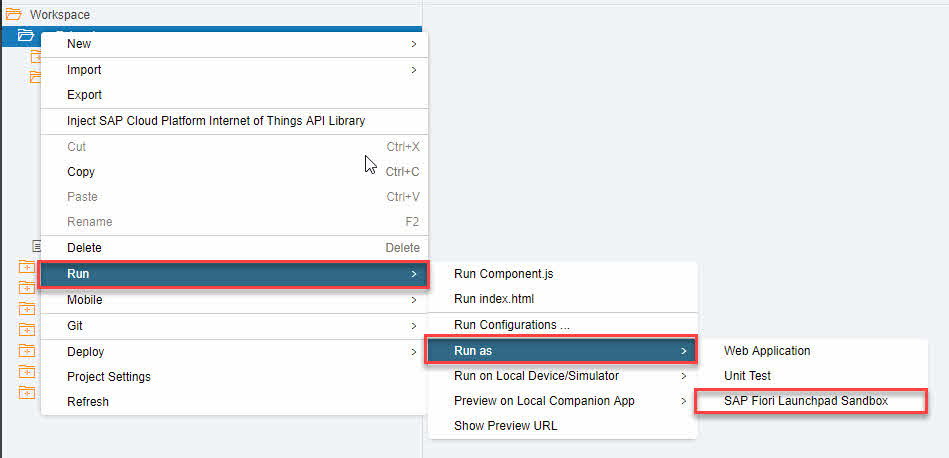
- Right click your project and select Run as SAP Fiori Launchpad Sandbox.
- Select the Equipment you created earlier.
- Navigate to the AE Extension Tab.

Now you can see Time Series Data in AIN and easily combine it with the other equipment information. So, for future decisions you can have real time insights into your asset performance to improve your equipment efficiency.

