
This blog post is
part 0 of a series of blogs on how to develop full stack To-Do app in SAP Web IDE.
The goal of this series is to show how to develop full stack To-Do app
from scratch with SAP Web IDE Full-Stack.
After reading and implementing all the blogs in this series you will know:
- What is a full stack app
- How SAP Web IDE can help you with creating your next productive full stack application
- What is an MTA (multi-target app) and why we use it
This blog post will assume that you don't have any prior knowledge on building full stack applications. We will try to explain and demonstrate each step and how everything works together.
On May, 2017 we announced the GA of SAP Web IDE Full-Stack which provides a web-based IDE for full stack apps. In order to read and understand more details about SAP Web IDE Full-Stack please refer to
this blog.
Prerequisites
- If you would like to use your SAP Cloud Platform Trial account, please follow this tutorial.
- If you would like to use your SAP Cloud Platform productive account, please follow this tutorial.
- If you don't have an account, you can sign-up for SAP Cloud Platform Trial for free - here.
- Bonus - Have basic knowledge in SAPUI5, HANA or Java.
The application
Our app will be a simple To-Do app that will show a
list of tasks and their details (like: notes, status...).
App architecture
Our app will consist of 3 layers:
- Database Layer - this layer is responsible to provision database tables and views. In this layer we will also create our data model according to the SAP HANA programming model principals.
- Service Layer - this layer will expose the oData service. This layer consumes data from the database layer, converts it into oData and exposes it as an API. This layer will be implemented in Java.
- UI Layer - this layer will consume the oData API of the service and will contain all the static resources and UI artifacts of our full-stack app. This layer will be written in UI5.

Preparations
- Open your SAP Cloud Platform Cockpit, enter your region and account, and open the Services on the left-side navigation menu.
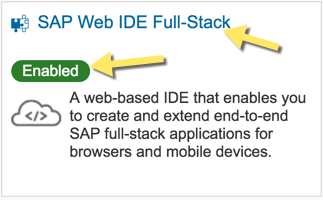
- Search for the SAP Web IDE Full-Stack service tile (it should be already enabled if you followed the prerequisites.
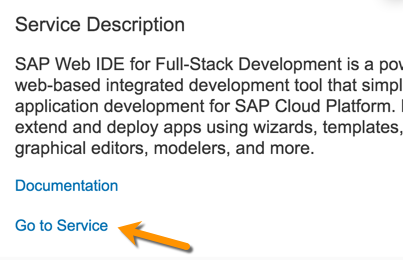
- Click on Go to Service to open your SAP Web IDE Full-Stack.
- In order to develop our full-stack app we first need to enable several features in SAP Web IDE, each feature provides us the necessary components for creating our full-stack app:
- Click on SAP Web IDE Preferences (located on the left side pane) and click on Features

- Search for HANA and enable the following features: Tools for SAP HANA Database Development and SAP HANA Database Explorer.

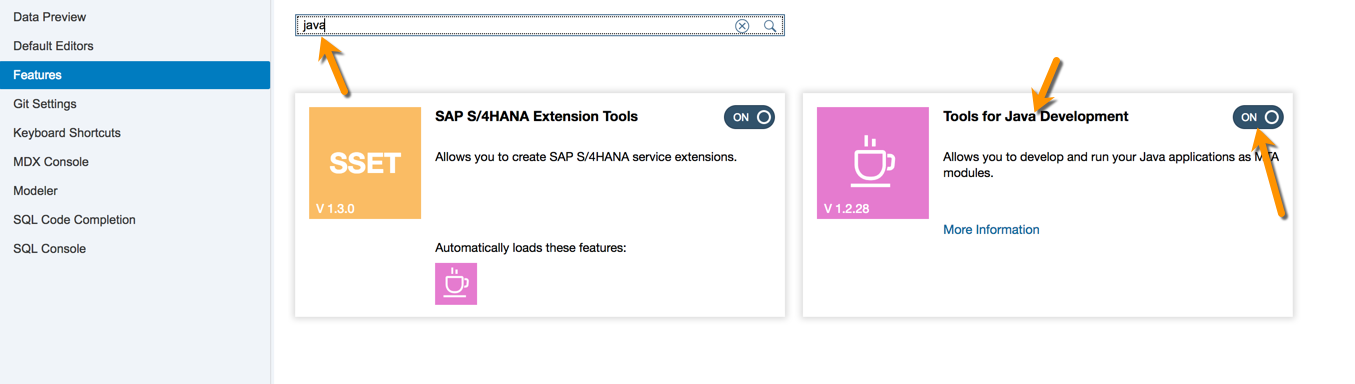
- Next, we need to enable the feature that will allow us to develop and run our Java modules. Search for java and enable the Tools for Java Development and the SAP S/4HANA Extension Tools features.
- Click on Save and Refresh SAP Web IDE.
Create an MTA Project
Before creating our new project, let me explain a bit about MTA.
MTA stands for
Multi-
Target-
Application and it's SAP's approach for developing full-stack applications that can be comprised by various modules, each module can be written with various technologies and deployed to different deployment targets. One of the big advantages of MTA is the
one,
common lifecycle of the app.
If the MTA concept interests you further, refer to
this guide which explains in detail about MTA and its advantages.
Steps to create an MTA project in SAP Web IDE:
- Click on File > New > Project from Template.
- In the wizard, search for multi, select the Multi-Target Application tile and click Next

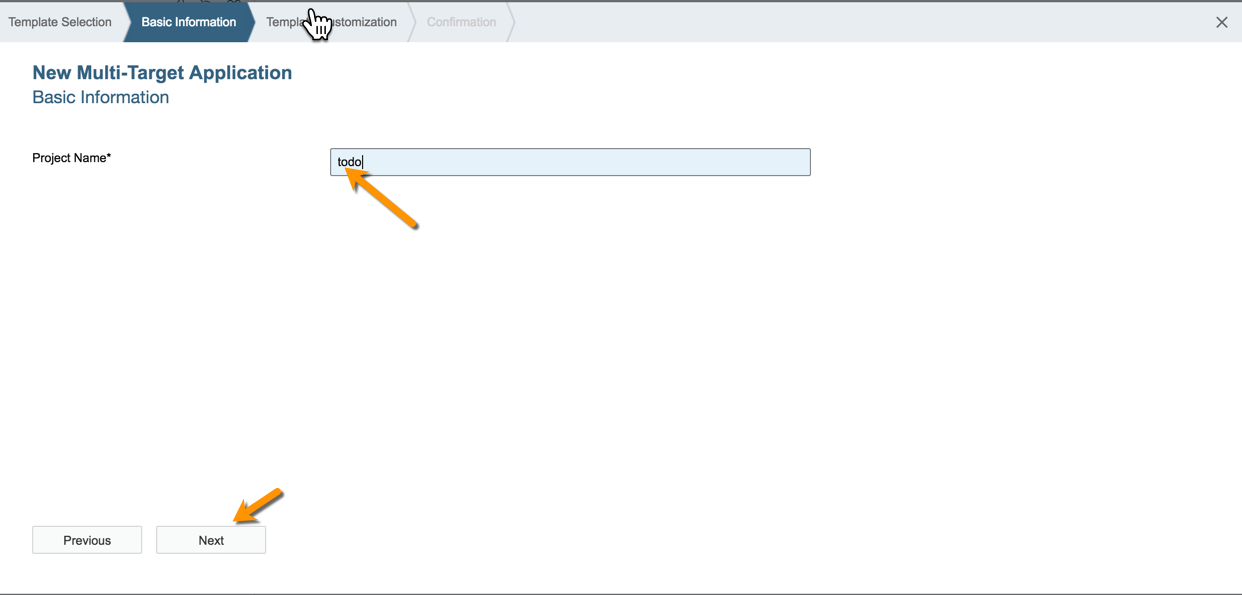
- Name your project todo and click Next
- Click Finish
- SAP Web IDE creates the new MTA project in your workspace and expand it to see the mta.yaml file.
This file is a descriptor file of your MTA app. It contains all the modules that are part of your application and the relationships between them. Most of the time this file will be managed by SAP Web IDE so you will not need to modify it on your own.
- Double click on this file to open it and review its content

- As you can see this file does not contain a lot of info, it contains only the ID of your MTA app, the scheme version and the version of your MTA. The version is important because it is being used to differentiate between the deployed versions of your MTA app. This file will be updated automatically by SAP Web IDE when you will create new modules
Congrats! Now that you have an MTA project in your workspace it's time to add some modules to it. The first module that we will create is the
database module so please refer to
part 1 in the series, there we will show how to create your HANA database module from scratch.
