If you wish to use Eclipse to connect to your Cloud Foundry environment running on SAP Cloud Platform (SCP for short), you are in the right place.
In
my previous blog, I explained how it is easy to create a fresh Cloud Foundry environment on SCP in order to start innovating with the cream of the cloud technology.
In this first part, you will discover how you can connect the latest version of the very popular IDE, Eclipse to a Cloud Foundry
space. And then control applications, service instances, and so on...
First, make sure you have a recent Eclipse installation on your machine otherwise, you can update it or download it from Eclipse
website. We will use
Eclipse Oxygen.1 in this blog.
Please, choose the
Eclipse IDE for Java EE Developers distribution to make sure you will get all necessary plugins built-in.

Firstly, we will create a "New Server ..." configuration. You can do that by clicking to the click displayed into the "Servers" view.

Choose "Cloud Foundry" and enter a nice server name like "Cloud Foundry on SCP (Europe)".
Click "Next..."

Then, enter your credentials (those of your SAP Cloud Platform account). As you have no declared cloud system, you have to set up by clicking "
Manage Cloud...".
A popup window will appear, choose "Add...".

Required information is quite simple: you have to enter a
name and the
endpoint of your Cloud Foundry landscape. In SCP, this URL is displayed when you are on the organization overview in the cockpit. For example, the URL endpoint for Europe / Frankfurt is:
https://api.cf.eu10.hana.ondemand.com

Once everything seems fine, you can validate using the corresponding button. If something is not OK, a red message will be printed out
🙂

The new panel shows you the available organizations and spaces from your Cloud Foundry environment. If you followed the previous blog, you should see something similar to this screenshot:

Ok, it is finish for now! If you double-click on the new created server, a panel will appear. this one is summarizing your environment your are connected to and see what applications and service instances are currently running.

By right-clicking on the server, you can discover some operations you can trigger from Eclipse to Cloud Foundry like: stop, restart, remove, etc...

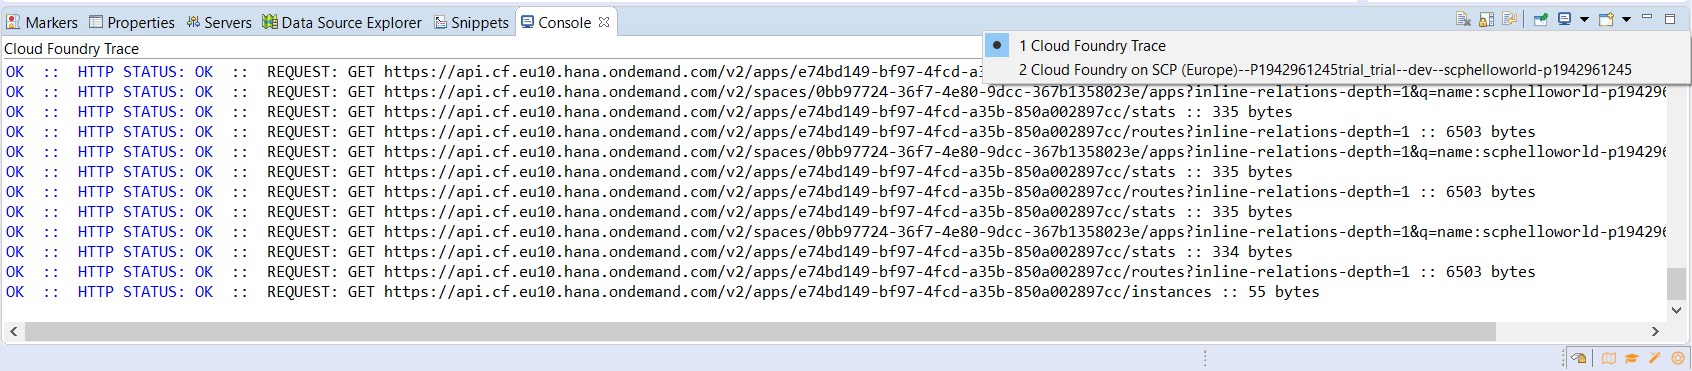
A last tips: if you which to see HTTP traffic between Eclipse and Cloud Foundry, you can enable tracing through Window > Preferences > Cloud Foundry menu. You can not miss it because it is the only available option
🙂

After that, a new console will be available showing HTTP requests fired by Eclipse.
In this blog, you learnt how to connect Eclipse to Cloud Foundry running on SAP Cloud Platform in order to control applications and service instances.
In next part, you will discover how to go further by doing some Java code and deploying an application to live very easily!
Please, leave a comment and don't hesitate to share your heads-up!
