Most of the developers who want to use workflow in their cloud applications always have this larger question as: “
how can I integrate my scenario specific user interface as task UI in workflow?”
In this blog, I will show you how to make your custom HTML5 application integrated with User Task in workflow. For that, I am assuming that you already have an SAPUI5 application which is running standalone.
PART 1A
Part 1A is for the readers who do not have any HTML5 application to be used as user task in workflow. You can skip Part1A if you already have a custom application.
We start with creating an easy “hello world” SAPUI application first.
- Open SAP Cloud Platform cockpit and go to Services
- Search for SAP Web IDE Full-Stack service
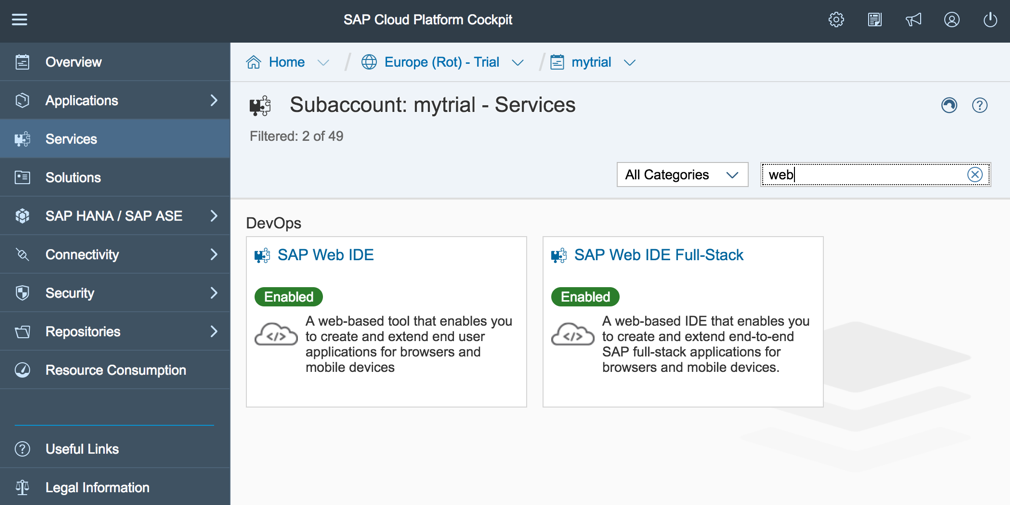
- Click on the tile to navigate into the service
- If the service is not enabled, then click on Enabled button and wait for service to be enabled
- Click on the link Go to Service link to open the Web IDE in browser
 Note: Due to recent updates with the Wed IDE you need to open the URL with parameter “sap-ide-external=true”. If you do not do that then it assumes that you are Fiori developer and the application your building must go through regular release build process.For example:
https://webidecp-mytrial.dispatcher.hanatrial.ondemand.com/?sap-ide-external=true
- Right click on the File --> New --> Project from Template
- Select SAPUI5 Application template

- Click Next and all the required details as project name, namespace and view name
- Finally, click Finish to see the project created in the workspace.Note: Due to recent updates from Web IDE, you might see new build files created Gruntfile.js and package.json

- For ease of the explanation, I have built a simple application on “Hello World” which will show a user information like first name, last name and address. For that, I changed view.xml as shown

- Once you have finished building the view, right-click on the project and select option:
Deploy --> Deploy to SAP Cloud Platform
- Now you can open the cockpit and find the application URL

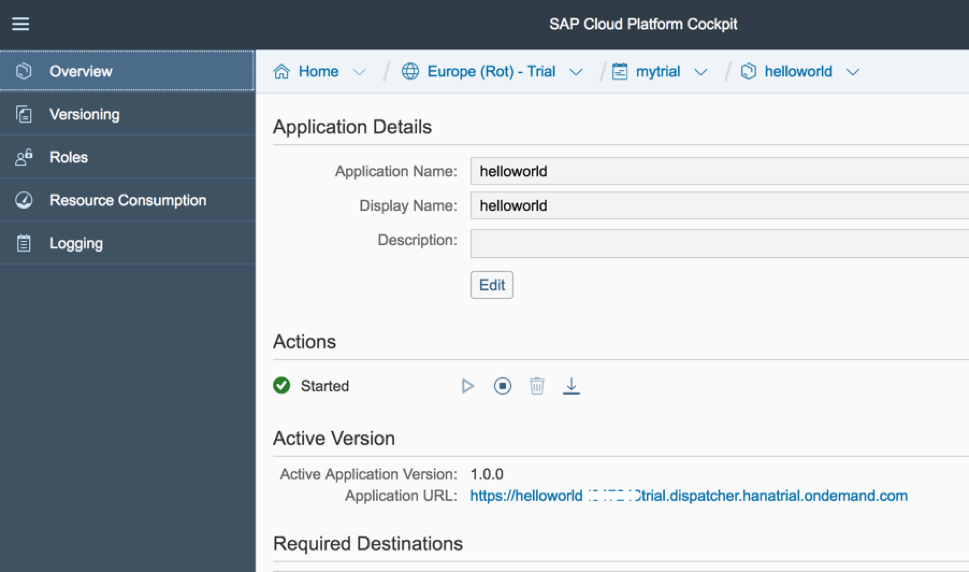
- Click on the Application URL to open the application and you will the personal information of a user

You have now finished creating a simple application which we will integrate as Task UI in
Part1B: Using your Custom HTML5 application as User Task in Workflow of the blog series
Previous Blogs
Understanding Custom UI Integration with SAP Cloud Platform Workflow
Part1A: Build your Custom HTML5 application in SAP WebIDE for Workflow
