
- SAP Community
- Products and Technology
- Technology
- Technology Blogs by SAP
- Cloud Integration – Partner Directory – Sender Par...
Technology Blogs by SAP
Learn how to extend and personalize SAP applications. Follow the SAP technology blog for insights into SAP BTP, ABAP, SAP Analytics Cloud, SAP HANA, and more.
Turn on suggestions
Auto-suggest helps you quickly narrow down your search results by suggesting possible matches as you type.
Showing results for
Employee
Options
- Subscribe to RSS Feed
- Mark as New
- Mark as Read
- Bookmark
- Subscribe
- Printer Friendly Page
- Report Inappropriate Content
08-24-2017
8:45 AM
Partner Directory – Sender Partner Connecting with Client Certificate Authentication
We enhance the scenario described in the blog Partner Directory – Step-by-Step Example. We add a third partner who connects to the integration flow via client certificate authentication . We show how the necessary configuration of the integration tenant can be done with help of the Partner Directory OData API. Especially we introduce the OData entity type “CertificateUserMapping”.
How inbound client certificate authentication works is described in Client Certificate Authentication.
Example Scenario
In the previous blog Partner Directory – Step-by-Step Example we had two sender partners (“Sender_BASIC” and “SenderOAUTH”) which connect to the integration flow either via BASIC or OAUTH authentication. Now, we add a third partner with partner ID “Sender_CERT” which uses client-certificate authentication. See the following diagram.

Diagram 1: Scenario
We simulate the sender „Sender_CERT“ with help of SoapUI instead of using Postman because SoapUI has better support for client certificate authentication.
Precondition
For the client-certificate authentication, you need a key-pair with a X.509 certificate chain which is trusted by the SAP Cloud Integration Load Balancer. We cannot provide such a key-pair due to security reasons.
The list of trusted CAs of the Load Balancer is given in Load Balancer Root Certificates Supported by SAP.
In the following we assume that you have a JCEKS client keystore containing such a key-pair with an adequate certificate chain assigned.
The client keystore must also contain the “Baltimore CyberTrust Root” CA certificate to trust the X.509 certificate chain of the Load Balancer key-pair. You can download this certificate from https://baltimore-cybertrust-root.chain-demos.digicert.com/info/index.html. The following screen shot taken from KeyStore Explorer tool shows the keystore content.

Screen Shot 1: Client Keystore Containing the “Baltimore CyberTrust Root” CA Certificate and the Client Key-Pair
Ensure that the key-pair entry has a certificate chain assigned containing at least the client certificate and the intermediate CA certificate. You can see the certificate chain in the KeyStore Explorer by double clicking on the key-pair entry.
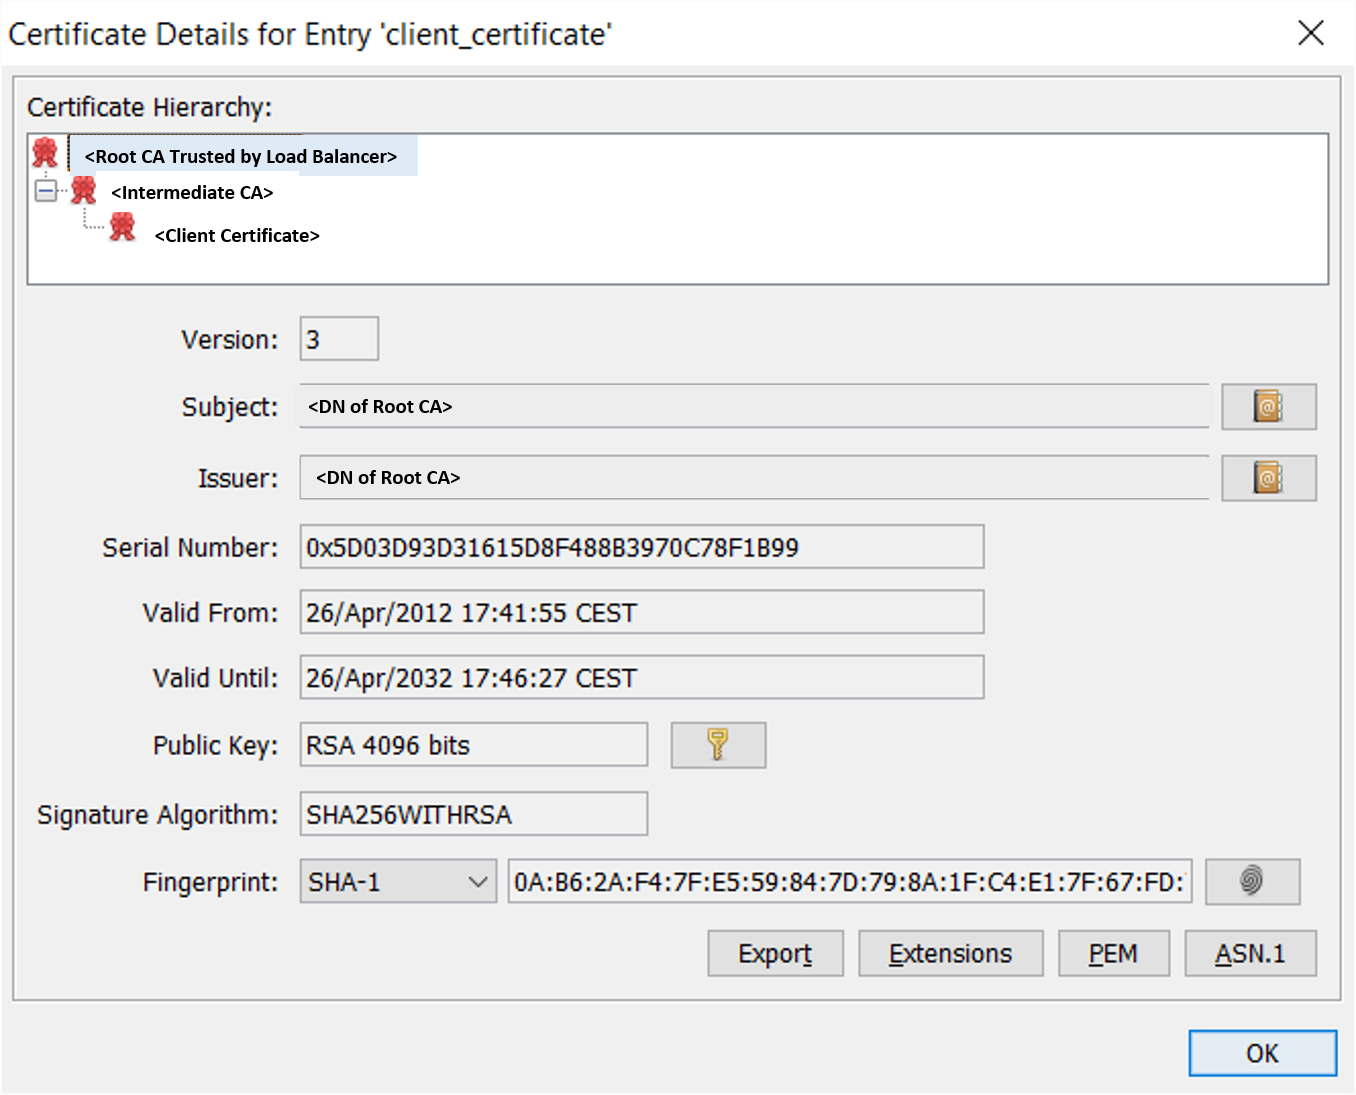
Screen Shot 2: Client Certificate Chain Assigned to Key-Pair Entry
Additionally, you need SoapUI for executing a call to the integration flow with client certificate authentication. You can get an open source version from https://www.soapui.org/downloads/soapui.html. We used SoapUI version 5.3.0.
Step-By-Step Configuration
We describe step-by-step what you must configure for the new sender “Sender_CERT”.
Step 1: Create Certificate User Mapping
A certificate-user mapping must be created in the SAP Cloud Integration tenant. This can either be done via the Cloud Integration WEB-UI or programmatically via an OData request. We use here the OData API.
Step 1.1: Export the Client Certificate from the Client Keystore
Use KeyStore Explorer to export the client certificate. Mark the key-pair entry and choose the menu option >Export >Export Certificate Chain
In the shown pop-up keep the settings “Head Only”, “X.509”, and “PEM” as shown in the following screen shot.

Screen Shot 3: Export Client Certificate with Help of Keystore Explorer
Step 1.2: Call Odata API
Call the OData API for the certificate-user mapping as described in Addressing Certificate-to-User Mappings using Postman (See also chapter “Setp 3: Adding Partner Information to the Partner Directory“ of the previous blog Partner Directory – Step-by-Step Example.
Use as User the value “user_for_sender_cert” as shown in the following example request body.
{"Id":"12", "User":"user_for_sender_cert", "Certificate":"LS0tLS1CRUdJTiBDRVJUSUZJQ0FURS0tLS...QT0NCi0tLS0tRU5EIENFUlRJRklDQVRFLS0tLS0NCg=="}OData Request Body Snippet for Creating a Certificate-User Mapping
Note, that you must base64 encode the client certificate; but you can use a dummy value for the “Id” property.
The request address is given by
https:<tmn>/api/v1/CertificateUserMappingsRequest Address for Creating a Certificte-User Mapping
Check in the Cloud Integration WEB UI that the certificate-user mapping was created.
Step 2: Create Authorized User
As for the other sender partners, you create an Authorized User entry in the Partner Directory which ensures that the user “user_for_sender_cert” gets the role “ESBMessaging.send” assigned for executing integration flows and which ensures that not any other partners can use this user.
See chapter “Step 3.2 Authorized user” of the previous blog Partner Directory – Step-by-Step Example.
Perform a POST call to the address
https://<tmn>/api/v1/AuthorizedUserswith the body
{"Pid":"Sender_CERT","User":"user_for_sender_cert"}You can also find further information in the documentation Requests for String Parameter, Binary Parameter, and Authorized User.
Call the Integration Flow
Before we call the integration flow with the new sender using SoapUI, verify that the Partner Directory Integration Flow and the two receiver integration flows of the previous blog Partner Directory – Step-by-Step Example are deployed. Additionally, verify that the following two String Parameter entries for looking up the receiver addresses exist in the Partner Directory (See chapter “Step 3.1 Creating/Updating/Deleting a String Parameter Entry” of the previous blog).
{ "Pid": "Receiver_1", "Id": "ADDRESS", "Value": “https://<receiver_iflmap>/cxf/receiver_1”}

{ "Pid": "Receiver_2", "Id": "ADDRESS", "Value": “https://<receiver_iflmap>/cxf/receiver_2”}
String Parameter Entries in the Partner Directory for Looking-Up the Receiver Address
Step 1: SoapUI SSL Settings
In SoapUI go to the menu option
> File > Preferences
and select the “SSL Settings” tab.
Enter in the “Keystore” field the path to the client keystore.
Enter the password of the client keystore.
And tick the “requires client authentication” field.

Screen Shot 4: SoapUI SSL Settings for Client Certificate Authentication
Step 2: SoapUI Proxy Settings
Further, select the “Proxy Settings” tab and enter your proxy, if necessary.

Screen Shot 5: SoapUI Proxy Settings
Step 3: Execute Request in Rest Project
Press the button “REST” in the button bar for creating a new Rest project.
In the pop-up, enter the URL of the integration flow endpoint
https:///http/partner_directory_test
In the Request View, chose the “POST” Method and the Media Type “text/xml” and enter the following message body.
<Message>

    <SenderPartnerId>Sender_CERT</SenderPartnerId>

    <ReceiverPartnerId>Receiver_1</ReceiverPartnerId>

    <Content>test</Content>

</Message>
Payload 1: Request body for Receiver_1
Press the “Submit request” button. The following screen shot shows the request and response in Soap UI.

Screen Shot 6: Executing the Request in SoapUI
If you use the following request body for the receiver “Receiver_2”,
<Message>

   <SenderPartnerId>Sender_CERT</SenderPartnerId>

    <ReceiverPartnerId>Receiver_2</ReceiverPartnerId>

    <Content>test</Content>

</Message>
Payload 2: Request body for Receiver_2
then you get as response the following response body
<Message>

    <SenderPartnerId>Sender_CERT</SenderPartnerId>

    <ReceiverPartnerId>Receiver_2</ReceiverPartnerId>

    <Content>Receiver_2 greets Sender_CERT</Content>

</Message>
Payload 3: Response Body
- SAP Managed Tags:
- SAP Integration Suite,
- Cloud Integration
Labels:
You must be a registered user to add a comment. If you've already registered, sign in. Otherwise, register and sign in.
Labels in this area
-
ABAP CDS Views - CDC (Change Data Capture)
2 -
AI
1 -
Analyze Workload Data
1 -
BTP
1 -
Business and IT Integration
2 -
Business application stu
1 -
Business Technology Platform
1 -
Business Trends
1,658 -
Business Trends
91 -
CAP
1 -
cf
1 -
Cloud Foundry
1 -
Confluent
1 -
Customer COE Basics and Fundamentals
1 -
Customer COE Latest and Greatest
3 -
Customer Data Browser app
1 -
Data Analysis Tool
1 -
data migration
1 -
data transfer
1 -
Datasphere
2 -
Event Information
1,400 -
Event Information
66 -
Expert
1 -
Expert Insights
177 -
Expert Insights
293 -
General
1 -
Google cloud
1 -
Google Next'24
1 -
Kafka
1 -
Life at SAP
780 -
Life at SAP
13 -
Migrate your Data App
1 -
MTA
1 -
Network Performance Analysis
1 -
NodeJS
1 -
PDF
1 -
POC
1 -
Product Updates
4,577 -
Product Updates
340 -
Replication Flow
1 -
RisewithSAP
1 -
SAP BTP
1 -
SAP BTP Cloud Foundry
1 -
SAP Cloud ALM
1 -
SAP Cloud Application Programming Model
1 -
SAP Datasphere
2 -
SAP S4HANA Cloud
1 -
SAP S4HANA Migration Cockpit
1 -
Technology Updates
6,873 -
Technology Updates
419 -
Workload Fluctuations
1
Related Content
- FAQ for C4C Certificate Renewal in Technology Blogs by SAP
- How to use AI services to translate Picklists in SAP SuccessFactors - An example in Technology Blogs by SAP
- Services not visible in BAS S/4 Hana Public Cloud. in Technology Q&A
- Real time access management with SAP BTP Kyma serverless workloads in Technology Blogs by SAP
- Mistral gagnant. Mistral AI and SAP Kyma serverless. in Technology Blogs by SAP
Top kudoed authors
| User | Count |
|---|---|
| 35 | |
| 25 | |
| 13 | |
| 7 | |
| 7 | |
| 6 | |
| 6 | |
| 6 | |
| 5 | |
| 4 |