In the
first part of this blog series, we have deployed our first workflow to the SAP Cloud Platform.
To see the deployed workflows in your account, there is a "Monitor Workflow" app. Before you can run it, you need to add it to your Fiori launchpad.
Adding the workflow apps to your home page
Open the Portal Administration space (you can find the link on the Portal service tile) and open the "Site Directory" menu. Choose the "Default" site and click on the link to open it.

Now, click on your user menu and use the App Finder to add all three apps from the Workflow catalog to your Home Page: My Inbox, Monitor Workflows (Definitions) and Monitor Workflows (Instances).

Check the deployed workflow definition in the "Monitor Workflow" app
Once you're done, go to your Home page and open the Monitor Workflows (Workflow Definitions) app.
Here, you should see your deployed Workflow. Since we deployed it for the first time, the version number is "1". Each new deployment will increase the version number.
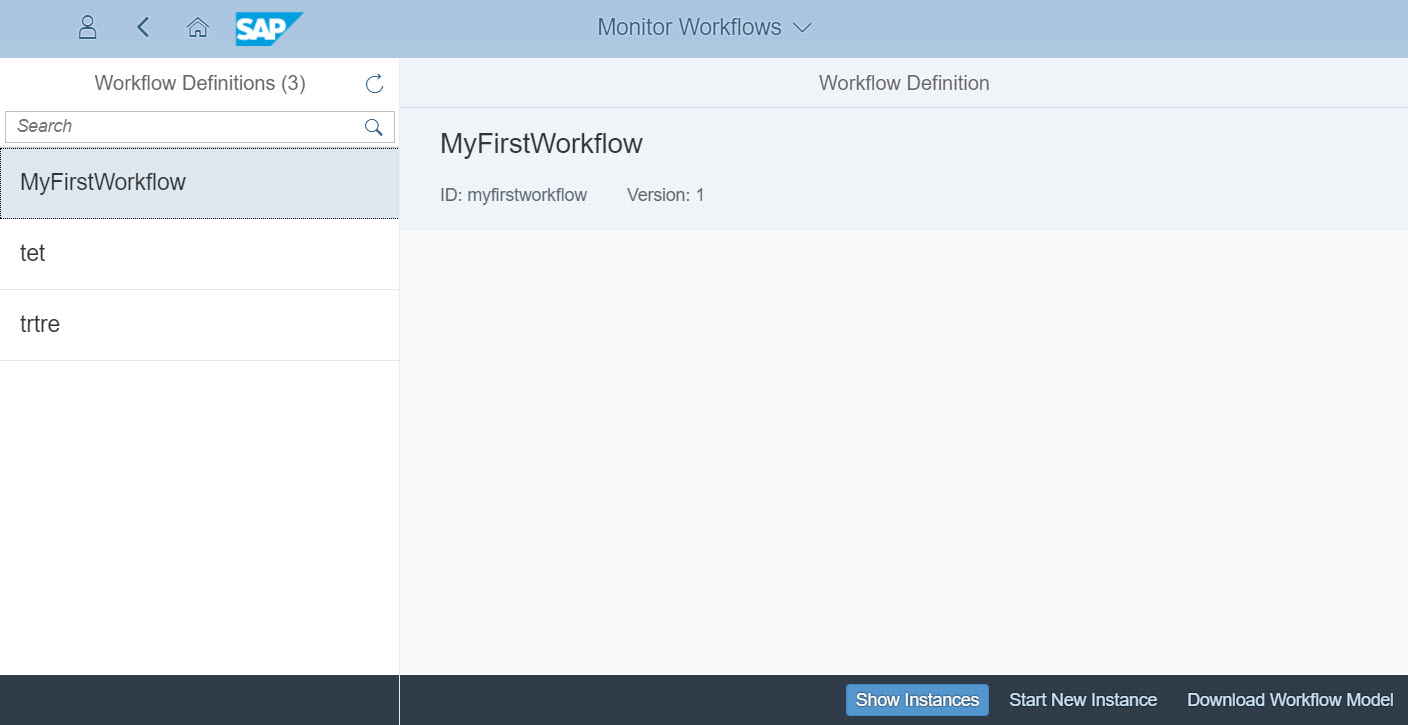
You can now open the running instances for this workflow (there are none yet) or start a new instance.
Typically, you would start a new workflow instance either from an UI or from an another application, via the Workflow service
REST API, but the monitoring app provides an easy way to start workflows for testing purposes.
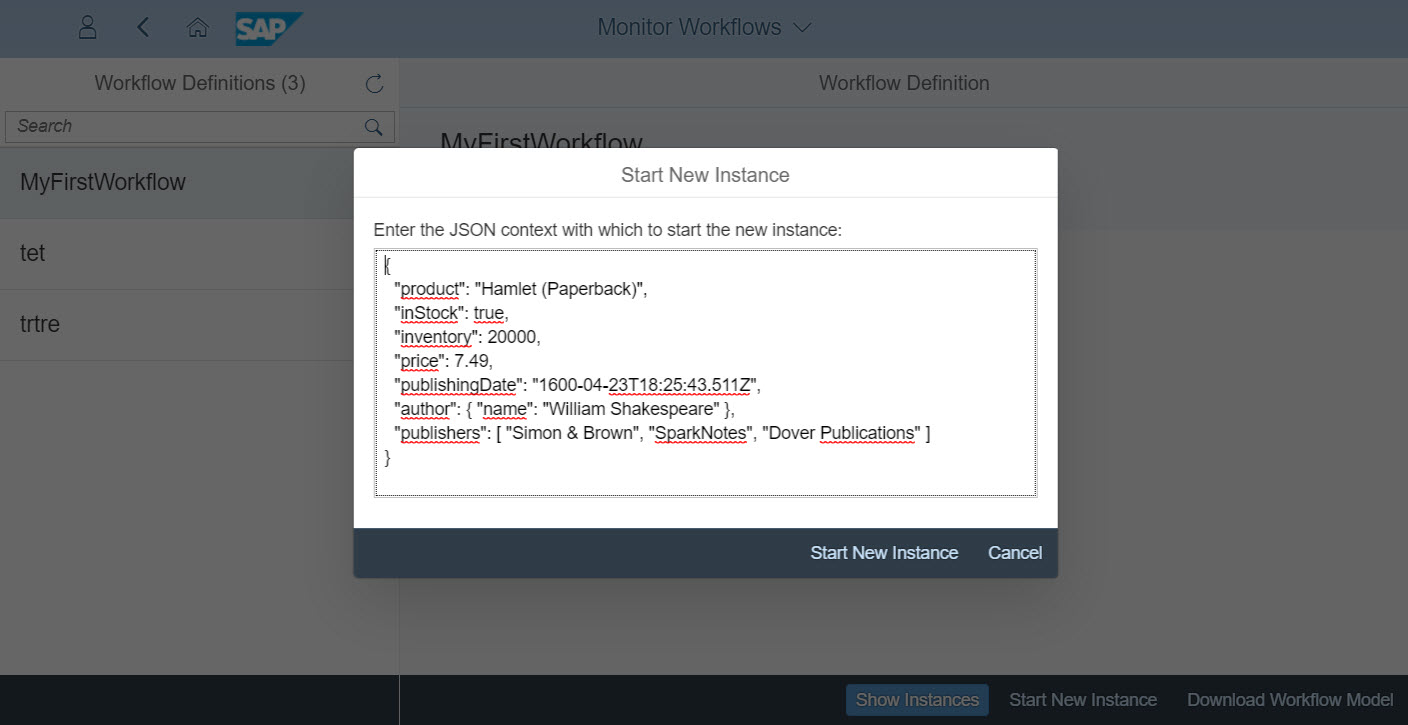
When starting a workflow, you can provide a JSON structure as input data. These JSON objects get stored within the workflow as context data. You can use them throughout the workflow e.g. in Gateways, user tasks or service tasks. Read more on how to handle workflow data
here.
Since the workflow we modelled contains only a start and end event, if you start an instances it will immediately get completed and hence not be visible under "Show instances" (you can still retrieve completed instances through the
REST API).
So let's go back to the Web IDE and enhance our workflow with a user task.
Adding an user task to the workflow
In the workflow editor, select the "User Task" symbol from the palette and click on the connector between the start and the end event.

Change the name to "ApproveBook" in the properties under the "
General" tab.
Now, switch to the "
Display Texts" properties tab.
Here, you can define the task subject. This is the text that the user will see in his inbox.
We want to show the book name, so let's use an expression which references a field from the sample JSON structure above (read more on how to use expressions
here).
Enter "Approve ${context.product}" in the Subject field.
Move on to the "
Recipients" tab to define who will receive the task.
Enter your user ID exactly as it shows up in the user info (please note that this field is case sensitive).
As a last step, switch to the "
User Interface" tab.
Here, you will have to enter the application and component name of an SAPUI component, which will display the task in the inbox.

For now, let's just enter some dummy values (test/test).
Save and deploy the workflow again and then switch back to the monitoring app. Note that the Version of your workflow definition has increased from "1" to "2".
Start a new workflow instance
Start another workflow instance, and leave the standard JSON input as is.
When you now open the "Show Instances" view, you should see the one instance you just started:

The execution log shows, that there is a task waiting in the inbox.
Open the task in My Inbox
So let's go back to the Fiori launchpad home page. As you can see, the "My Inbox" tile shows one open task.

If you open the inbox, you see the task with some header information, but without any further details or actions.

In order to actually complete the task (and thereby the workflow), you will have to build a SAPUI component as described
here.
Update: Please also check out the new blog series by archana.shukla here:
https://blogs.sap.com/2017/10/12/part-1a-build-your-custom-html5-application-in-sap-webide-for-workf...
However, we will leave this for another blog, and end our introduction here.
Summary
You have seen how to model and deploy workflows using the SAP Web IDE, start and monitor workflow instances via the Monitor Workflow app and see user tasks in the My Inbox.
Check out the
Workflow Developer Guide or explore the REST APIs in the
SAP API Business Hub sandbox environment.
Share your feedback, and stay tuned for more
blogs on SAP Cloud Platform Workflow!
