How to Guide
XCA quick start guide
Introduction
This tutorial comes as an extension to the blog post: "How to Guide - Principal Propagation in an HTTPS scenario". In that context, a couple of certificates had to be created to configure the SAP Cloud Connector. Due to the specific requirements of one of those required certificates we couldn’t use the internal services offered by SAP to sign the certificate. XCA seemed to be a light and easy way to achieve those tasks of creating and signing certificates. It also provides enough flexibility to set the specific properties required.
XCA is a tool distributed under BSD license and thus can be used freely without restriction.
Creating a database
The very first time XCA will be used, you will have to create a database to hold all the security assets required relevant to XCA: private and public keys, certificate signing requests, …
Go to “File” menu then select “New Database”

Provide a name to the database you are about to create and press “Save”.

Provide a password for the database and press “Ok”.

You will see that the interface will be slightly different. The Lists in the app will still be empty but now some columns headers will be present…

Next, the first step will then be to create a Root Certificate that will be used to sign all the certificate will generate and all the certificate signing requests we will get.
Creating a Root Certificate
Go to the third tab of the interface called “Certificates”

Click on “New Certificate” button
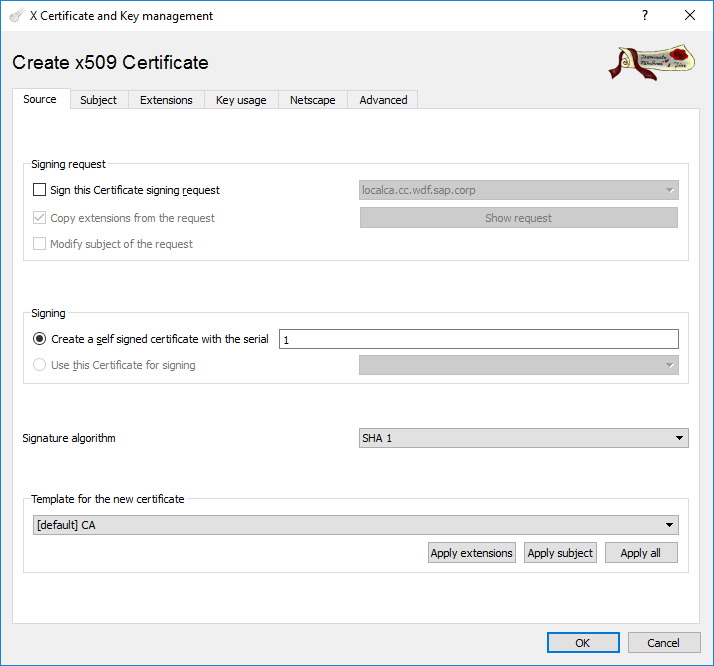
Verify that the appropriate signature algorithm is selected (the default SHA-1 can be changed in the properties of the tool). And ensure that CA is selected as the template for the new certificate.

Then move to the second tab, “Subject”
Provide the relevant data for the distinguish name

Generate a new key for this certificate. Click on the button at the bottom “Generate a new key”.


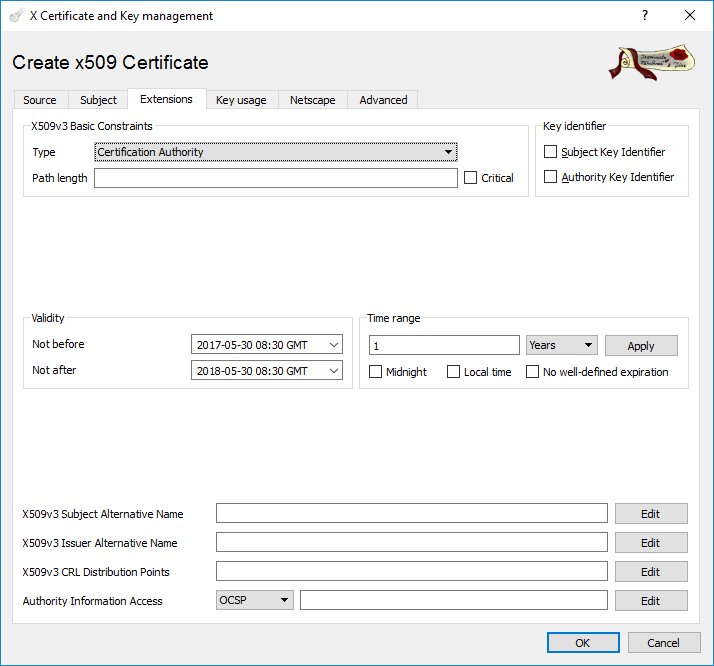
Move to the next tab, “Extensions”.

Select “Certificate Authority” as Type.
Move to the next tab, “Key usage” and select the highlighted properties in the screenshot bellow.

Then press the “OK” button to complete.

Press “OK”

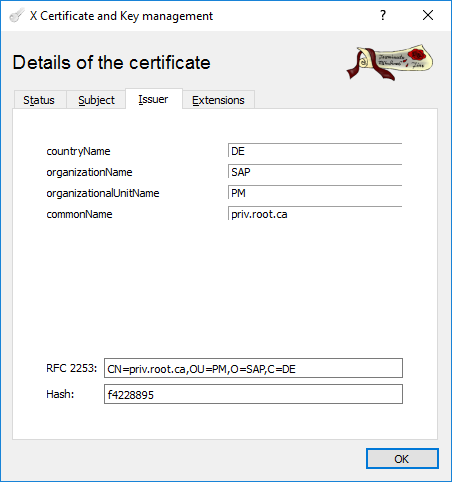
Inspecting a certificate
If we want to inspect the certificate that had just been created. Double click on it.


Creating an identity certificate
Click the “New Certificate” button.
Select the certificate to use to sign the certificate you are about to build
Select the signature algorithm
Ensure that the template used is “HTTPS_client”

Then move on to the next tab, “Subject”
Provide the relevant information for the Distinguished Name
Generate a new key for this certificate

Then move on to the next tab, “Extensions”
Select the “Type” as “End Entity”

Move to the next tab, “Key Usage”
Ensure that Digital Signature is selected

Press OK to complete the creating process

Signing a CSR
In the previous section, we have created a Root certificate using a CA template. Now we will see how we can sign a CSR using that Root Certificate.
Importing a CSR
Go to the second tab of XCA where all the CSR available to the app are listed.

Click the “Import” button on the right.


Signing the CSR
Right-click on the CSR and select “Sign”

Select the checkbox “Sign this Certificate signing request” and double check that the certificate to sign is correctly reference in the dropdown list next to the checkbox.
Check which certificate should be used to sign and the signature algorithm
Select “HTTPS_client” as the template to use for the new certificate you are about to build.

Then move on to the next tab, “Extensions”
Select “End Entity” as the “Type”

In the case of the certificate required to configure the “CA Certificate” of the SAP Cloud Connector you will have to ensure that the “Certificate Sign” property is enabled. Remember that this certificate will be used to sign the short-lived certificates that the SAP Cloud Connector will build in the context of Principal Propagation. Having the ability to sign other certificate is then crucial!

Press “OK “ button to complete the build

Now if you expand the priv.root.ca certificate in the certificate pane you will see the signed CSR or the certificate underneath it.

