
- SAP Community
- Products and Technology
- Technology
- Technology Blogs by SAP
- Creating a new Fiori on EP role including iviews f...
Technology Blogs by SAP
Learn how to extend and personalize SAP applications. Follow the SAP technology blog for insights into SAP BTP, ABAP, SAP Analytics Cloud, SAP HANA, and more.
Turn on suggestions
Auto-suggest helps you quickly narrow down your search results by suggesting possible matches as you type.
Showing results for
nickrankin
Contributor
Options
- Subscribe to RSS Feed
- Mark as New
- Mark as Read
- Bookmark
- Subscribe
- Printer Friendly Page
- Report Inappropriate Content
07-19-2016
1:14 PM
Overview
In this blog post, I am going to discuss the various configurations including screenshots required for how to build your own FLP@EP Role, iviews (tiles) from the beginning. The idea of this blog post is to really cover the basis of what is provided within the sample data under this blog post: SAP Fiori Launchpad on Portal – Sample Content for Administrators. I will cover the following processes:
- Creating a new FLP@EP compatible role
- Creating new iviews (URL, transaction, wda etc.) and adding to the above role
- Configuring iviews as required to appear under the Fiori Framework Page on Portal (FLP@EP)
- Adding iviews to particular device groups
- Configuring if iview should display be default or not
- Other useful configurations
In this blog post I will not be covering the consumption of application/groups via the ABAP FES.
1.) Starting off - Creating our FLP Role
The FLP role will be assigned to end users whom will be accessing the FLP on Portal. This role will contain the iviews we wish to represent as tiles under the FLP. These iviews may be existing ones already defined under your Portal, or else new ones you may wish to define. All iview object templates are supported here, including URL, WDA, WDJ, Transaction, UI5 etc.
- Create a new folder under your Content Administration -> Portal content catalog. In my case I'm going to call it FLP
- Inside this new folder create a new Freestyle Role, I'm calling mine FLP_ROLE
- Open the newly created role, and create a new folder to act as our entry point, in this case I'm going to call it FLP
- Activate the Entry Point option for both the Role and the Folder
- We should now have a role configured, as below:

- Add the newly created role to your user via User Administration -> http://<host>:<port>/useradmin
2.) Assigning the Fiori Desktop to a new URL Alias under the Master Rules Collection
Tip: It is recommended to create a new delta link copy of both Fiori Framework Page, Blue Crystal theme, and make a new Desktop. This way, if you decide to make changes to the framework page/theme configurations they will be retained after upgrade.
- Open the URL Alias Manager via: System Administration -> System Configuration - Portal Display
- You may find the alias portal/fiori is already defined. If you are happy to use this alias, you may skip the next step
- In this case I want to use http://<portalhost:port>/irj/portal/myflp to access Fiori. Click the New button and for Alias Name enter portal/myflp. We can ignore the other URL Alias options and keep the defaults
- Open the Master Rules Collection, System Administration -> System Configuration - Portal Display-> Desktops & Display Rules
- Navigate and expand Portal Content -> Portal Administrators -> Super Administrators. Right click on Master Rules Collection -> Open -> Rule collection
- Create a new expression via Add if expression button. Here we will set a URL Alias rule, where URL Alias = "portal/myflp", then launch the FLP@EP desktop
- You should have a new rule defined something like the below. Apply the changes to the rule and save the MRC.

- Optional but recommended step. Navigate to Content Administration -> Portal Display -> Framework Page Configuration. In the drop down menu here select the Desktop/Framework Page combination as chosen above. Disable the personalization option for now (untick Enable personalization).
Why? Each time a change is made to device groups, setting app for homepage you will need to clear the UCD cache for your user. By disabling personalization while configuring your FLP@EP, you are saving yourself the time of having to do this each time changes are made.
3.) Creating Fiori tile content (iviews)
- Under our FLP folder, right click and create a new iview. You can choose any type of iview. In this case, I'll create a URL iview which I wish to point to http://www.sap.com
- The iview can be created either under the Role via the New button, or else added via the Portal content catalog. What is important here is the iview is maintained under the FLP folder within our role
- We now have a role, containing a iview as below (notice the entry point configurations):

- but we now try to call http://<host>:<port>/irj/portal/myflp and there are no tiles, WHY? In order for an iview to be displayed under the FLP, we must configure it to be a member of a Device Group, simply this means we can target iviews for particular groups of devices, Desktop, Tablets, and Mobile. By default an iview is not a member of any FLP@EP device group
- Select the newly created iview and Open the iview Properties (All Properties). Filter the property list for property: Object ID of Device Group. Under this property, we will define the device group to display on all devices, including Desktops, Mobiles and tablets. Device group assignment can be adjusted according to business requirements. In this case, I am using the following properties for Device Group:
com.sap.portal.dg.desktop;com.sap.portal.dg.smartphone;SmartphoneAndroid - I also want to make this tile appear to all users, by default under the FLP. To do this filter the iview property by Default App in Home Page. Check the checkbox for this property and then save the iview
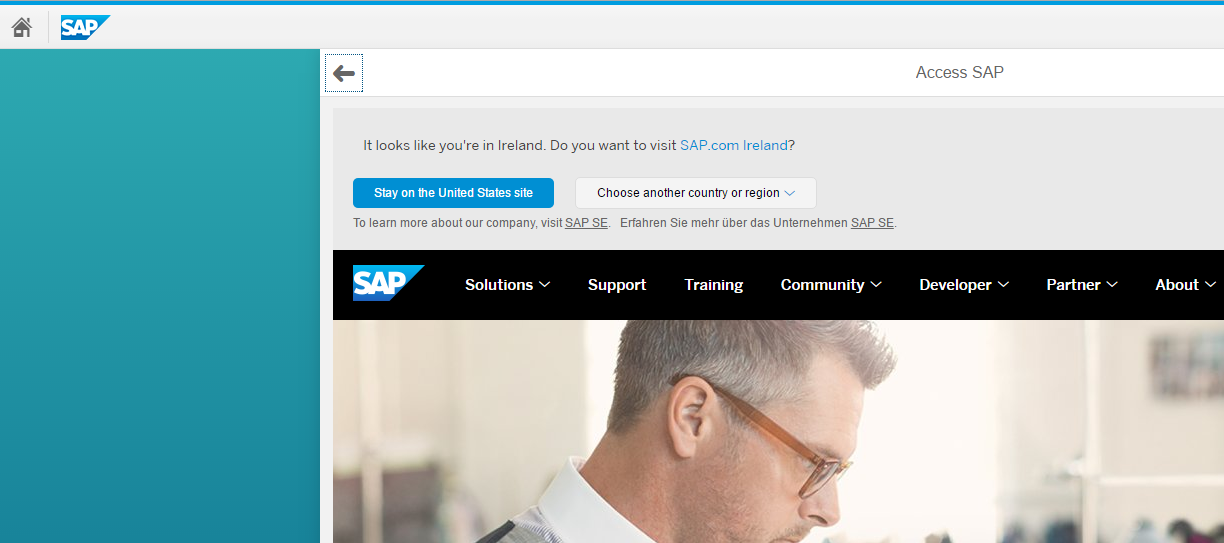
- Lets now call our FLP@EP URL again http://<host>:<port>/irj/portal/myflp). Success! We now have our first Fiori app/iview assigned and functioning:
Fiori Tile

Upon opening the Fiori tile, URL iview displays
4.) Customizing our new Fiori "app"/tile
At this point I now have a fully working tile/URL iview pointing to website as required. I would like the icon on my tile to display a custom image (in this case the SAP logo) instead of the calendar picture (pictogram).
Customizing the FLP@EP tile image
- Locate a suitable image of choice and resize it as required
- Navigate to Content Administration -> Web Resource Repository
- To be tidy, I am going to create a new folder in here for my uploads called FLP
- Right click on your new folder and choose Upload Resource. At this point browse to your picture location and upload. Steps can be seen highlighted below:

- Right click on your newly uploaded image resource, choose properties and locate the location property, as below:

- Our location to the SAP logo under the WRR is now pcd:resource_repository/FLP/sap.png. notice the inclusion of pcd:, not included in the above, but we must include to reference our PCD object.
- Back to the FLP@EP role, open the iview and filter for property Icon URI For this property we enter the full location to the image including the PCD: prefix
- We must now set the Image Type property to equal, image (full width), instead of icon.
- correct configuration as expalined above can be found below:

- Now, we call our FLP@EP launchpad again, and now we have our custom icon:

Although in the above example we use a URL iview, it is also possible to assign all iview object types, including UI5, WDA/J, Transactional etc. The recommended theme to use in such cases is sap_bluecrystal, and FLP@EP requires Standards rendering mode under MSIE web browser. For details you can refer to this excellent blog post: IE and Portal – Standards/Quirks Mode Evolution (or Love-Hate Relationships).

(Pictured: SAP Transaction iview calling SU01 transaction under FLP@EP)
5.) Assigning tiles to a category
It is possible to assign tiles under up to 20 different categories*.
* If more than 20 categories are required, please refer to SAP Note 2214932.
- Open the Fiori Launchpad Categories iview stored under the following PCD location:
Content Administration -> Portal Content -> Portal Users -> Standard Portal Users -> iviews -> Fiori Launchpad - Under this iview, up to 20 categories may be configured. The following properties will apply to each iview:
Category XX ID
Category XX Order
Category XX Title - The ID will be used to reference the category an iview should belong to, the Order will define the order in which categories should display and the title is the Title that you will use for the category.
- In the above example, I will add my URL iview to a Category called "Corporate", while I will have a new category called "Admin" to access my SU01 transaction ivew
- I have configured my Fiori Launchpad Categories iview to include the below:

- Now open your FLP@EP iviews and filter each by Category Assignment property. Under here, the Category ID you have defined should be added, such as the below example:

- When you next call your FLP@EP launchpad, rather than the tiles belonging to the General (uncategorized) section, the tiles will now be grouped:

13 Comments
You must be a registered user to add a comment. If you've already registered, sign in. Otherwise, register and sign in.
Labels in this area
-
ABAP CDS Views - CDC (Change Data Capture)
2 -
AI
1 -
Analyze Workload Data
1 -
BTP
1 -
Business and IT Integration
2 -
Business application stu
1 -
Business Technology Platform
1 -
Business Trends
1,658 -
Business Trends
91 -
CAP
1 -
cf
1 -
Cloud Foundry
1 -
Confluent
1 -
Customer COE Basics and Fundamentals
1 -
Customer COE Latest and Greatest
3 -
Customer Data Browser app
1 -
Data Analysis Tool
1 -
data migration
1 -
data transfer
1 -
Datasphere
2 -
Event Information
1,400 -
Event Information
66 -
Expert
1 -
Expert Insights
177 -
Expert Insights
293 -
General
1 -
Google cloud
1 -
Google Next'24
1 -
Kafka
1 -
Life at SAP
780 -
Life at SAP
13 -
Migrate your Data App
1 -
MTA
1 -
Network Performance Analysis
1 -
NodeJS
1 -
PDF
1 -
POC
1 -
Product Updates
4,577 -
Product Updates
340 -
Replication Flow
1 -
RisewithSAP
1 -
SAP BTP
1 -
SAP BTP Cloud Foundry
1 -
SAP Cloud ALM
1 -
SAP Cloud Application Programming Model
1 -
SAP Datasphere
2 -
SAP S4HANA Cloud
1 -
SAP S4HANA Migration Cockpit
1 -
Technology Updates
6,873 -
Technology Updates
418 -
Workload Fluctuations
1
Related Content
- Onboarding Users in SAP Quality Issue Resolution in Technology Blogs by SAP
- What’s new in Mobile development kit client 24.4 in Technology Blogs by SAP
- Improvising Time Management in SAP S/4HANA Cloud: A Co-Innovation Solution in Technology Blogs by SAP
- Accelerate Business Process Development with SAP Build Process Automation Pre-Built Content in Technology Blogs by SAP
- Mistral gagnant. Mistral AI and SAP Kyma serverless. in Technology Blogs by SAP
Top kudoed authors
| User | Count |
|---|---|
| 35 | |
| 25 | |
| 13 | |
| 7 | |
| 7 | |
| 6 | |
| 6 | |
| 6 | |
| 5 | |
| 4 |