If you are the first time to use the Agentry Backend System and want to add a notification with attachment and transmit the data from Backend System to Agentry Client successfully, this quick start guide will be good for you.
Note: All the contents of this article are the minimum requirement on this topic.
Prerequisites:
- For the Work Manager Application Part
- Install the work manager 6.3 and deploy it on the SAP Mobile Platform following the link.Quick Start Guide to install SAP Work Manager 6.3 with SMP 3.0
- For the Agentry Backend Part
- Create a work center and associate with a existed plant
- Assign your personnel id to this work center
- Associate your Backend user with the personnel id
For the Agentry Backend part, you can follow the link below for the reference if have any query.
http://scn.sap.com/community/mobile/blog/2016/04/11/configuration-related-to-personnel-id-issue-in-a...
Test Environment:
SAP Mobile Platform 3.0 SP10
Work Manager 6.3
WPF Agentry Client v70.11.0
Step by Step guide:
Log on the Agentry Backend ERP system and run the Transaction code /SYCLO/CONFIGPANEL and open the web page.

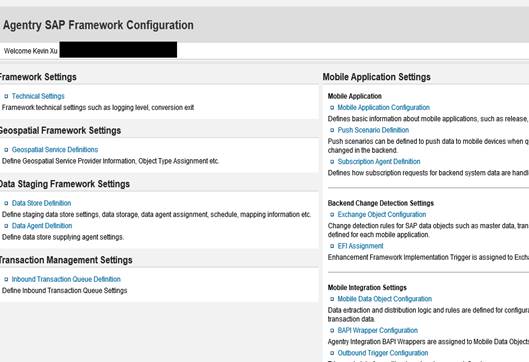
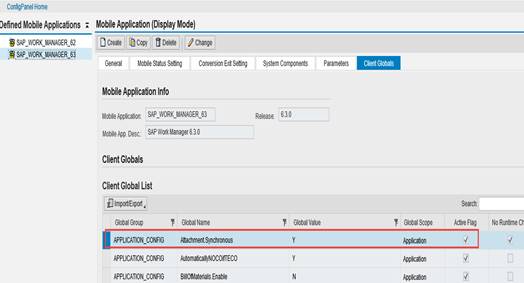
Select “Mobile Application Configuration” and choose the work manager 6.3 application. Press “Client Globals” tab and change the ‘Attachment.Synchronous’ setting’s value to ‘Y’ if the content was “N” before, also the active flag should be clicked.
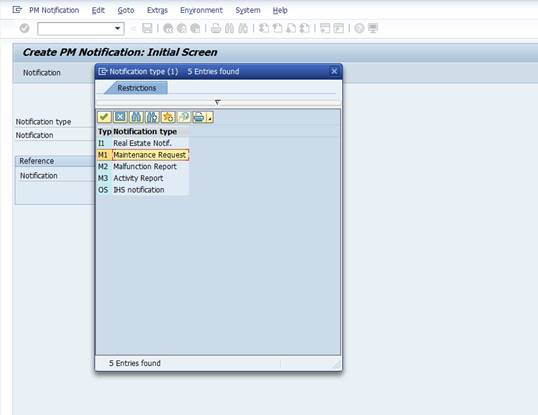
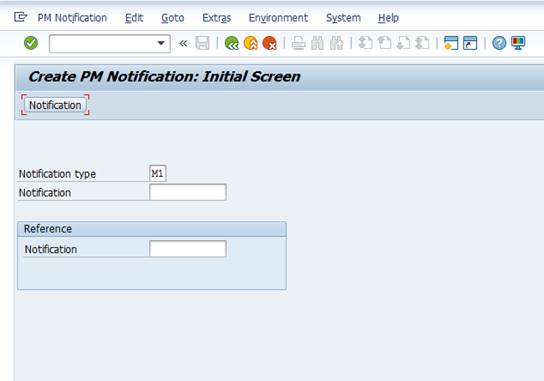
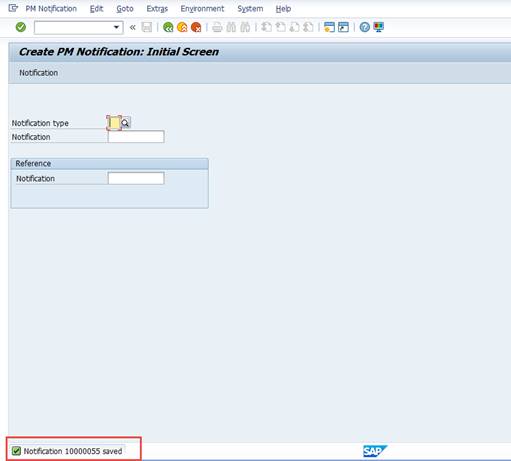
Run the Transaction code IW21 to create notification, choose a notification type and click the notification button to enter the detailed setting screen.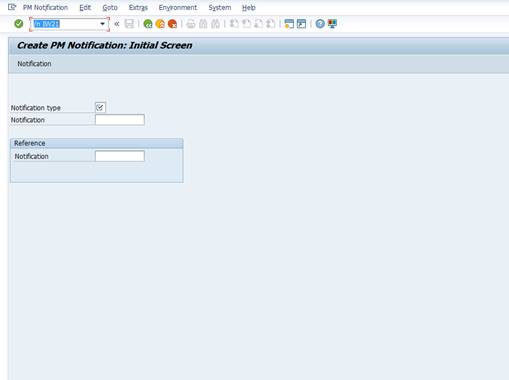
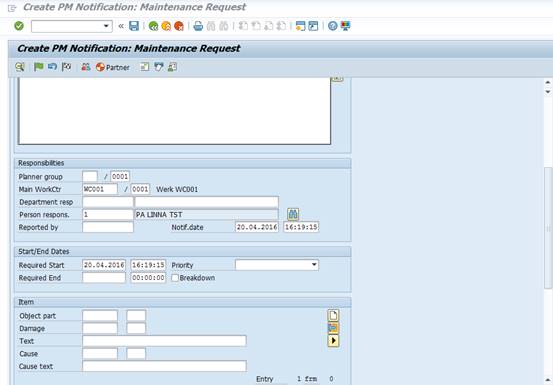
Input name in the notification title field, scroll down the list to the bottom of Notification tab, navigate to Responsibilities’ field and enter the Plant number, Work center and the Personnel id who has been associated with this work center.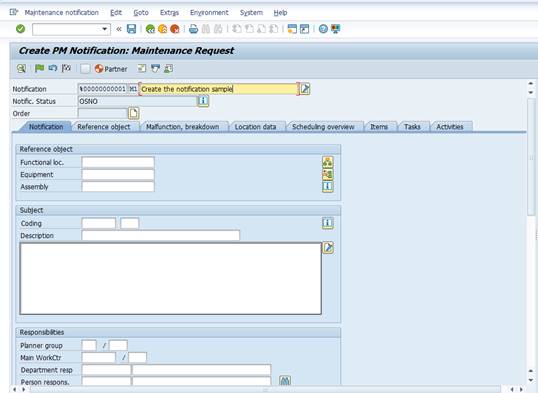
Click the save button and make sure the notification has been created successfully.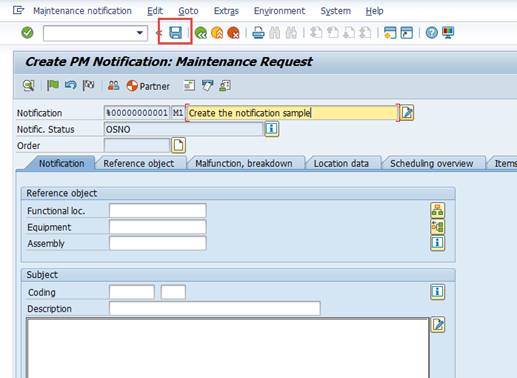
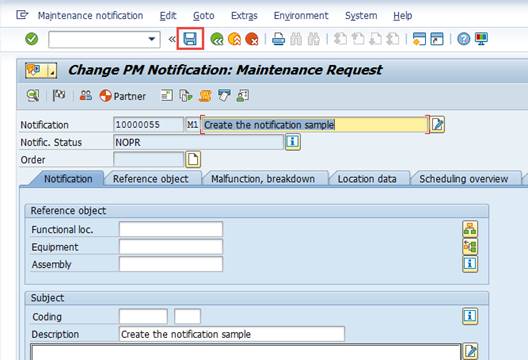
Run the Transaction code IW22 to edit the notification created before and press the Notification button and enter the detailed information screen.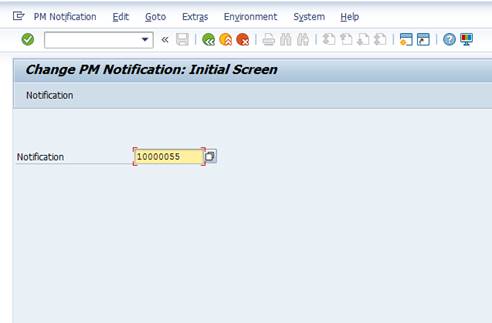
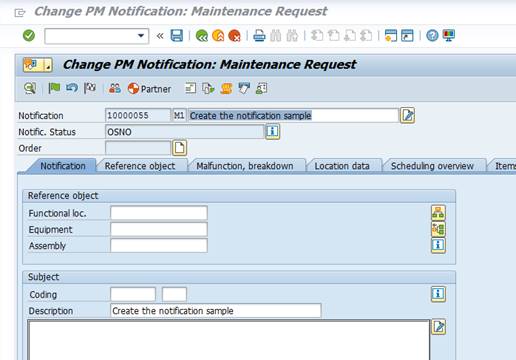
Click “System” in the header and select Service for Objects -> Create -> Create Attachment.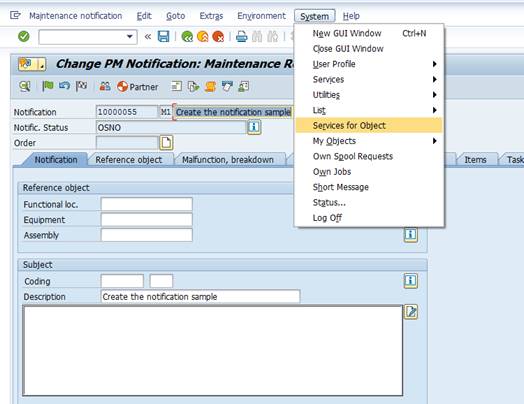
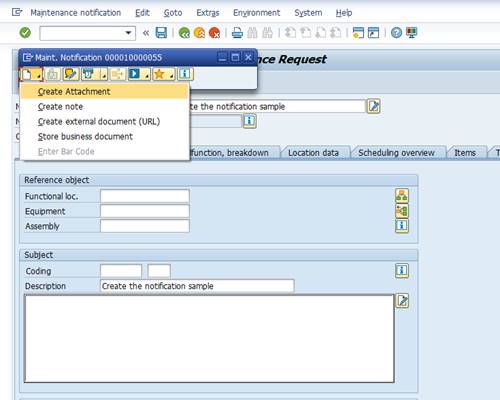
Attach one of each file with following format: .doc, .xls, pdf, .ppt, jpg, .bmp,.gif, .png,.txt and save.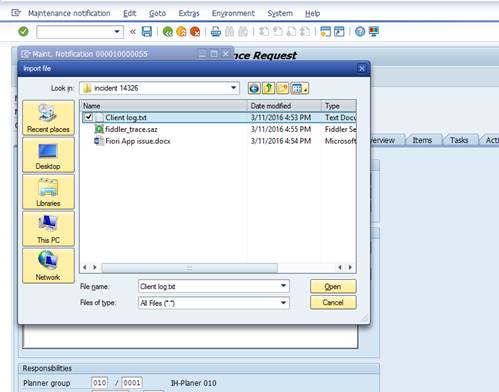

Close the attachment screen, press “put in process” button to publish the notification and save the notification.

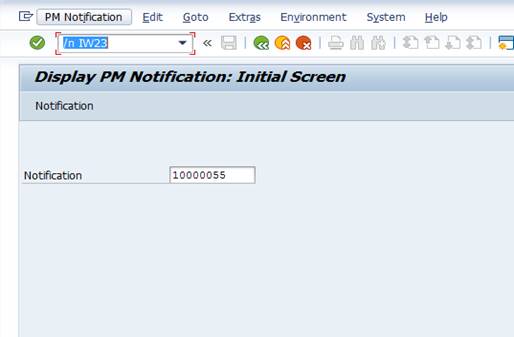
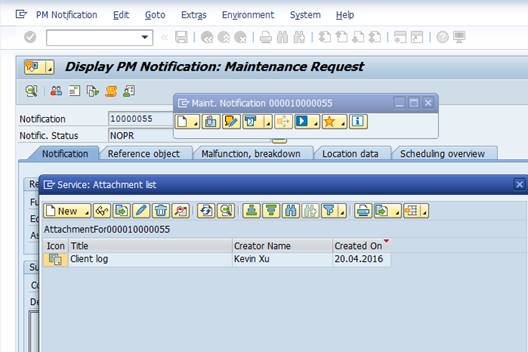
Run the Transaction code IW23 to display the notification modified before and click “System” in the header and select Service for Objects -> Attachment list. Make sure the object has been attached successfully.
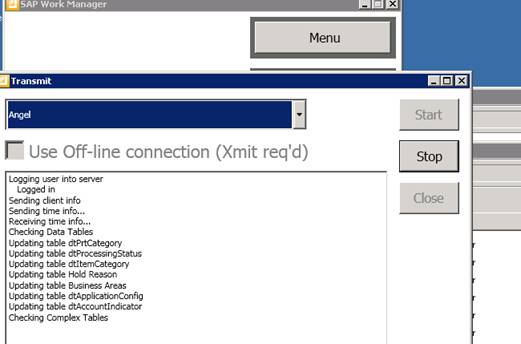
Open the WPF Client and log on the Backend User, input the work manager 6.3 application path URL in the SMP Admin Cockpit and start to transmit data. 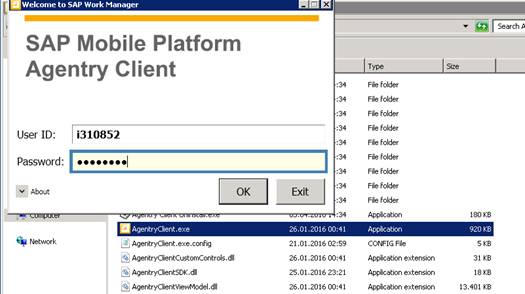
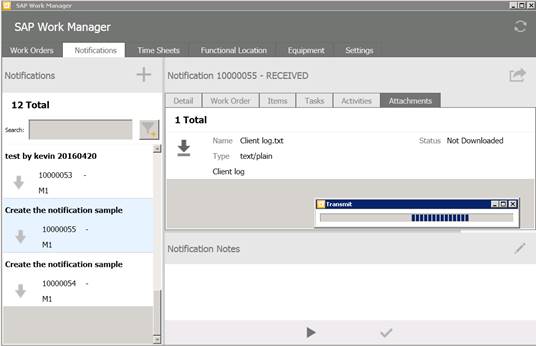
Select notification tab on the client and we will see the new notification has been uploaded to client from backend system. Press the attachments option in this notification and the attachment should be there with “Not Downloaded”.
After press the download button, the downloading process bar would popup on screen. After finishing the transmission, we should find that the attachment status has been changed to “On Device”.

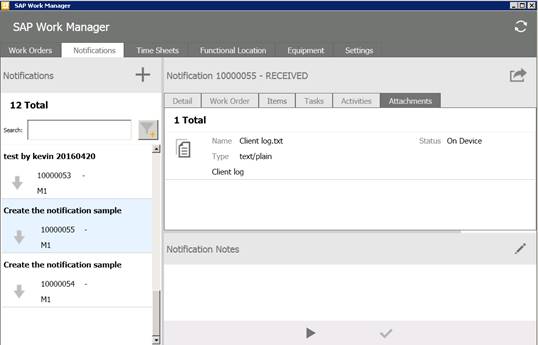
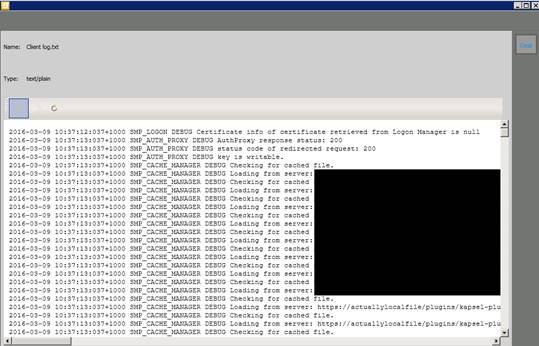
Click the downloaded button, this attachment would display on the client directly or remind you to save it in the local folder depending on different format.
Related link:
http://scn.sap.com/docs/DOC-50070
https://scn.sap.com/docs/DOC-63417
