Business Context
In Cloud for Customer projects the migration of data is an important aspect. C4C provides the tooling to migrate data from legacy systems into Cloud for Customer. When a customer is moving from their legacy CRM system to C4C, there is usually quite a history of customer information in the form of e-mail messages, contracts, or any other kind of documents. Obviously this history contains valuable information and needs to be available for salesreps to serve their customers.

Until recently you had to write your own program and make use of web services in order to mass upload documents and assign them to the accounts in C4C.
Recently SAP has added new functionality to C4C to mass upload documents and assign them, in this case, to accounts. This blog describes how to benefit from this Data Workbench functionality.
Before we can actually upload documents we first need to create an OData service to import the attachments.
Creating the OData Service
First log on as administrator in the Silverlight client.
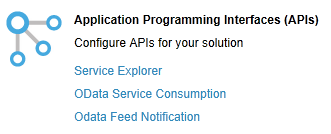
Go to (Beta) Administrator-> (OData) Service Explorer
- Select “Custom OData Services” from the “show” drop down
- Create new OData service
- Click on “New”
- On quick create, give the service name and select the checkbox “Data Workbench Enabled”.

Click on “Select Business Object”
- Give the Object and the node a name and click OK

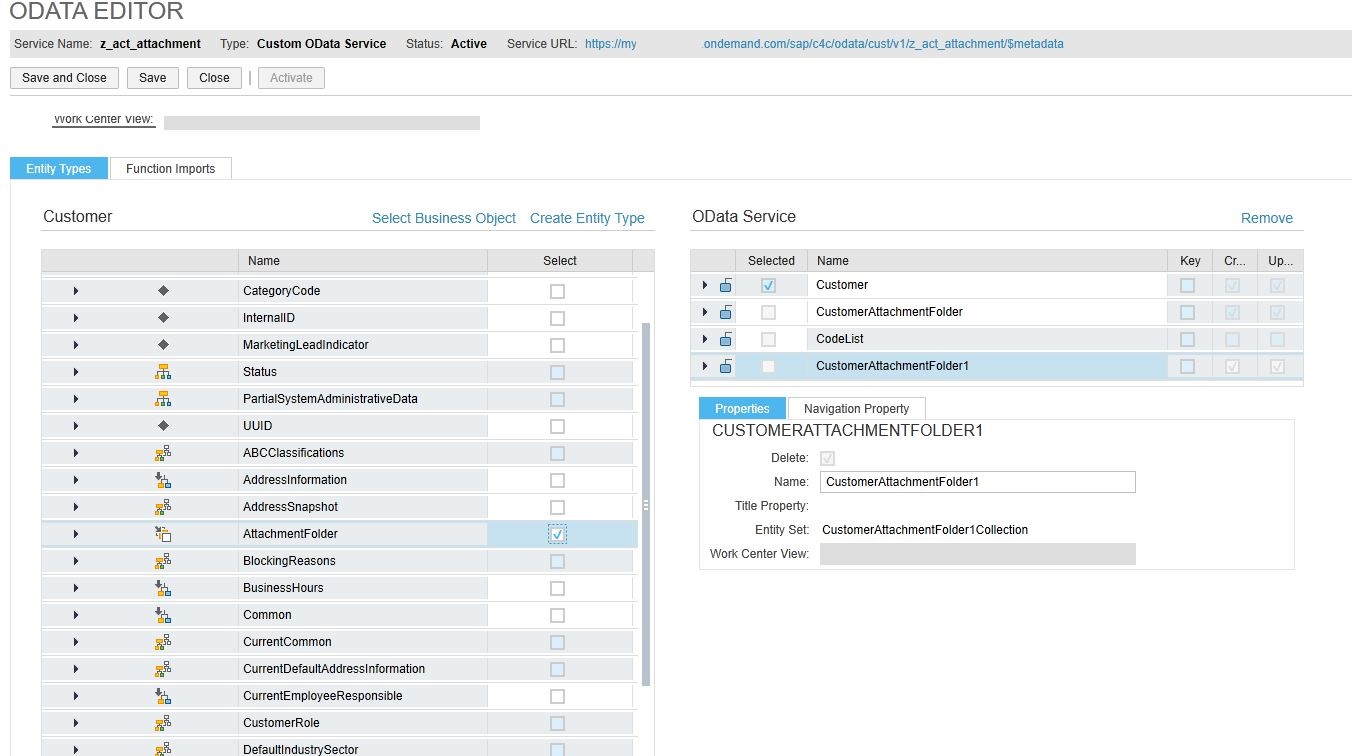
- Create Entities
- Select the line “Root” and check the Root tick box, an entity will be added to the “OData Service” list on the right
- Expand the “Root”, and select Attachment Folder association, an entity (CustomerAttachmentFolder) will be added to the “OData service” list. This entity name will appear in the Data Workbench “Select an Object” list with the same name.
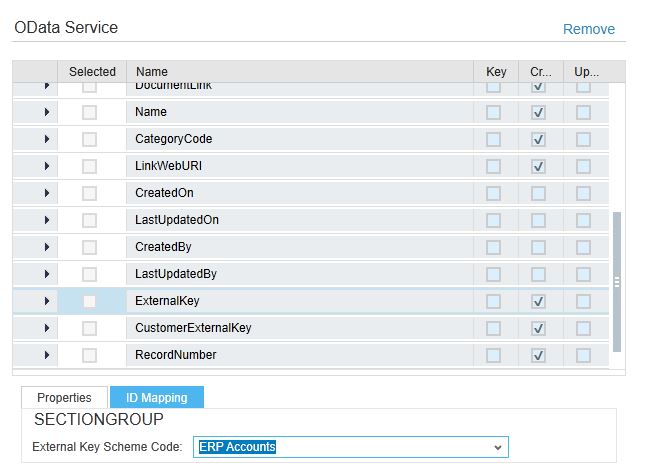
- Provide Scheme code.
- Go to “ID Mapping” tab, select the scheme code ERP Account
- Select the Parent external key i.e. property with name CustomerAttachmentFolderExternalKey
- Expand the Customer AttachmentFolder entity.
Creating the attachment upload file
- The documents that you want to upload should all be in one zip file. The zip file must contain a manifest file that indicates which document should be attached to which customer in C4C. In this example I have three MS Word documents that I want to attach to three different customers

- I have created a manifest file in Excel. The customers that I use in this file have been replicated from SAP ECC and have an external id. The first column contains the external id. The second column is the default Business Partner Document Type code. The third column is the name of the attachment that will be in the customer attachments tab in C4C.

- Depending on the document, each document should contain their own MIME Type. You can find the valid MIME types in fine-tune activity “Allowed MIME Types for Document Upload”. In this example I want to upload three .docx documents so I choose: application/vnd.openxmlformats-officedocument.wordprocessingml.document
- Save the file as manifest.csv and make sure it uses the UTF-8 encoding
- Save all the documents and manifest file in one zip file
Mass upload of attachments
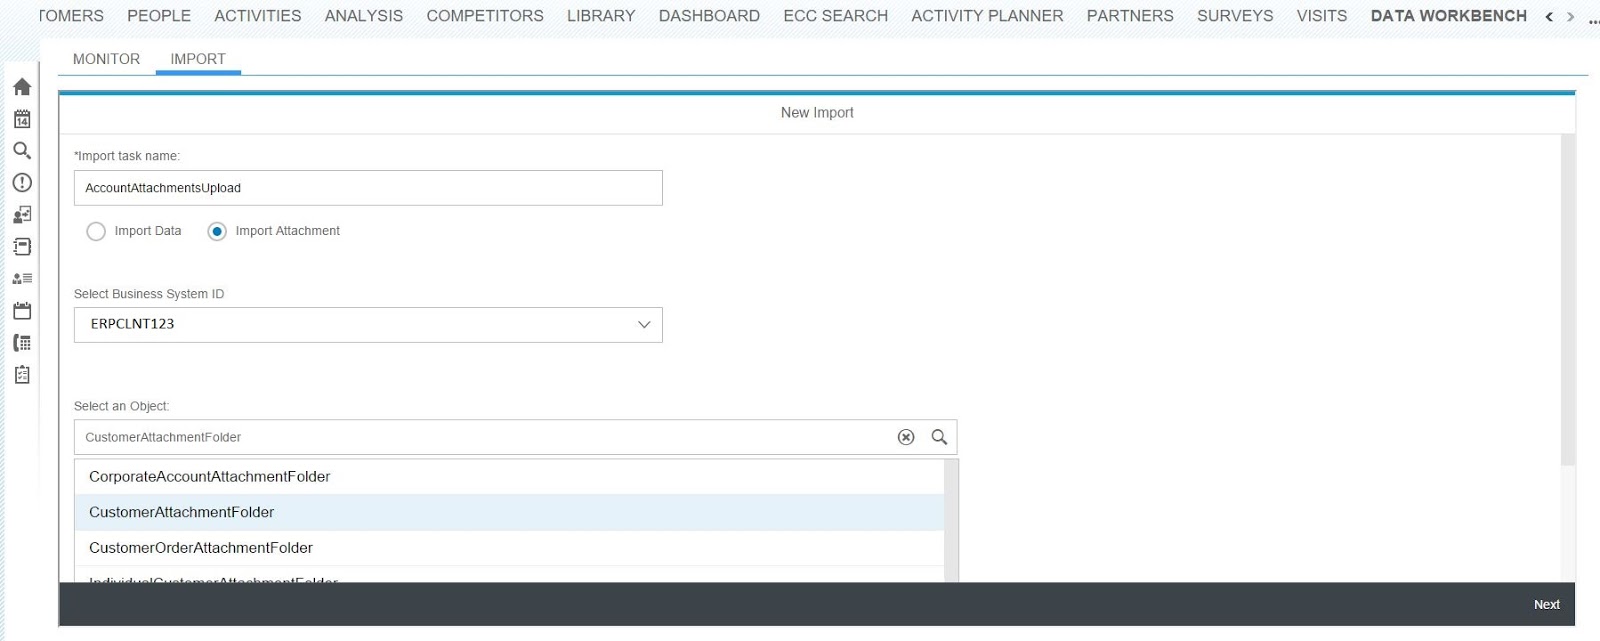
- Go to the C4C HTML web browser (Only Google Chrome is supported) and Import the attachments via the Data Workbench Workcenter
- On the IMPORT tab, Select “Import Attachment”
- Select the “Business System ID”. (System from which the Business Object data was replicated, in this case the SAP ECC system
- From “Select an Object” list, select the entity name created in step 4b above

- Click on next and confirm the "Successfully Submitted" message
- Browse for the zip file and click on Upload and on Submit

Now all documents are uploaded to C4C and attached to the specific accounts. In the Data Migration Workbench go to the Monitor tab to see the status of the upload

Go to one of the accounts and click on the Attachments tab to see the uploaded document
The following scenarios for attachment upload are supported by the Data Workbench:
- Import of attachment for any business object which was imported via the Data Workbench, just use the Import attachment by providing the valid external key.
- The import of attachments for any business object that was created directly in cloud for customer is not supported via Data Workbench, for example prospects
- Creation of an OData service is required as explained above
- Import of attachments for the business object that was replicated from any other external system like SAP CRM, SAP ERP, only master data objects like Employee, Customer/Account etc. are supported.
- The Data Workbench Workcenter is currently (in version 15.11) only supported in the Google Chrome browser.


