Background
When you create a custom BO, sometimes you have a need to input huge volume of data in it. Doing this via UI is very cumbersome and sometimes unfeasible. This document describes how can you enable data input for a custom BO using excel which eases the process to a large extent.
Steps to provide excel data upload
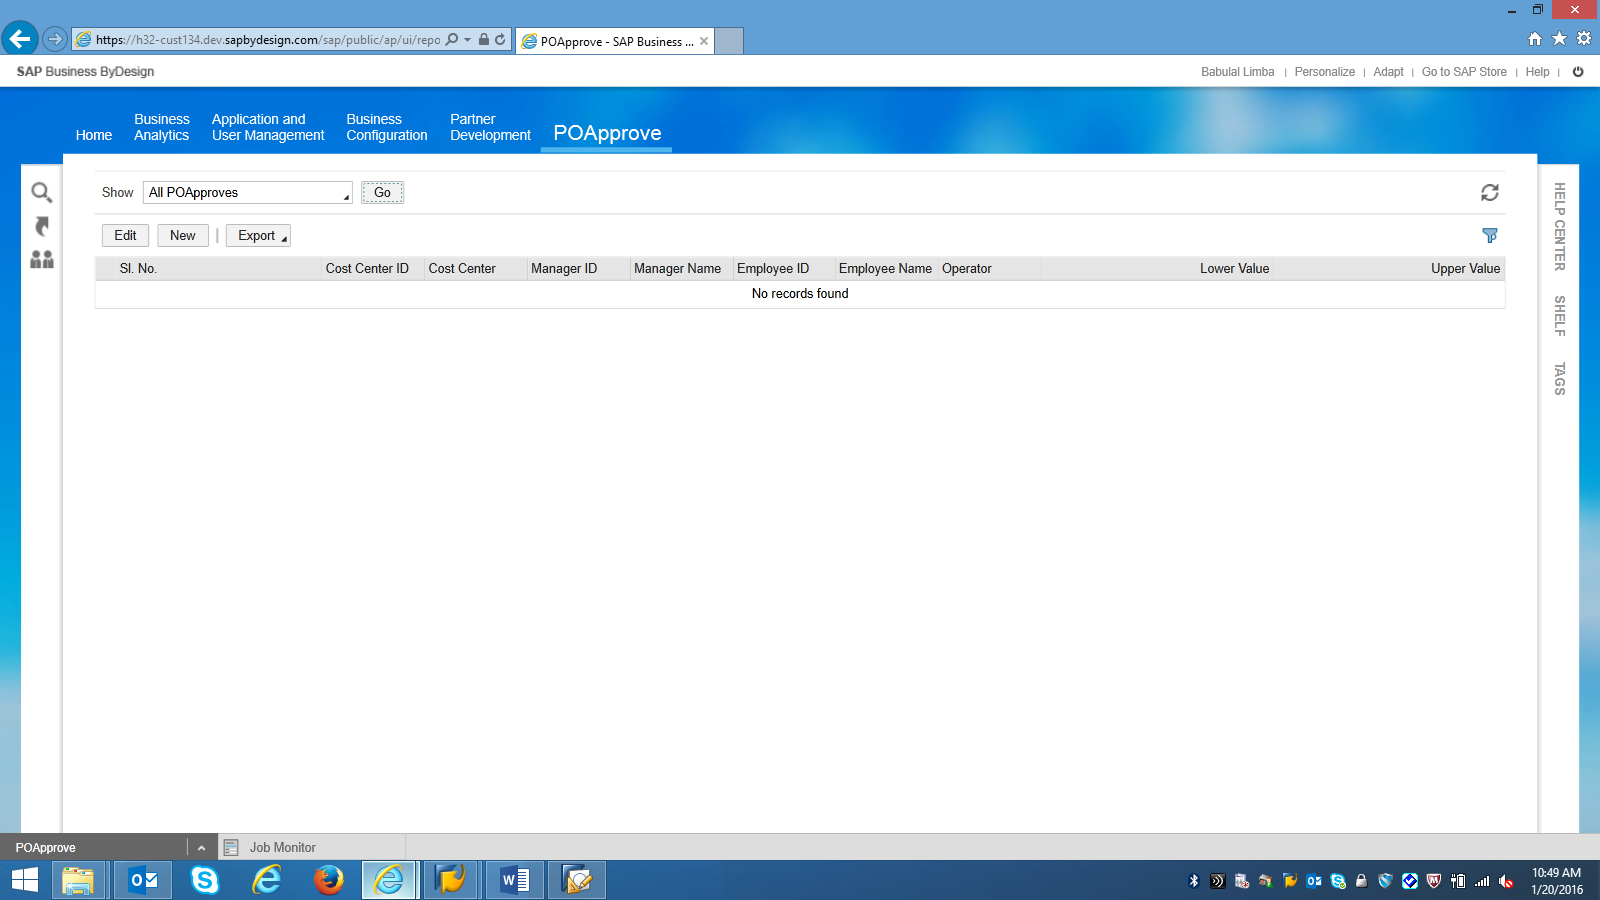
Step 1: Define the structure of BO with one or more alternative keys. Activate the business object. You can also build UI (OWL) on this custom BO to test your functionality at the end. 

Initially there is no data in the BO and hence the OWL is empty. At the end of this document it shall be filled with data.
Step2: Define a service integration on Custom BO so that it can be accessed by third party (file upload or web service etc)
Right click on BO and select ‘Create Service Integration’.

Select the message structure: the attributes you want to be part of excel file. Select Mass processing if you want multiple records to be processed. Finish the wizard and activate the PID file created.
Step3: Download the .xsd file On Activating the PID file you can download the .XSD file from General tab of PID file view. Download and save .xsd file on your local machine.
Step4: Define .xml file with field mapping and provide data for upload.
Open the .xsd file in excel and define mapping for fields and data for fields to be uploaded.
Open the .xsd in excel and enable the ‘Developer’ Menu in excel (File->Options->Customize ribbon->Developer). Select ‘Source’ under Developer and then XML maps from side car.

This opens a pop up to add your xsd file. Click add and open the .xsd file from your local machine.

Map the attributes from .xsd file in excel by dragging and dropping them in columns. There are two sections in side car. Message header and List. From message header just take ‘CreationDateTime’ and drop it in excel column. List is the message structure that you selected when you created PID in SDK.


After the attributes are dropped, specify the data in the columns. 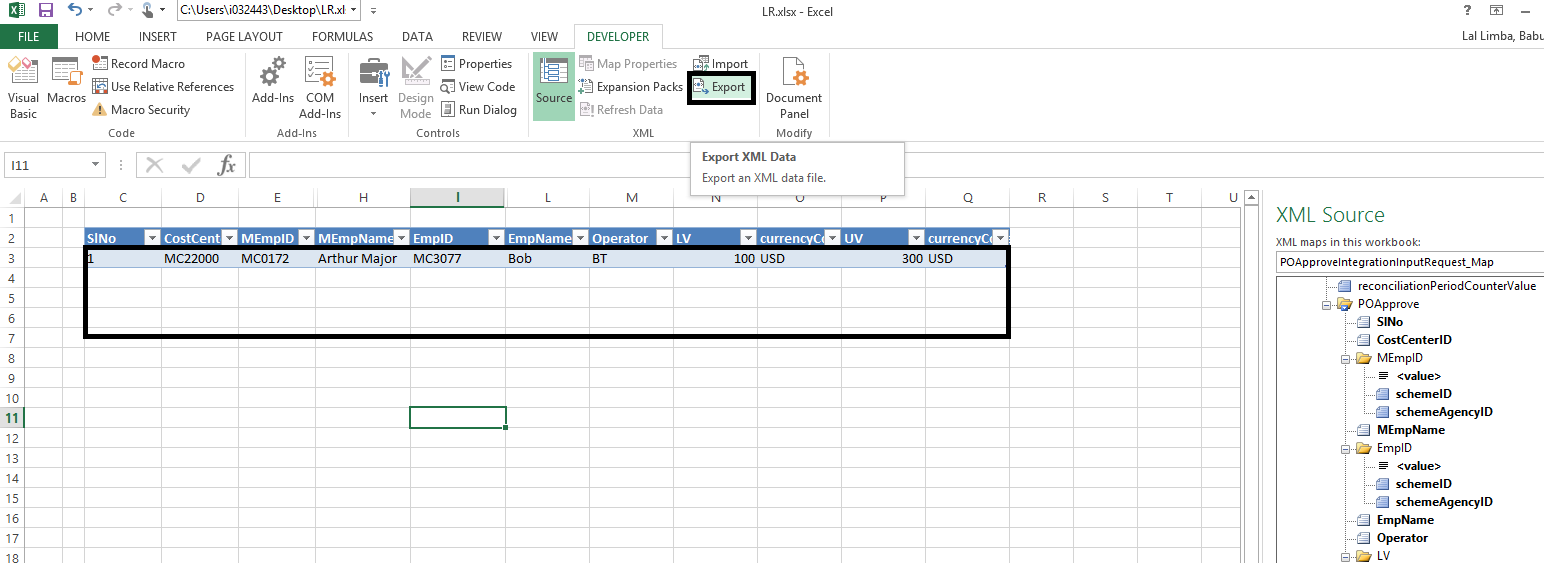
And click on ‘Export’ in developer menu and save the file as XML file. This XML file will be used for input and to create records of custom BO.
Step5: Upload the .xml file to WebDav.
Login to Business byDesign system as key user and navigate to Application and User Management->File Input.

Open the view “Unprocessed Files” and add the XML file you want to upload as shown below. Select your service interface created in SDK. After doing this the XML file is uploaded in WebDav folder and can be seen in the view ‘Unprocessed files’.


Step6: Create a run to upload the file and trigger service interface to create data in custom BO.
Now the XML file is uploaded and the system should read this file for processing. Define a new run to read this file and execute data processing. Select your Service interface in the new run and activate the run.
Schedule the run to run immediately.

Run has started. Keep monitoring the run status until it is finished. 
When the run is finished the XML file from “Unprocessed files” will disappear. 
Step 7: Check the UI if the data is created. The data comes up on the UI and hence the upload of XML file worked.

