Installing SAP Disclosure Management 10.1
This document explains what is installed during a server installation of Disclosure Management 10.1 In the following articles I will further explain the configuration and installation/configuration of additional components (Task Engine, XBRL, client etc.)
The Disclosure Management installation files can be found here:
https://support.sap.com/software/installations.html
For the Installation Guide, check:
http://help.sap.com/bodm
Installation procedure
1. Starting the installation
Unzip the “51049916.zip” file and go to the DM_SERVER_APPL_SERVER_10_1 that has been created when extracting.
Run the DMAPPLSERV00.exe file (note: this is DM 10.1 SP00, the zip also contains the Service Packs (SP01, SP02, SP03) and if you have never installed Disclosure Management, you can start with any SP installation)

2. The Welcome screen appears
Make sure it mentions the SAP Disclosure Management
application server

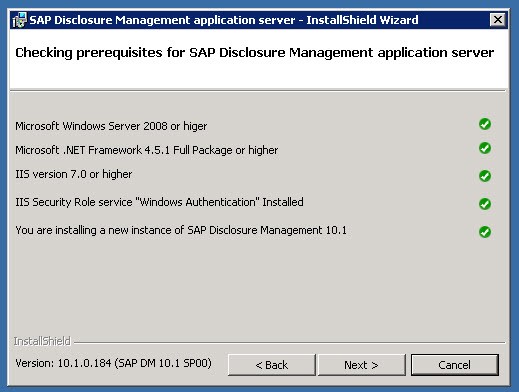
3. The prerequisites
Note: if prerequisites are not met, you need to install these separately, they are not included in the DM installer
4. SQL Server details
SAP Disclosure Management will create a DB on MS SQL Server (no other RDBMS are supported)
On the first screen, the server, DB name and the user/password are provided
Note: this user/password is for the creation of the DB, it is not the authentication used by the application to connect to the DB at run-time

5. Database server credentials
Here the user/password is provided that will be used by Disclosure Management to connect to the DB
Note: if the user does not exist, the install procedure will create it

6. Application server settings
Specify settings for the DM application. These are mostly IIS settings (port, binding etc.)
Note: it is recommended to install DM as a 64-bit application
The default path where DM will be deployed is C:\inetpub\wwwroot\SAP\SAP Disclosure Management

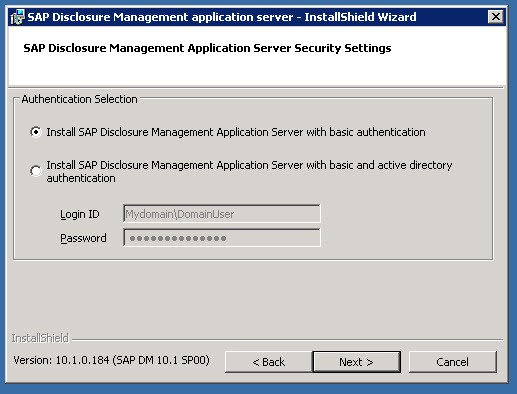
7. Application server security settings
DM can be installed with Basic or AD authentication (note: this is for the actual login to the DM application, it is not related to the SQL server authentication)
8. Notification for user “admin”
When using Basic authentication, a user will be created (admin). Note the password
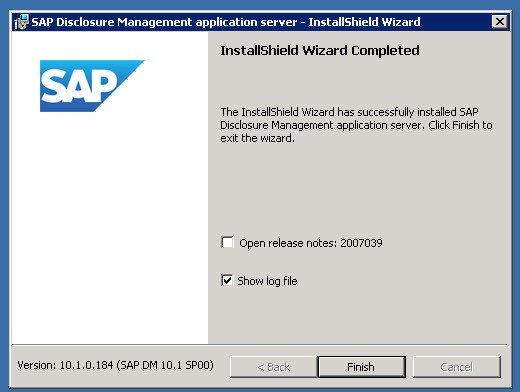
 9. After the installation completes, this message should appear
Some issues that may occur during the installation:
Error 27506: Error executing SQL script during Server Installation
Several issues after Server Installation
HTTP Error 500.21 - Internal server Error during Server Installation
How to disable WebDAV Access
Error 27502 Cannot Connect to Microsoft SQL Server during DMS Service Pack installation
Disclosure Management and Load Balancing /Failover cluster
Web Farm/ Cluster Configuration for Connection Strings
Installation XBRL - Java JRE 1.7 not found
What has been installed?
Let’s check what the installer has installed.
1. SQL Server
A database called “DisclosureManagement” (based on step 4.) and a user called “CDMUser” (based on step 5.) The user has access to the DM database (2 roles are created)
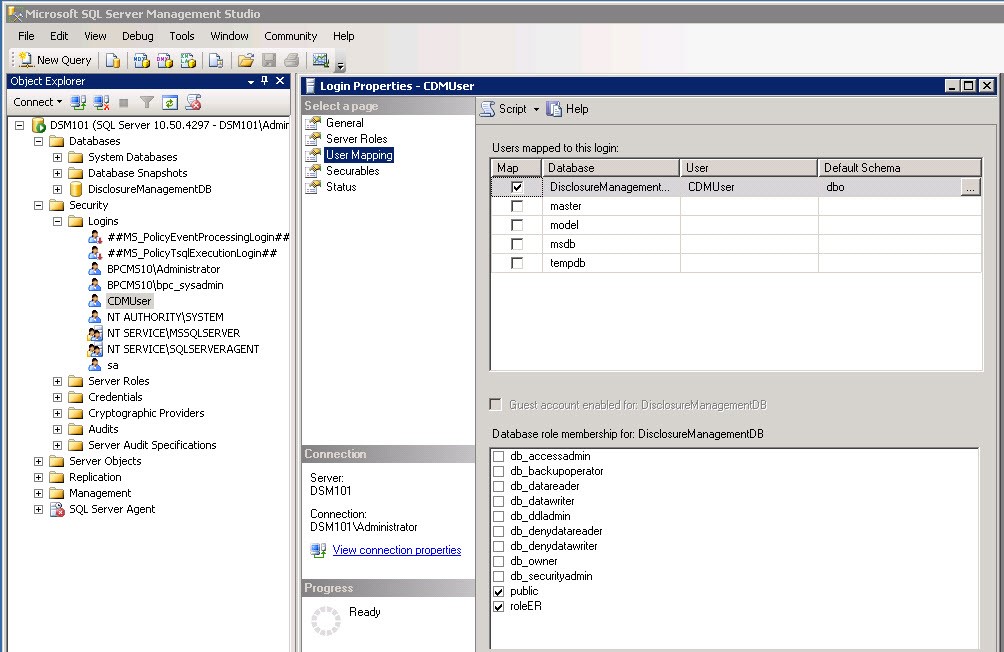
Within the DB, the table “Security.Users” has 1 record, the user “Admin” (based on step 8.)

2. Application server (IIS)
Within IIS, DM will have created its own application pool
The main DM website is also deployed (various settings based on step 6.)


The code and configuration files are in C:\inetpub\wwwroot\SAP\SAP Disclosure Management
(again, based on step 6.)
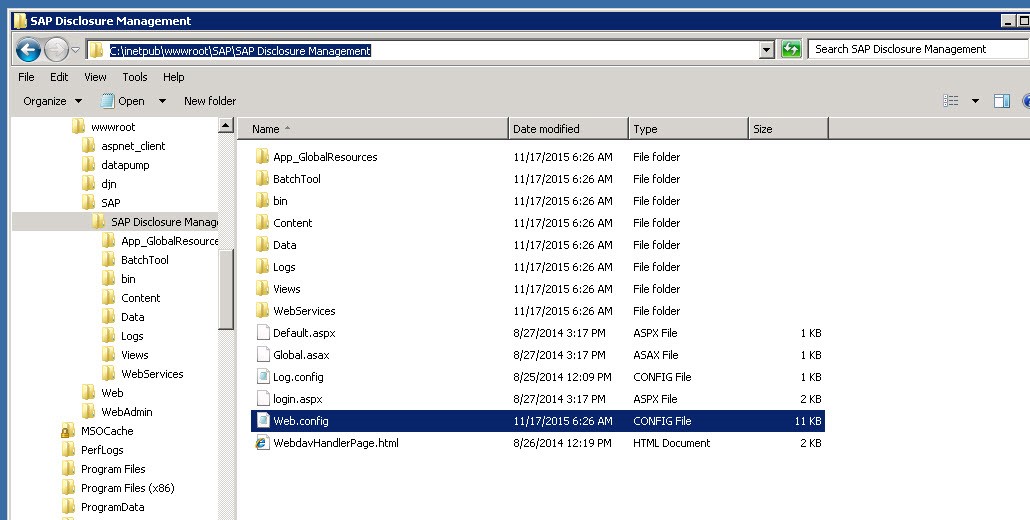
The “web.config” file will have details on authentication mode used (Basic or Active Directory)
 Testing the installation
You should be able to connect to URL
http://dsm101/Account/LogOn
(Note: based on selected settings, this may be
http://server:/<dm_site>:port/Account/Logon or
http://server:/<dm_site>:port/Account/LogonAD)

With the login/password given in step 8.you should get this screen, indicating the SAP Disclosure Management application server installation is successfully completed.

