Hi,
Let’s check how to upload icon in Screen Persona 3.0
- Go to Transaction /n/personas/admin
- Now click on the Goto--> Icon Maintenance

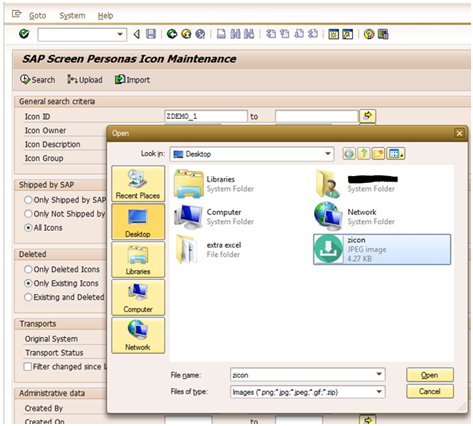
- Enter a name for Icon and click on Upload button, it will ask for choosing an icon from system. The file type are .png, .jpg, .jpeg, .gif, .zip.
Note: The icon’s name should always start with Z.
- Now check on persona, click on ‘P’ icon-->click on edit flavor.

- Select any button and give its name and transaction code.Select that button and click on assign an icon.Now select an icon which you uploaded and click on DONE. we can align our icon here by choosing given options as Left of Label,Centre, Right of Label, No icon .


- The output will be shown like this:

Thanks and Regards,
Chaitali Shah
