If the user implements the manual corrections of note 1600194, a new field in customizing table BBP_EXTPO_GL is added and the view V_BBP_EXTPO_GL is also modified. But in some cases it is not possible to save the value of this new field in the database when it is checked / unchecked via spro transaction.
If such a situation is encountered we can follow the steps below which are a modification of manual activities of note 1600194.
Step1: Open the table BBP_EXTPO_GL in SE11 transaction

Step 2: Add the following field BBPPOCHECKAUTO in this table as shown below and activate the table.

Step 3: With this re-generate the table with “Table Maintenance Generator” - as below

Step 4: Add the new field with the view V_BBP_EXTPO_GL and re-generate the view screen
Before re-generating the view, please note down the Screen elements description, during re-generation we may lose the screen elements description for the old fields.

Step 4.1 Open the view V_BBP_EXTPO_GL in the SE11 transaction

Step 4.2 Display the view

Step 4.3 Go to edit mode and click on Table fields button in the View Flds tab, it will display a pop-up where select the check boxes BBPPOCHECKAUTO and click copy. Save the changes. Activate the view.

Step 4.4 Now, click on the menu Utilities(M) and select the Table Maintenance Generator menu item as shown below.

It will display the below screen

Step 4.5 Press the Delete Button ( trash icon ) and the following popup will come. Select the checkboxes as shown below

Step 4.6 Press enter (green tick). Now the following screen will appear

Step 4.7 Click on the create icon on top left and the following screen of Table Maintenance Generator will come indicating that the screen is created

Step 4.8 Double click on the single screen ‘2’ and you get the following
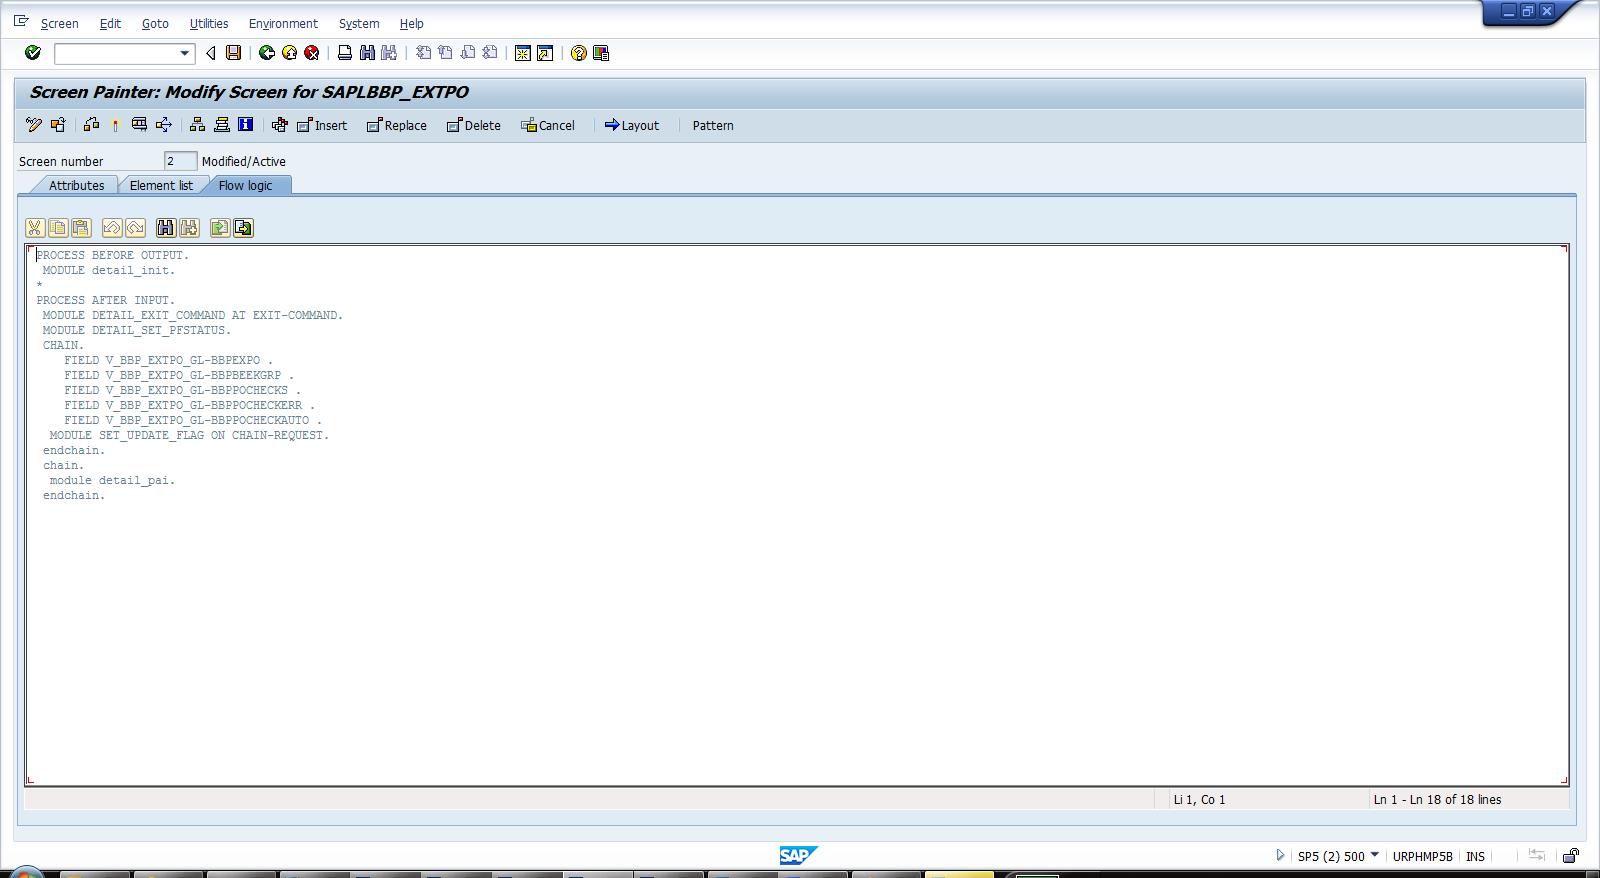
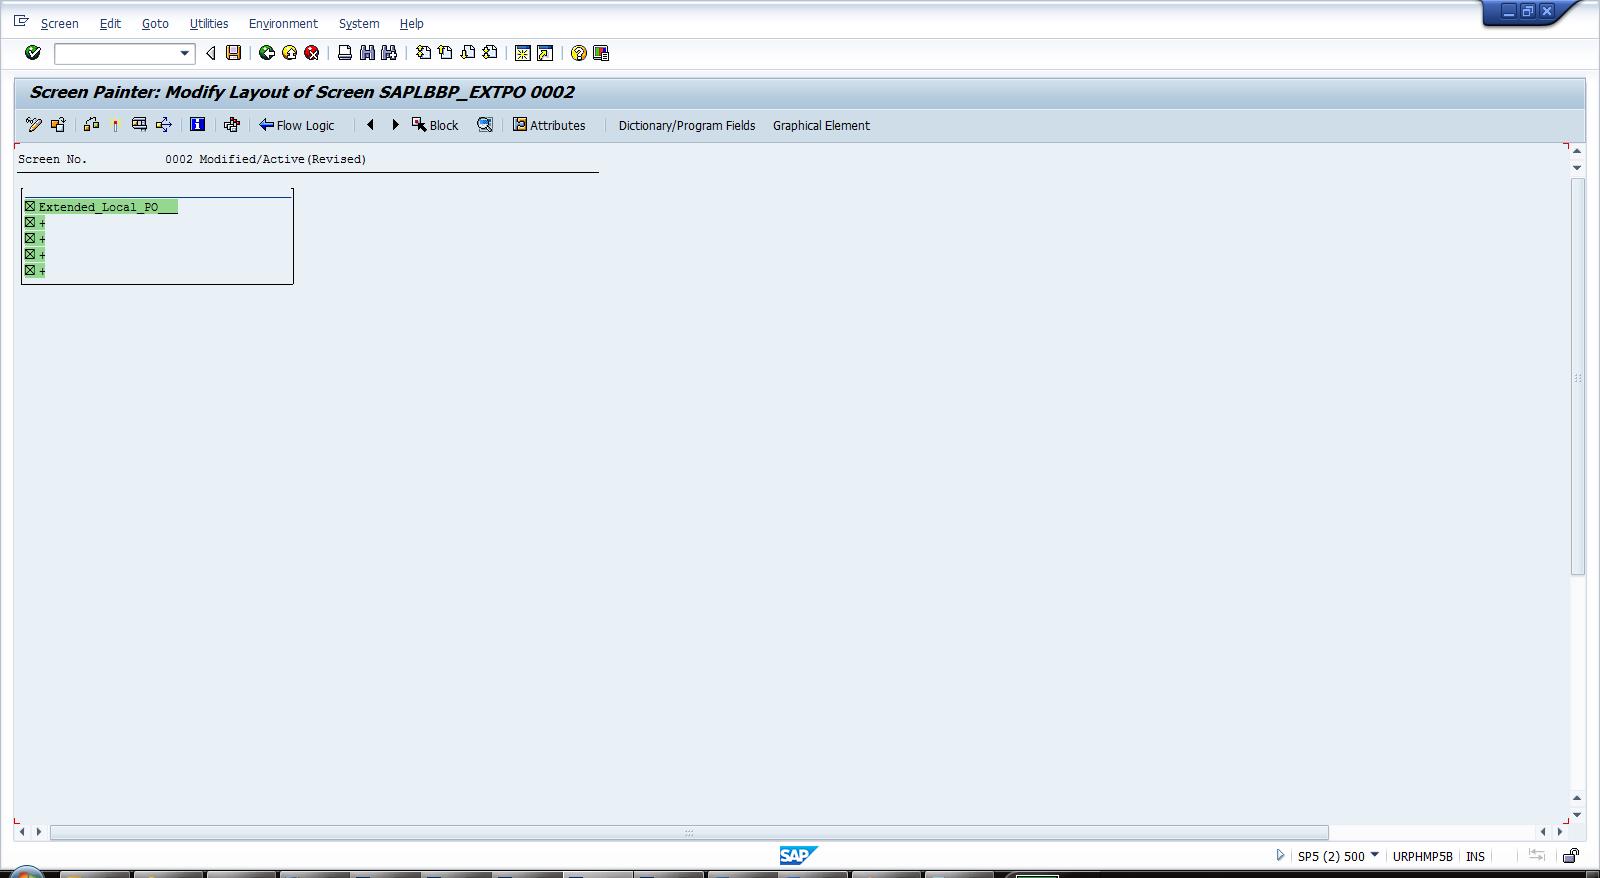
Step 4.9 Click layout and the screen painter will open

Step 4.10 Now you need to update the texts of all the fields one by one.
Before that you need to update the width of the box in which the fields are present. For this select the box outline and press Attributes

Step 4.11 Change the default length to ‘50’ and press Transfer
Step 4.11 Now select all fields one by one and change the texts. E.g. for the first field

Step 4.12 Change the text and press Transfer

Step 4.13 Do the same for other fields and finally the view should like below

Step 4.14 Save and activate the screen. Press F3 (back)

Step 4.15 Save and activate the screen. Press F3 (back)

Step 4.16 Save and activate.
After doing the above steps you will be able to save the value of the new field "Enable ERP check for Auto PO Creation" in the database when it is changed from spro.
