In the last post I've shown you how you can create a new Fiori Starter Application based on the Sales Order Tracking service provided by the SAP Gateway system. And how you can enhance the detail view by using the Layout Editor.
In this part I will show you how you can run the app with mock data and how you can deploy the application to SAP HANA Cloud.
Run the application with mock data
You may close open tabs and select in the webapp folder the file test.html of the application and click Run.

At the Testing Overview Page choose the second URL test/testFLPService.html

Check that data has been generated (sometimes it needs a little bit time!)

To have more meaningful data we can create a JSON file with predefined data. Go back to your project view and expand the folder model.
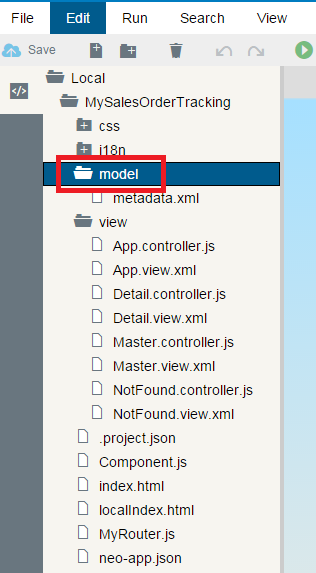
Select the file metadata.xml the was generated while defining the OData Service connection previously. Righ-click the file and select Edit Mock Data

The popup window Edit Mock Data is displayed. Select the entity set SalesOrders as this is the data we are displaying in our app.

You could enter your data row by row. To simplify this task we will let SAP Web IDE generate random data for us. Click on Generate Random Data
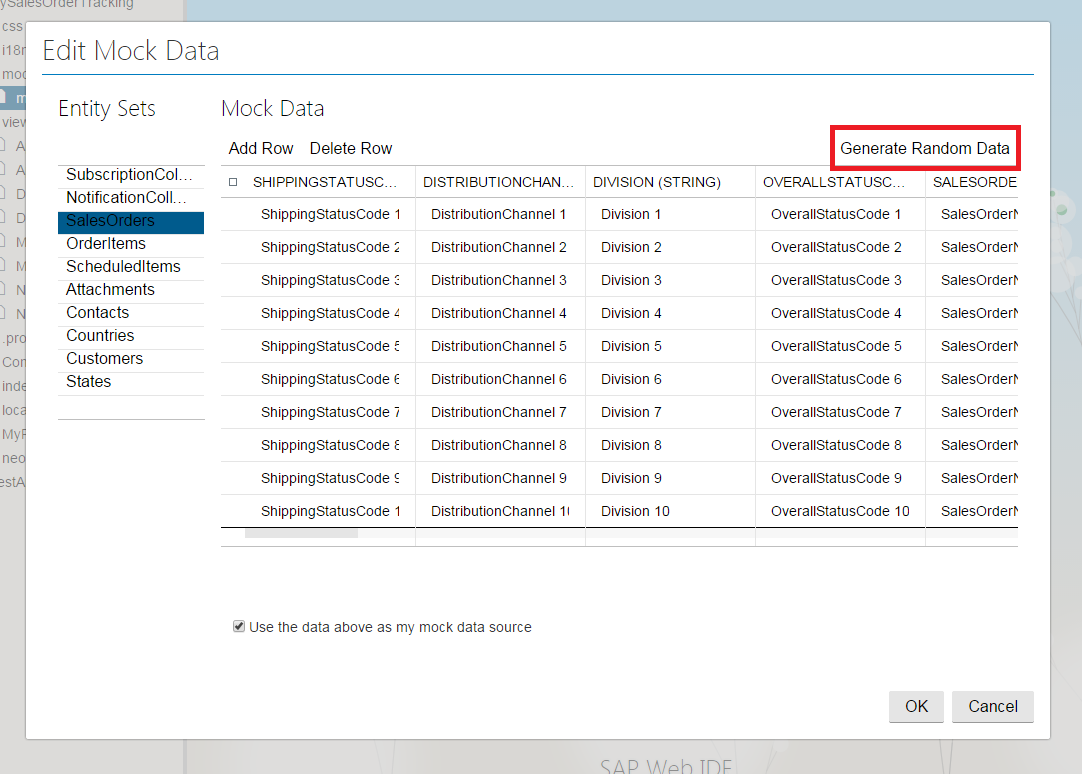
You can overwrite some data fields. Just click in the text field and write your data. In our example, we have replaced the SALESORDERNUMBER in the first two by 12345 and 56789 respectively.

When you are finished replacing the data, press OK.

Check that the file SalesOrder.json has been generated in the model folder and check the file content.

Now we need to tell the system that it should use the JSON file when running the app with mock data. The configuration is done in the project settings.
Right-click the project main folder and select Project Settings

Select Mock Data. In the Mock Data Source section select JSON files. Then click Save

Acknowledge the information that the project settings have been saved by pressing OK

You may close the project settings pane by pressing Close. You may also close the SalesOrder.json file

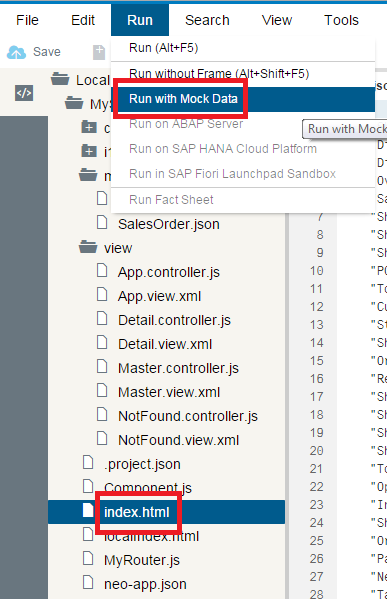
Select the index.html file and run the application again (Run > Run with Mock Data)
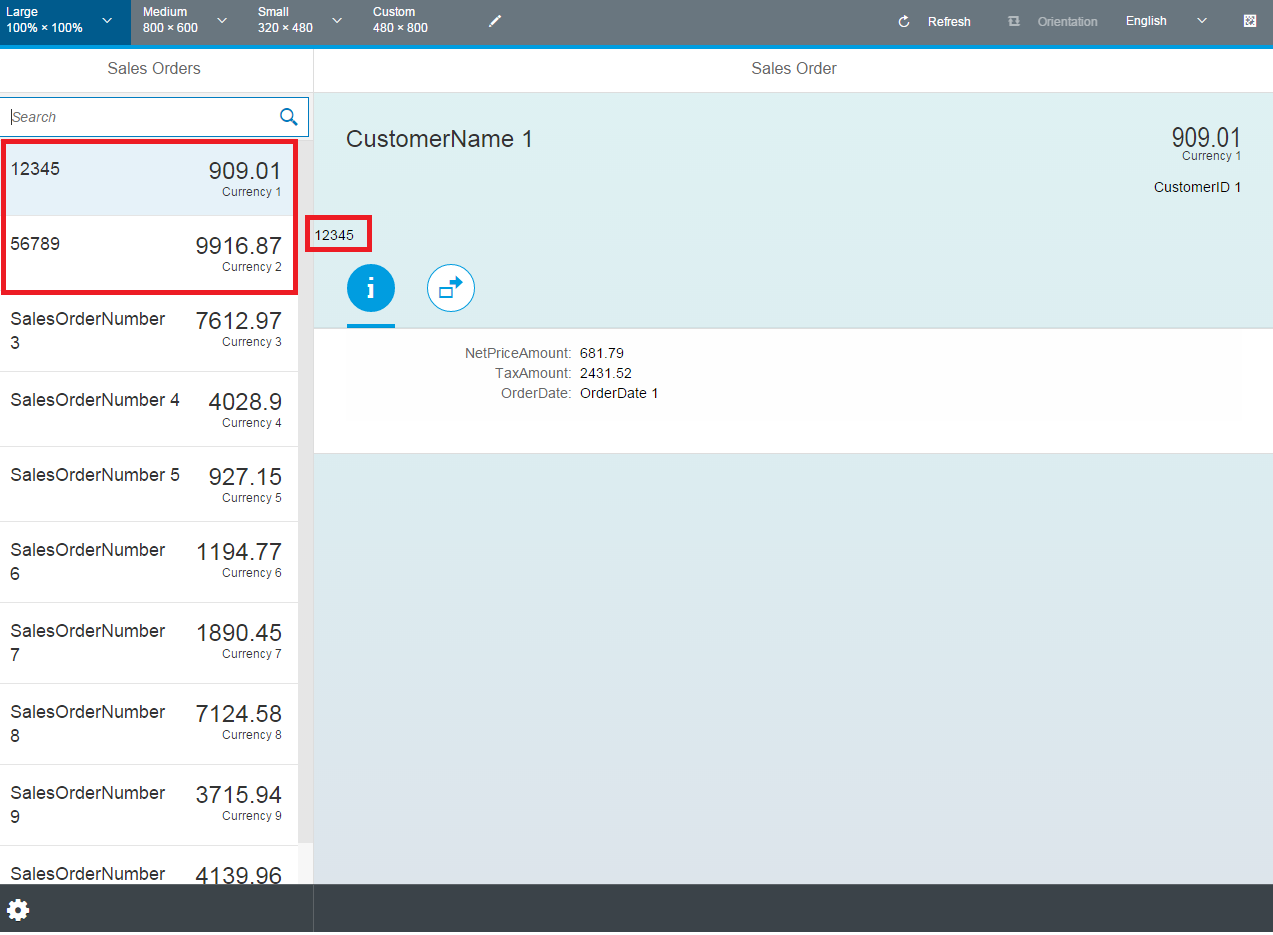
Check that the data from the json file is displayed
Deploy the application to the cloud
Right-click your main project name and select Deploy and then Deploy to SAP HANA Cloud

Provide your password (that is your SCN password) and click on Login.
(If you don't know your SCN password, here you can reset it.)

Look if the Version field has an value and the Activate is checked. Then press Deploy.

Upon success, press Close

Logon to your SAP HANA Cloud Platform Cockpit account and select the content HTML5 Applications.
Check that your new application is listed. Click on your application name.

Notice that your application is deployed AND activated/started.
Click on the Application URL to run the Application at the browser.

Provide your credentials of the OData Service.
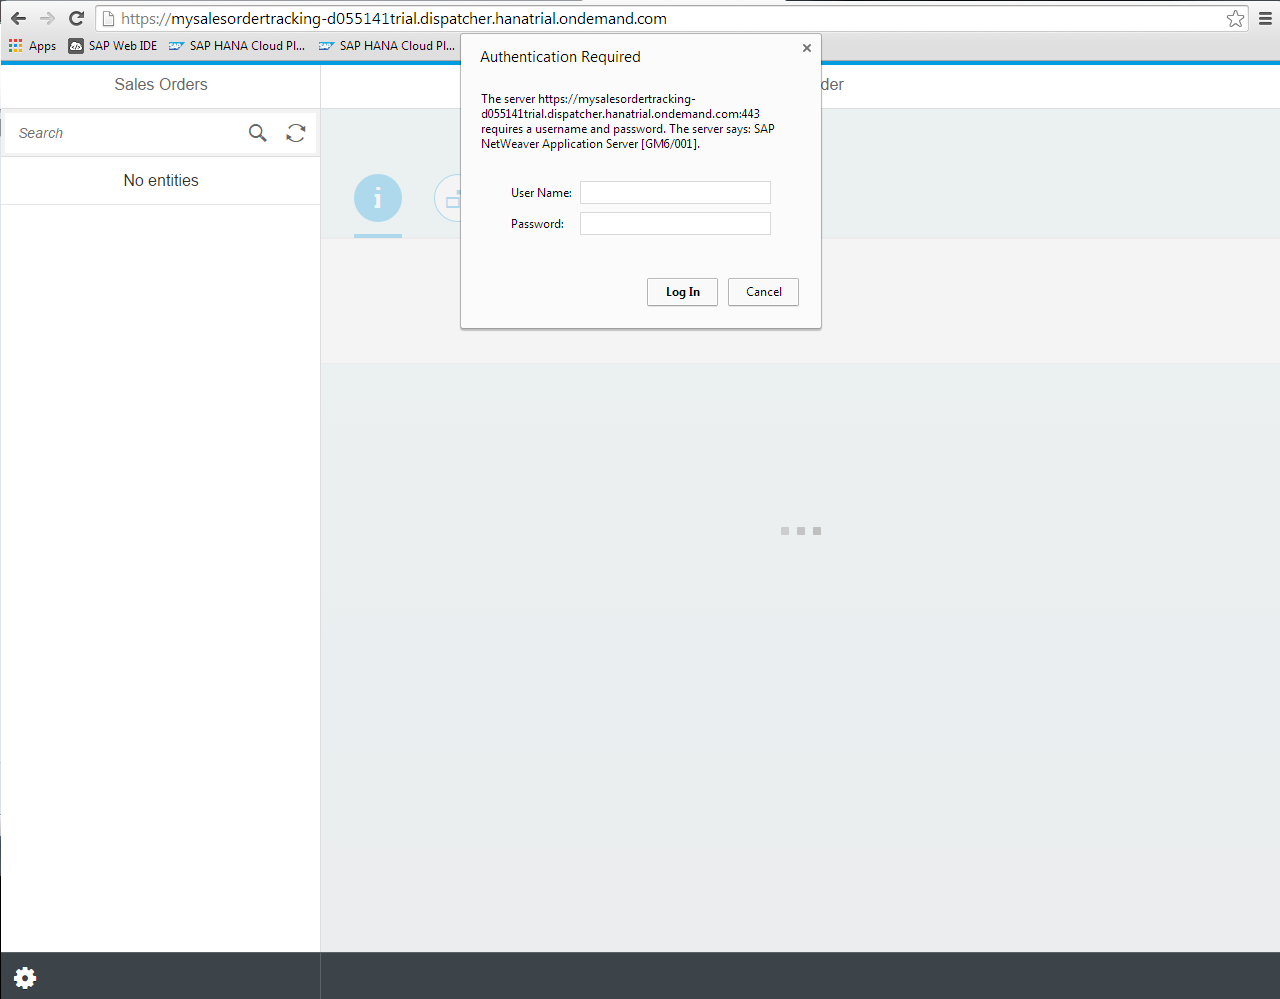
You should see your app running. DONE!

More Web IDE stuff published by Technology RIG :smile:
See you
Claudi
