With an ever evolving and growing HANA Platform the Predictive Analytics (PA), Expert Analytics team have a tough job keeping up with all the new algorithms being added to the Predictive Algorithm Library (PAL). That's not to say that new algorithms won't be added in eventually. The current focus has been on including the Automated Predictive Library (APL). From PA 2.0 onwards these are available in both HANA and non-HANA modes.
To provide a more complete offering the PA development team have now added the ability to add your own custom HANA components inside Predictive Analytics. What this really means if there's a HANA PAL function that you want to take advantage of that Expert Analytics does not have an out of the box node for we can quickly and easily add one without being a developer.
So for example I have been doing some basket analysis with Apriori and now wish to investigate the other association analysis methods in the HANA PAL I can find the appropriate algorithm, FP-Growth and include it within PA 2.0.
Let's open up Expert Analytics as its now called as part of Predictive Analytics 2.0

Here I've connected to a HANA SP9 source

You will now see the additional components you can add, select PAL Component

Enter the Component Name that you want to use

Here you can see all the available PAL Functions that have been surfaced with PA 2.0

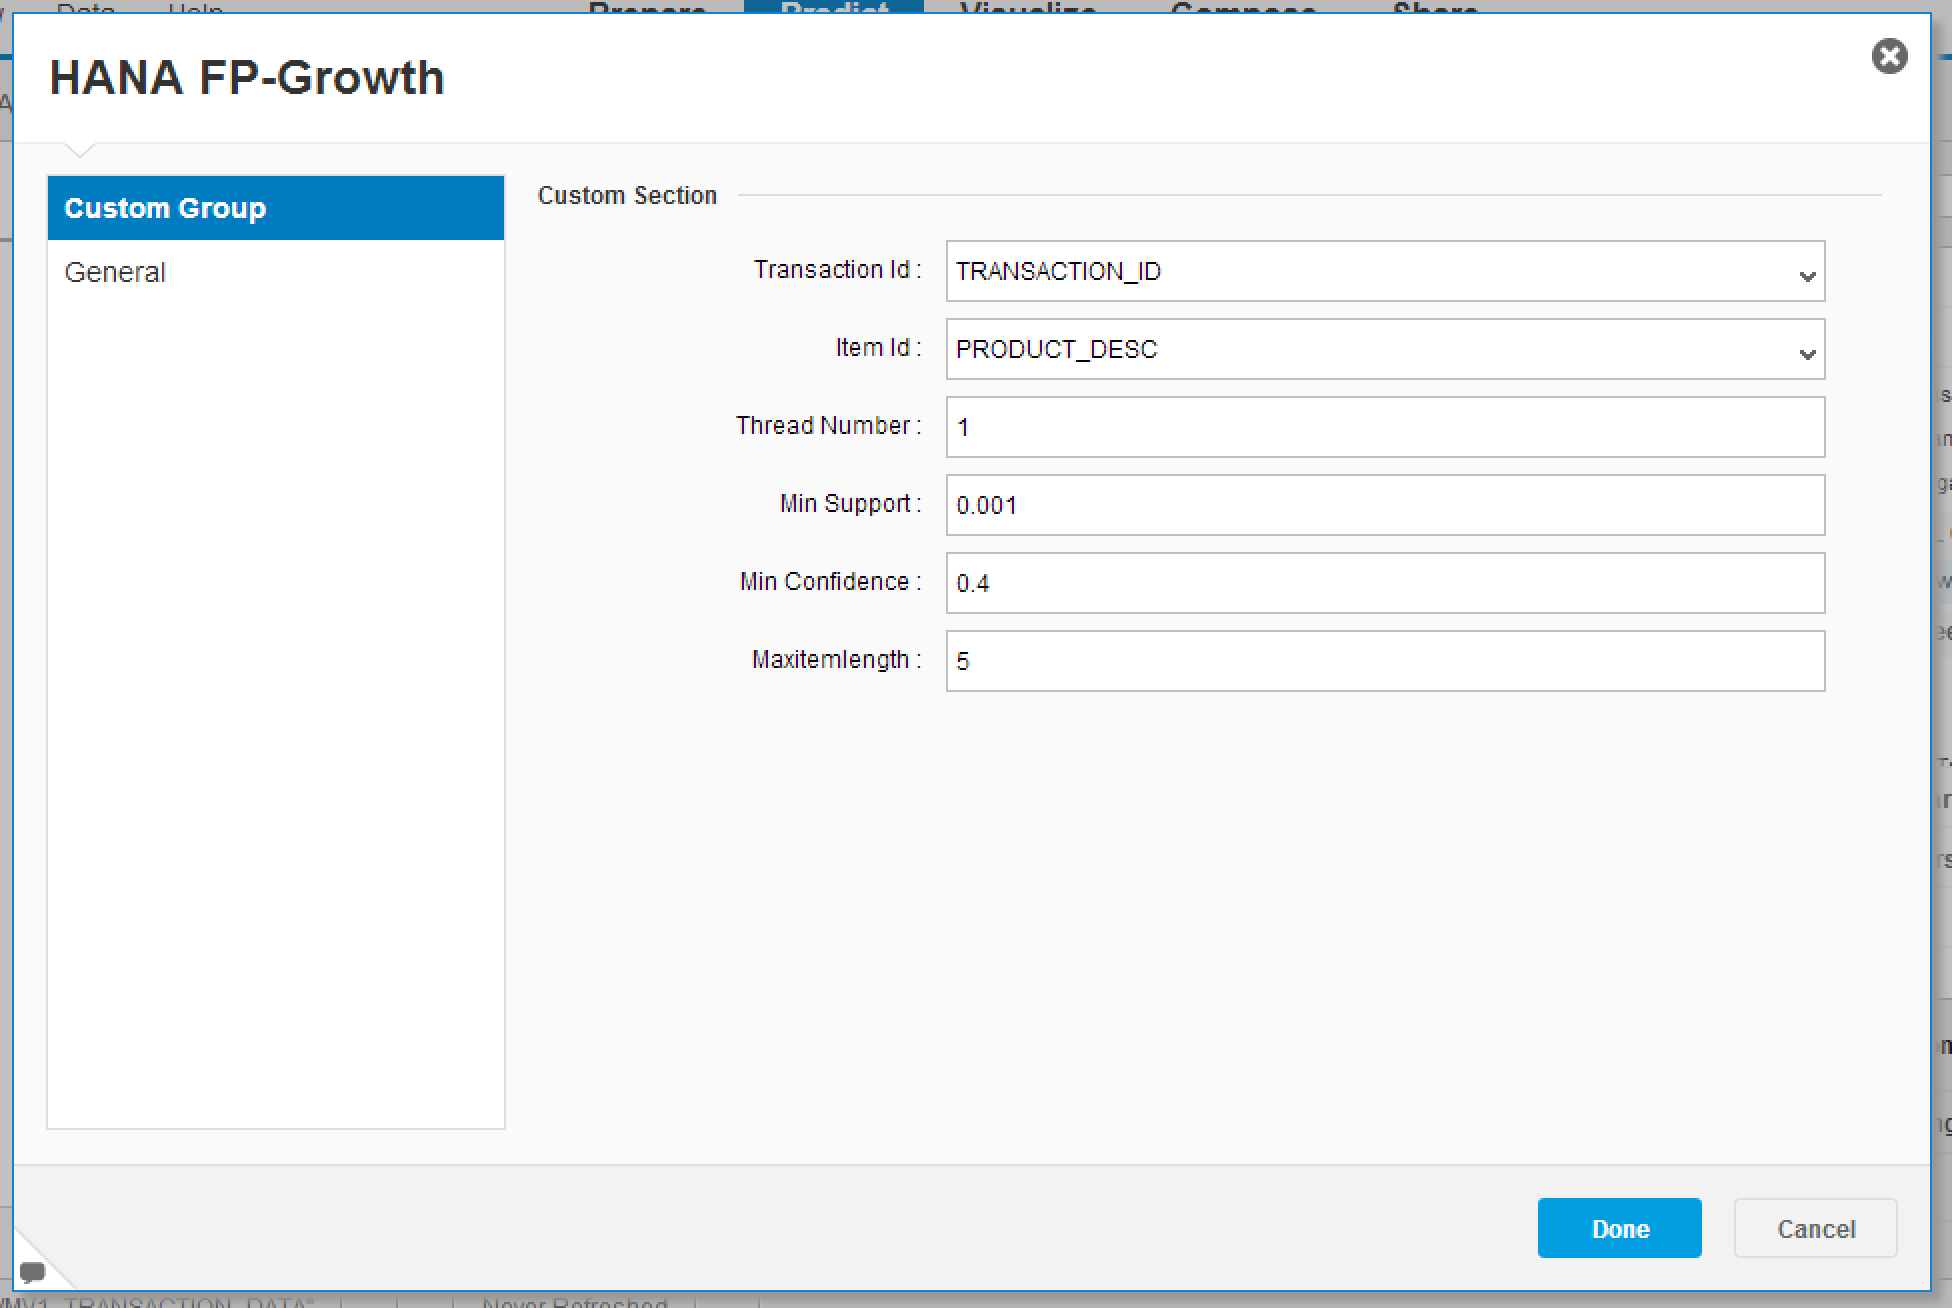
I chose FPGROWTH as I'm looking to do some more Basket Analysis. Expert Analytics then knows the parameters that the PAL function requires.
You can then adjust the names and default values as required.

When you press Finish you will see the new Component available in the Algorithms section, with an "N" for new.

You can now use that on the canvas just like all the other components.

You will now see the parameters exactly as you created the component in the previous steps.
That's it you can now run the workflow, and you can re-use the custom component whenever you need it.
