
- SAP Community
- Products and Technology
- Technology
- Technology Blogs by SAP
- RaspberryPi on SAP HCP - IoT blog series part 3: S...
Technology Blogs by SAP
Learn how to extend and personalize SAP applications. Follow the SAP technology blog for insights into SAP BTP, ABAP, SAP Analytics Cloud, SAP HANA, and more.
Turn on suggestions
Auto-suggest helps you quickly narrow down your search results by suggesting possible matches as you type.
Showing results for
Advisor
Options
- Subscribe to RSS Feed
- Mark as New
- Mark as Read
- Bookmark
- Subscribe
- Printer Friendly Page
- Report Inappropriate Content
11-21-2014
5:01 PM
In the second blog post of this blog post series around Raspberry Pi and the SAP HANA Cloud Platform we've taken care of the receiving part in the cloud. If you've followed the instructions in the blog post you have now an app running on your free developer account which can receive sensor data and persist it and provide some output in JSON format for the user interface.
In this blog post we'll now look into the code for the Raspberry Pi and will connect an external temperature sensor to our Raspberry Pi. That code will be sending the temperature data from the CPU inside the Raspberry Pi as well as the temperature from the external temperature sensor.

Table of Contents
But first thing first. Let's first tackle some hardware challenges.
Connecting the external sensor
This is the part where you need to have solding skills (or know somebody who has). Follow the instructions on this blog under the section "
Step Two: Connecting the Temperature Sensor" and connect your sensor to your Raspberry Pi.
CAUTION:
Please be aware that this is hardware-stuff which actually can react in a physical way like getting hot, explode, burn you, etc.. So you either know what you are doing, find someone who can do it, buy it somewhere ready-made or just leave it. You do this at your own risk (which you've probably know before anyways, but just mentioning it here, so you don't forget while reading 🙂
The Java app for the Raspberry Pi
You can find the code for your Raspberry Pi in the file I've attached to this blog post.
Just unzip it on your machine and open a console to connect to your Raspberry Pi like I've described in my first blog post of this series.
After logging-in to your Raspberry Pi change the current directory to the folder you've created for your scripts. If you did it, like I've done it, you'll switch to your myscripts folder.
cd /home/pi/myscripts
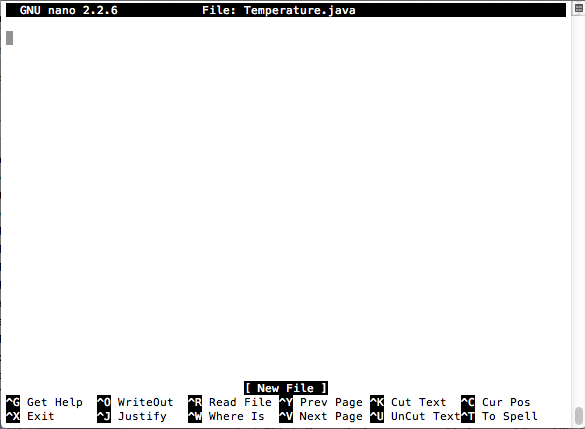
The next thing we do is to create the app on the Rasperry Pi. To create the corresponding Java file we create a file called Temperature.java with the text editor nano.
nano Temperature.java
Your window should look more or less like this:
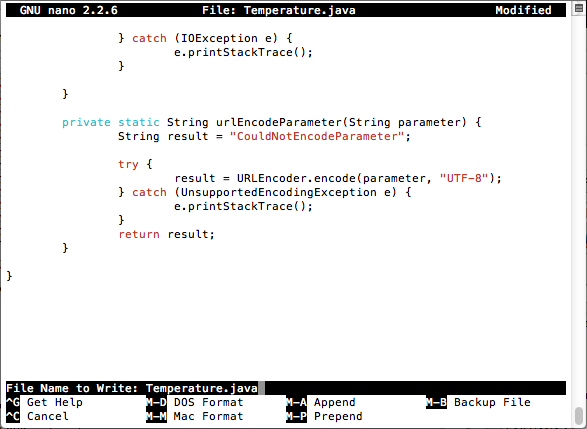
Now copy the content of the file you've extracted before on your machine into your clipboard. Switch back to the console with the opened nano editor and paste the clipboard into the window.

Now press the command and X key and the editor will ask you to either press Y to save the file or N for not doing it. Press Y and hit the return key to save the file.
Before you can move forward you need to adapt the code so it works with your account. So let's open the Temperature.java file again in nano
nano Temperature.java
Check proxy
First thing you need to do is adapt the USEPROXY variable in the Temperature.java file. Set it to false if you are working from home, as most probable you don't use a proxy server at home. If you do have a proxy server for accessing the internet, set it to true.
Adapt URL of Java app on your SAP HANA Cloud Platform account
Now look into the variable called SERVLET_URL_cloud and change it to the URL of your application that you've deployed in the second blog post of this series.
Get Hardware ID of the external temperature sensor (optional)
In case you want to use the values of the external temperature sensor, you need to find out it's ID before. To do that you should ensure you've added the modules for the sensors as described in the first blog post and also connect the sensor to the Raspberry Pi as described above.
Now move to the folder /sys/bus/w1/devices/ and search for a subfolder there called 28-xxxxxxxxxxx. That folder name is the id of your sensor.
ls /sys/bus/w1/devices/
If you don't get any results or an error message saying "No such file or directory" you've either not connected the external sensor, or you've connected it wrongly to your Raspberry Pi.
Once you have the id of your sensor you need to assign it to the variable called SENSOR_HARDWARE_ID in your Temperature.java file.
Assign DB id's of sensors to the ones on your Raspberry Pi
In the past blog post you've already created at least one sensor in your database. What you need to do now is to get the database ids for 2 sensors. So if you haven't done, yet, create at least two sensors in your app like described in the past blog post.
If you call your app you should see something like this

Take the number after the "id" field and assign them in your code to the variables SENSOR_DB_ID_CPU_TEMP and SENSOR_DB_ID_TEMP_SENSOR.
Compile the Temperature.java file
After doing all the changes you need to save the file in nano. Now you need to compile the file. To do that enter this command in your myscript folder:
javac Temperature.java
Should you get an error message you might have messed-up the code. Try again 🙂
If there are no errormessages a new file was created called Temperature.class. Check it by listing up the files in your myscript folder:
ls -l
Send your sensor data to your app on SAP HANA Cloud Platform
The last thing missing now is to actually run the app. To do it simply we call the Java app like this
java Temperature 10
The 10 at the end tells the app that it should iterate through the app 10 times.

If everything worked fine you should now be able to see the sent sensor data in your Java app on your account.

Next Steps
Now that we have worked on the hardware side of this, we'll work on the user interface to provide a nice looking dashboard for Rui's Fish Import/Export Inc..

That's what we'll do in the next blog post.
Have fun.
Best,
Rui
- SAP Managed Tags:
- SAP Business Technology Platform
24 Comments
You must be a registered user to add a comment. If you've already registered, sign in. Otherwise, register and sign in.
Labels in this area
-
ABAP CDS Views - CDC (Change Data Capture)
2 -
AI
1 -
Analyze Workload Data
1 -
BTP
1 -
Business and IT Integration
2 -
Business application stu
1 -
Business Technology Platform
1 -
Business Trends
1,658 -
Business Trends
92 -
CAP
1 -
cf
1 -
Cloud Foundry
1 -
Confluent
1 -
Customer COE Basics and Fundamentals
1 -
Customer COE Latest and Greatest
3 -
Customer Data Browser app
1 -
Data Analysis Tool
1 -
data migration
1 -
data transfer
1 -
Datasphere
2 -
Event Information
1,400 -
Event Information
66 -
Expert
1 -
Expert Insights
177 -
Expert Insights
298 -
General
1 -
Google cloud
1 -
Google Next'24
1 -
Kafka
1 -
Life at SAP
780 -
Life at SAP
13 -
Migrate your Data App
1 -
MTA
1 -
Network Performance Analysis
1 -
NodeJS
1 -
PDF
1 -
POC
1 -
Product Updates
4,577 -
Product Updates
344 -
Replication Flow
1 -
RisewithSAP
1 -
SAP BTP
1 -
SAP BTP Cloud Foundry
1 -
SAP Cloud ALM
1 -
SAP Cloud Application Programming Model
1 -
SAP Datasphere
2 -
SAP S4HANA Cloud
1 -
SAP S4HANA Migration Cockpit
1 -
Technology Updates
6,873 -
Technology Updates
421 -
Workload Fluctuations
1
Related Content
- Set Up the Internet of Things Edge Platform on Raspberry PI in Technology Blogs by SAP
- Raspberry PIへの Internet of Things Edge Platform のセットアップ in Technology Blogs by SAP
- Track water intake with SAP Leonardo IoT in Technology Blogs by SAP
- Beer, Beer, Beer - IoT brewing Part 1 in Technology Blogs by Members
- Send your Raspberry Pi sensor data to SAP Vora via Apache Kafka managed by the SAP Data Hub in Technology Blogs by Members
Top kudoed authors
| User | Count |
|---|---|
| 38 | |
| 25 | |
| 17 | |
| 13 | |
| 7 | |
| 7 | |
| 7 | |
| 7 | |
| 6 | |
| 6 |