Detailed steps for automatic change of the Status of a transaction using SAP Actions and Action Monitor -
SAP Functionalies used –
1.Action Profiles
2.Batch job scheduling using Action Monitor
Example illustrated below – Change of Status of Appointment from OPEN to CLOSED
1) Create Actions with Wizard -

2) Use Method Call

3) Use method - SET_DOCUMENT_STATUS ;
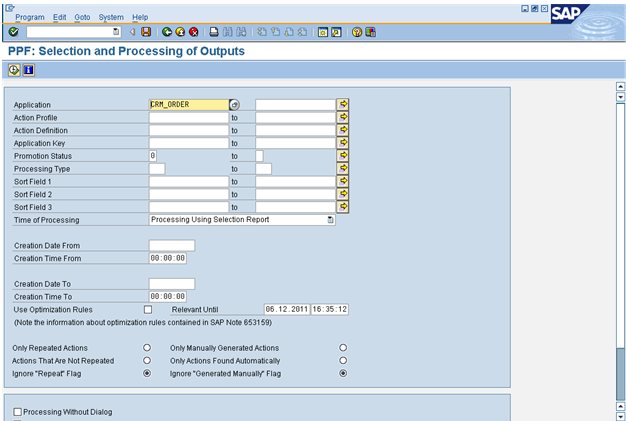
4) Processing time – Processing using selection report

5) Enter Element / Name, Structure and Field. This data is very essential and please key in these values only.

6) Go to Initial Value , Maintain initial value as – FINI

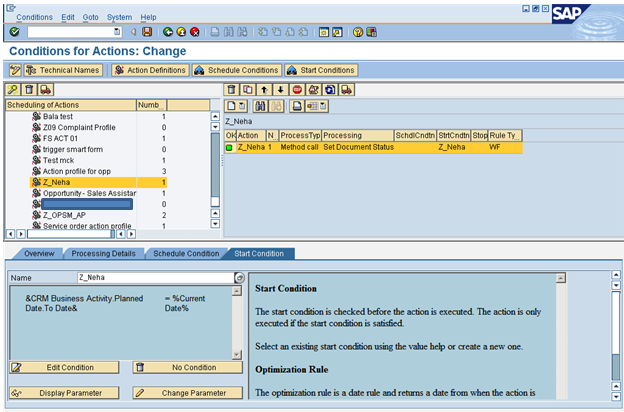
7) Go to change Actions and Maintain Start Condition in Change Actions and Conditions –

😎 Start Condition – To Date = Current Data of Application server

7) Assign ACTION Profile to Transaction Type –
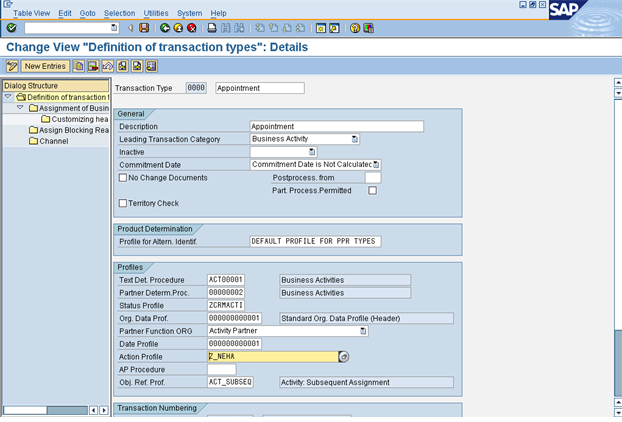
😎 Status Profile of the Transaction Type –

9) Create an Appointment

10) Enter Activity Partner –

11) Save the Transaction , The Status is OPEN
Go to Actions tab and execute the Action manually –
Action is processed –

12) Go to details tab, on saving – Status changes to CLOSED.

13) Create 2 appointments and save with Start date as today and with end date today and 2 Activities with start date tomorrow and end date tomorrow
Using Action Monitor :
Using Action Monitor and Background processing to automatically change Status for the 2 Activities with end date today -
1) Go to Action Monitor – Tcode - CRMC_ACTION_JOB
2) Enter Action Profile and save –
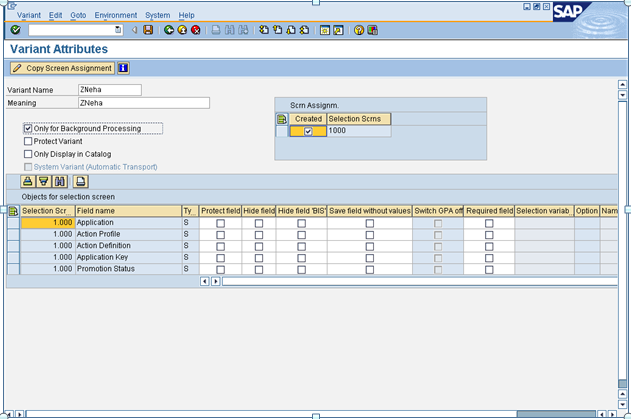
3) Create Variant and put Only for background processing and click SAVE . Please make sure to select Processing without DIALOG as this runs automatically in background.

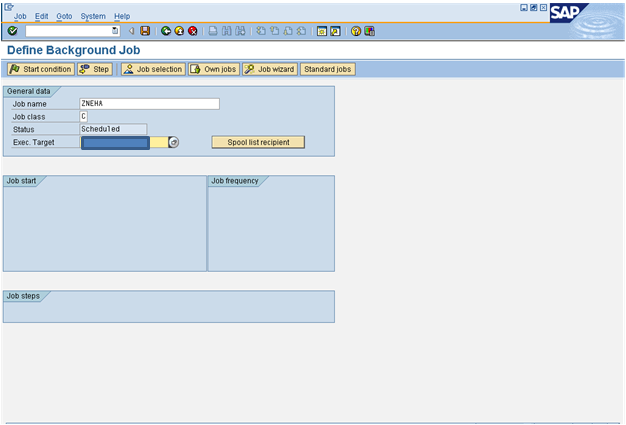
4) Go to SM36 ( For scheduling background jobs) –
Create job and save –
Enter Program – RSPPFPROCESS (Program name for Action Monitor) and choose variant created and save -

5) Go back, Click on Job Selection – Put job name and check job status as scheduled and Click Execute -

6) Check the box next to the job and click on Release –

7) Select processing time as immediate and save to check. We can set the job periodically to run at certain intervals and auto-close all the activities which meet the criteria without any manual intervention.


😎 The job gets Executed –

The Status for the 2 transactions with end date as today has changed to CLOSED while for Transactions where Start condition is not met it has not changed.
Authors –
Neha Manikumar
Apoorv Dhawan
