
- SAP Community
- Products and Technology
- Technology
- Technology Blogs by SAP
- SAP BusinessObjects Mobile - our return on experie...
Technology Blogs by SAP
Learn how to extend and personalize SAP applications. Follow the SAP technology blog for insights into SAP BTP, ABAP, SAP Analytics Cloud, SAP HANA, and more.
Turn on suggestions
Auto-suggest helps you quickly narrow down your search results by suggesting possible matches as you type.
Showing results for
Former Member
Options
- Subscribe to RSS Feed
- Mark as New
- Mark as Read
- Bookmark
- Subscribe
- Printer Friendly Page
- Report Inappropriate Content
10-22-2013
3:44 PM
The exponential increase of mobile adoption at SAP has been significantly supported by the early availability of analytics (SAP BI Mobile, SAP BusinessObjects Explorer Mobile) making these mobile apps the preferred entry point to Business Intelligence (BI) for our business community. Elements, like making end users feel they are at home, facilitating the deployment with built-in apps are key factors of a smooth deployment and higher adoption rate.
SAP BI Mobile offers this possibility with a SDK (Software Development Kit). The purpose of this article is to share our experience in leveraging SDK to create a customized version of SAP BI Mobile fitting with the expectations of our business community. It is addressed to anyone interested in this topic, no matter the level of computing skills.
General goals you may want to reach with SDK
SDK offers a large panel of options to adapt the overall design of the app, hereby integrating the corporate layout policy of your company. You can almost change anything you want in the application (colors, labels, background, images, icons…). The SDK library is accessible to technical, but not expertized, consultants. You can quickly find whatever you need in sources and write your own piece of code.
Beside layout, SDK also allows you to control the parameters of the app. A great example is the possibility to set predefined connections to your corporate systems, that are then systematically listed when the end user installs the app, and does not need to be entered manually. This is a huge step
forward to facilitate a global deployment.
forward to facilitate a global deployment.
Content can also be managed via SDK – offering in particular the possibility to create your own charts. If it may help to fulfill some specific business needs not covered with the default chart library, this is the most advanced piece of SDK where more developer skills are required.
Finally, the SDK Developer Guide gives useful information about all possible customizations and how to set them up with a step by step description.
Technical requirements
Here are the prerequisites to develop SDK solutions for SAP BI Mobile:
- Development is made on an iMAC with the Xcode software (see note below)
- A mobile device to deploy the customized application
- An Apple Developer Account (see note below)
About XCode :
Xcode is an integrated development environment (IDE) containing a suite of software development tools developed by Apple for developing software and applications for OS X and iOS. An iOS simulator is also integrated in the software in order to test your developments. You open your build with this software and can see the whole content (files, folders, code, images, etc).
Here is a screenshot of the display in Xcode of the architecture of the build:

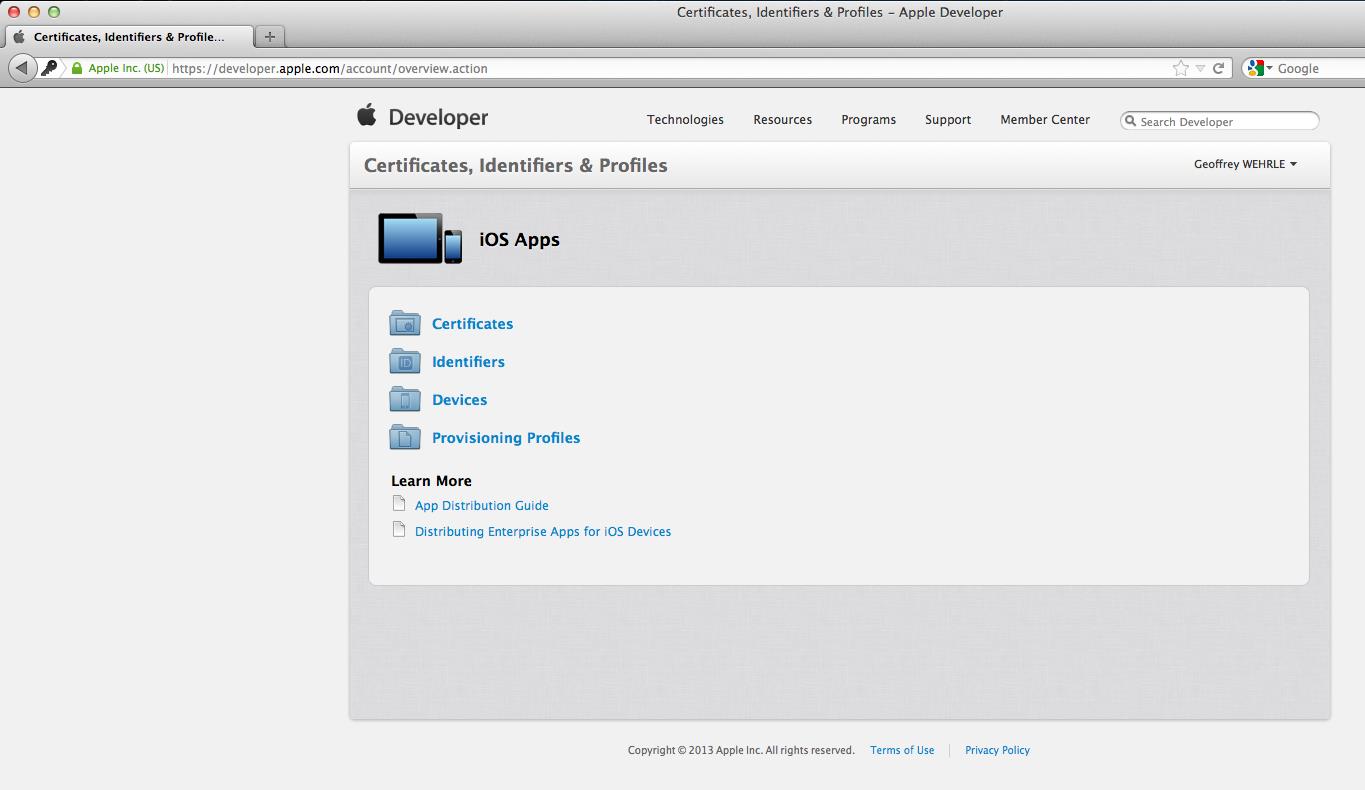
About Apple Developer Account
Getting an Apple Developer Account is mandatory to develop and compile apps on IOS. You can buy this account on the Apple portal. With this account, you will have to create a certificate, register your device, and create a provisioning profile which connects your certificate and your device. All these actions have to be done on the Apple portal.
Overall landscape
The whole development until the final compilation is performed within Xcode. Xcode is composed of two main windows: the development window (for development and compilation) and the organizer window (for distribution).
a. Development Area
The development window is where you can customize your app in the way you want. All developments / modifications are done in this window.

On the left of the screen, you have a sidebar where you can see the architecture of your app. You can navigate through these elements; and each time you select one, it appears in the main screen on the right. After that, you are free to customize whatever you want in all files of the architecture.
The iOS simulator is very helpful to test the behavior and the design of your application. You have to select either iPad simulator or iPhone simulator depending on the targeted device. Then, you just have to run the project.

b. Compilation
The next step when your developments are done is to compile the code into a new app. In the Product menu of the navigation bar, you have to select Archive. This action also has to be done in the development window.

c. Distribution
The last step in order to get your app is to publish it so you can create the IPA file that will be deployed on mobiles. This action is done from the Archives tab of the Organizer window. You can now see the build that you archived previously.
- Select your build and click on the distribute button.
- Select the method of distribution:

- Select “Save for Enterprise or Ad-Hoc Deployment” then Next.
- Now, you have to choose a certificate for signing the application.

- The last step is to set the location for saving your IPA
d. Install the IPA file on your iPad
This is a standard synchronization via iTunes.
Please find a short video which details how you can install the IPA file on your iPad.
Examples of customization
1st example: Predefined connection
Predefined conditions can be extremely helpful in global deployments, avoiding the need to support each user to set up his or her own connection with the risk of typos in the settings.
You can access and create these connections in the “DefaultSettings.plist” files in the item “feature.predefinedconnections.list”.
Note that you can set an unlimited number of predefined connections, just click on the “+” icon and add server information. If you want to delete one of your predefined connections, just click on the “-” icon.

Each line you add for setting a new connection has to begin with “sapbi://addConnection?” followed by the parameters of the connection. All parameters are linked with the symbol “&”.
Some connection parameters are mandatory: Name, Type (BOEConnection, HANABIServer, etc), Server URL, CMS, Central Management Server), Authentication type (Enterprise, LDAP, Windows AD)
There are also optional parameters if you want to add more information to the connection:
- Editable : Boolean parameter that determines if the connection is editable on device
- Default: Boolean parameter that determines if the connection is set by default on device
- User credentials
- Save Password : Boolean parameter that determines is the password can be saved on device
You can find all of these parameters in these examples of predefined connections.

Here is an example with mandatory and optional parameters:
sapbi://addconnection?ConnectionType=BOEConnection&connection_name=myBOEConnection&server_url=11.22.33.44%3A8080&cms=11.22.33.44&authType=secEnterprise&usr=myuser&pwd=mypassword&savePwd=true&editable=true
2nd example: Home screen color customization
This example especially applies to companies where corporate design is subjected to strong governance. The customization is separated between colors of all text elements of the home screen and background images.
First, regarding colors of texts, you can access and modify them in the file “ApplicationAppearance.plist” by updating the column Value (the one in the red square). You have to fill this column with the hexadecimal code of the color you want to set for your texts.

Here is the reference of each line of the “ApplicationAppearance” file in the home screen. With this, you can easily know which line you need to update to customize the text of the home screen of the application:

The background of the app and the icons are built with images, so the easiest way to customize the application is to change these pictures directly. You just have to replace the file by using the same name and the modification will be taken into account immediately.
You can find all these files in the folder images in the hierarchy structure of the application.
The pictures used for the background of the app are located in the folder “Appearance”:

The pictures used for the icons of the home screen are located in the folder “HomeScreen50”:

Conclusion and recommendations
The SBO Mobile SDK is a great opportunity for customizing your app in a simple way because it does not require a high level of computing skills for most of features. Moreover, the documentation is very well detailed, so it is easy to follow the instructions step by step. Of course, before going into this direction, you must consider the additional TCO generated by the need to update and recompile the app for any change in the customization or whenever a new version of the Standard App is released.
Here are few screenshots of customizations:
- Icon on the home page:

- Home screen Colors customizations :

Useful links:
- SAP Managed Tags:
- SAP BusinessObjects Mobile,
- Mobile
5 Comments
You must be a registered user to add a comment. If you've already registered, sign in. Otherwise, register and sign in.
Labels in this area
-
ABAP CDS Views - CDC (Change Data Capture)
2 -
AI
1 -
Analyze Workload Data
1 -
BTP
1 -
Business and IT Integration
2 -
Business application stu
1 -
Business Technology Platform
1 -
Business Trends
1,658 -
Business Trends
91 -
CAP
1 -
cf
1 -
Cloud Foundry
1 -
Confluent
1 -
Customer COE Basics and Fundamentals
1 -
Customer COE Latest and Greatest
3 -
Customer Data Browser app
1 -
Data Analysis Tool
1 -
data migration
1 -
data transfer
1 -
Datasphere
2 -
Event Information
1,400 -
Event Information
66 -
Expert
1 -
Expert Insights
177 -
Expert Insights
293 -
General
1 -
Google cloud
1 -
Google Next'24
1 -
Kafka
1 -
Life at SAP
780 -
Life at SAP
12 -
Migrate your Data App
1 -
MTA
1 -
Network Performance Analysis
1 -
NodeJS
1 -
PDF
1 -
POC
1 -
Product Updates
4,577 -
Product Updates
340 -
Replication Flow
1 -
RisewithSAP
1 -
SAP BTP
1 -
SAP BTP Cloud Foundry
1 -
SAP Cloud ALM
1 -
SAP Cloud Application Programming Model
1 -
SAP Datasphere
2 -
SAP S4HANA Cloud
1 -
SAP S4HANA Migration Cockpit
1 -
Technology Updates
6,873 -
Technology Updates
416 -
Workload Fluctuations
1
Related Content
- Elevating Customer Engagement: Harnessing the Power of SAP Chatbots for a Personalized Experience in Technology Blogs by Members
- What’s New in SAP Analytics Cloud Release 2024.07 in Technology Blogs by SAP
- What’s New in SAP Analytics Cloud Release 2024.06 in Technology Blogs by SAP
- Integrating with SAP Datasphere Consumption APIs using SAML Bearer Assertion in Technology Blogs by SAP
- SAP Fiori tools 2403 introduces Gen AI capability and more in Technology Blogs by SAP
Top kudoed authors
| User | Count |
|---|---|
| 31 | |
| 24 | |
| 8 | |
| 7 | |
| 7 | |
| 6 | |
| 6 | |
| 5 | |
| 5 | |
| 4 |