Setup the SUP SDK 2.2 with Android Emulator
This blog is meant to provide a step by step guide to configure and setup the development environment for SUP 2.2 with android emulator. The purpose of this document is to make it easy and less frustrating for developers who have decided to start developing on SUP.
Installing the Unwired workspace 2.2
Download the setup from the SAP service site
Sybase Products>> SAP MOBILE PLATFORM SDK>> SYBASE MOBILE SDK 2.2
51044310 - Sybase Mobile SDK 2.2 Windows x86/Windows x64
Extract the zip and run the setup.exe.
Configuring the SAP Server
Start the Unwired workspace, you can locate it in:
Start>>Sybase>>Unwired Platform>>Unwired Workspace 2.2
On the bottom left corner you will see the Enterprise Explorer. If its not available goto Window>>Open Perspective>>Other
From the popup menu select

On the left you can see SAP Servers, right click and select New. The wizard will guide you through the process to create an SAP server connection.
Configuring the Unwired Server
From the Enterprise explorer right click Unwired Servers and select New, write a Name My Unwired Server and press next.
Enter the SUP Server details such as Host, IP domain, port specified in the Sybase Control Centre, user name and password for the SUP server. Test the
connection and press Finish. Make sure the firewall is not blocking the ports.
Now your Development environment is connected to the SAP server and the SUP server, last thing is to configure the emulator.
Installing and Configuring the Android Emulator
Installing the Android SDK
Before you configure the emulator you need to download the Android SDK, for this follow the link below.
http://developer.android.com/sdk/index.html

Select USE AN EXISTING IDE and Download the SDK Tool for Windows
After the download is complete run the .exe file and follow the steps.
Notes from Sybase Info Center:
- See Supported Hardware and Software for the most current
version information for mobile device platforms and third-party development
environments. - Do not install the ADT plugin for Eclipse.
- When specifying the install location, consider choosing a path that does
not contain spaces, such as C:\Android\android-sdk. Some versions of
the Android SDK do not work correctly when installed in the default drive:\ Program Files location. - If the Android installer stops with a message that the required Java JDK
is not found on your system (even when the JDK is installed), try clicking Back and then Next, one or more times, until the
installer detects the JDK.
Follow the steps and complete the installation.
Setup the Target for the Android Virtual Device(AVD)
Before you configure the AVD you need to download the target operating system, this will be done using the SDK Manager.
Goto Start>>Android SDK Tools>>SDK Manager

The SDK Manager will show the installed software and will provide you with a list of android versions. Select the one you want to use. I installed Android 4.2.2 since that was the latest one.
To show an example I am selecting Android 4.1.2. Then press the Install button. The wizard will take you to a next screen where you have to Accept
the agreement for each package.


Complete the installation.
Creating the AVD for testing
The final step now is to create the AVD, run the AVD manager from Start>>Android Tools SDK>>AVD Manager
Press the New button to add an AVD(Android Virtual Device).
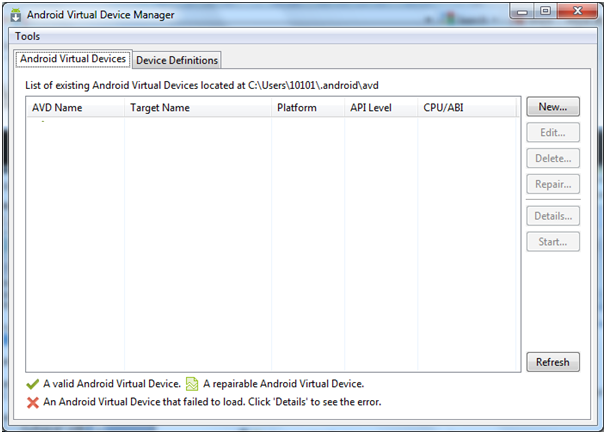
Specify the details such as name, Target etc. and press OK.

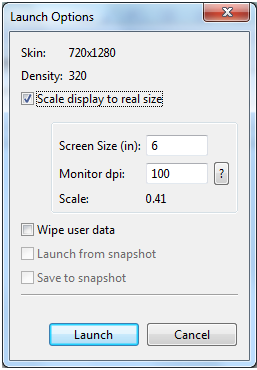
Select the AVD and press the start button to run the emulator; it will take some time to load.

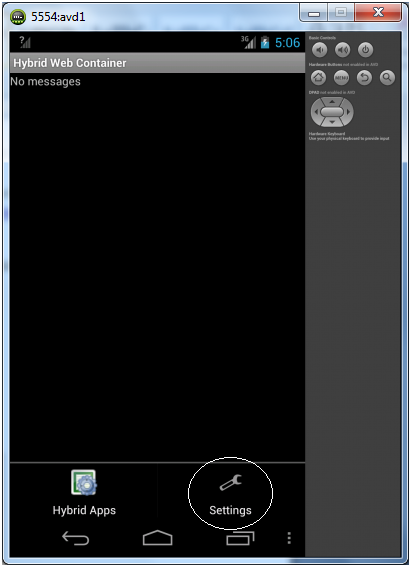
Installing the Hybrid Web Container in the Emulator
Now we will install two .apk files which will install the Hybrid Web Container in the emulator. These files are available in the Sybase SDK directory.
C:\Sybase\UnwiredPlatform\MobileSDK22\OData\Android\libraries\SybaseDataProvider.apk
C:\Sybase\UnwiredPlatform\MobileSDK22\HybridApp\Containers\Android\HybridWebContainer.apk
While the Emulator is running we will install the Hybrid Web Container.
Open the command prompt and goto the Android SDK directory for me it is C:\Android, and go to the following path
C:\Android\android-sdk\platform-tools.
Run the following commands
SybaseDataProvider.apk
Command
adb install ^
C:\Sybase\UnwiredPlatform\MobileSDK22\OData\Android\libraries\SybaseDataProvider.apk
Result
32 KB/s (12923 bytes in 0.386s)
pkg:
/data/local/tmp/SybaseDataProvider.apk
Success
HybridWebContainer.apk
Command
adb install ^
C:\Sybase\UnwiredPlatform\MobileSDK22\HybridApp\Containers\Android\HybridWebContainer.apk
Result
61 KB/s (1070488 bytes in 17.069s)
pkg:
/data/local/tmp/HybridWebContainer.apk
Success
Go back to the emulator; you should be able to see the Hybrid Web Container app in the app list.

Setting up the Hybrid Web Container (HWC) to connect to SUP
Creating a User in the Sybase Control Center, you can see the steps in the following link.
http://infocenter.sybase.com/help/index.jsp?topic=/com.sybase.infocenter.dc01212.0210/doc/html/vhu12...
Once the user is created, you will get the following details from the SUP server.
Server Name: <SUP SERVER NAME>
Port: Default 5001
Farm ID: 0
User Name: <created using the above link>
Activation Code: <will be generated by the server>
Protocol: Default HTTP
Enter these details in the HWC settings

Then press Save, HWC will immediately start connecting to the SUP server, make sure the firewall from on your PC and the Server allows port 5001, to confirm, open internet browser in your pc and enter http://<supipaddress>:5001, If it shows a popup screen asking for user name and password then it's OK, otherwise ports may be blocked.

Press the Show Log button to see the log.

