
- SAP Community
- Products and Technology
- Technology
- Technology Blogs by SAP
- Get Ready For Your Paul Position
Technology Blogs by SAP
Learn how to extend and personalize SAP applications. Follow the SAP technology blog for insights into SAP BTP, ABAP, SAP Analytics Cloud, SAP HANA, and more.
Turn on suggestions
Auto-suggest helps you quickly narrow down your search results by suggesting possible matches as you type.
Showing results for
former_member19
Explorer
Options
- Subscribe to RSS Feed
- Mark as New
- Mark as Read
- Bookmark
- Subscribe
- Printer Friendly Page
- Report Inappropriate Content
12-21-2012
8:04 PM
Welcome to Paul the Octopus – one of SAP HANA Cloud’s Community Samples! It will demonstrate how to use all the power and functionality of the Platform in one adorable web application. Do you remember Paul the Octopus from the FIFA World Cup 2010? He successfully predicted the winner of each of seven matches of the Germany national football team, as well as the champion of the final and this Community Sample is dedicated to him. Get ready! This app will not only show you the SAP HANA Cloud Platform’s Services, but will also amuse you. It’s not the usual rather boring “book-store” app – it’s an exciting game. There are plenty of matches every day and Paul is making his predictions for them. Here comes the cool thing – you can state your predictions as well. You can compete with Paul and try to beat him. So, take a deep breath and dive into the adventure with the SAP HANA Cloud Platform. In this blog you will get familiar with:
- Overall picture
- First steps of using the SAP HANA Cloud Platform
- Importing the app as a project and running it
- Using the Web UI and its functions
Overall picture
Before we get to play with this Community Sample, let’s see the overall picture. You have got a web application that you are going to deploy on the SAP HANA Cloud Platform. When you open your browser you see the user interface and start making requests to the server. The server sends responses to the browser and this whole communication process is handled via REST services.
Good, we got the communication between the server and the client. One more thing. Data for the fixtures (a synonym for a football match) is provided by a separate application that is called the data provider. But how does one app refer to another? It’s quite simple with the SAP HANA Cloud Connectivity Service (Internet Connectivity). What you do is to state the URL of the data provider application - https://octopuspaul.hana.ondemand.com/ptodata/ - in a new destination, named “opta” in the Connectivity tab of the server adapter.
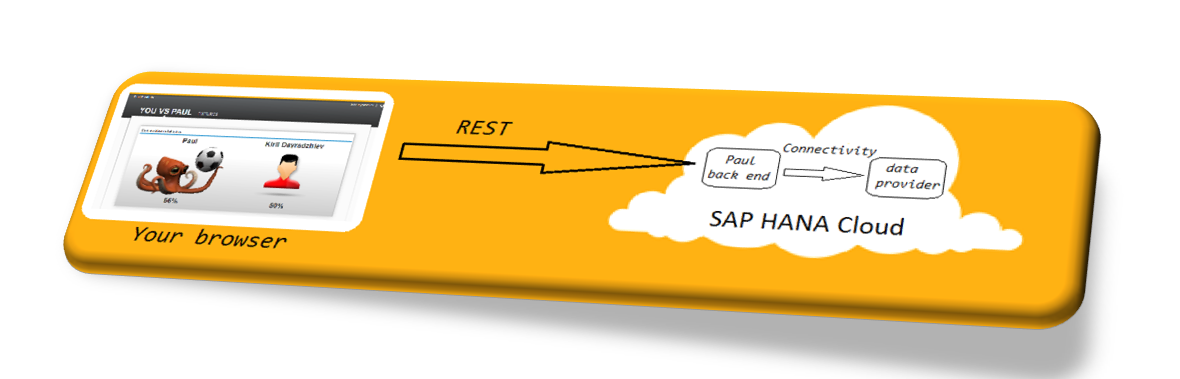
To conclude: you have got the UI connected to the back end via restful services and the back end connected to the data provider via Connectivity Service.
First steps of using the SAP HANA Cloud Platform
Before we start, you need to sign up for a SAP HANA Cloud account, download the Eclipse IDE for EE Developers and set up the Eclipse tools for SAP HANA. More information on this topic can be found in the SAP HANA Cloud Documentation Center.
Importing the app as a project and running it
1. Importing
This Community Sample is a web application that makes use of Maven. Here is how to run it. You will need the m2e plugin for Eclipse and the m2e-wtp one (installable from the Eclipse Market). Download the project from https://github.com/SAP/cloud-paulpredicts. Open your HANA Cloud Eclipse IDE (with runtime environment SAP HANA Cloud already set up) and import the project as an Existing Maven project. Create a new server - either local or on the Cloud.
2. Running - here we split into 2 different scenarios - locally and on the Cloud
Common task for both scenarios is creating the Destination, required for consuming the Connectivity Service. Double-click on the server, Connectivity tab, create a new Destination named "opta" and paste the following URL to the URL field: https://octopuspaul.hana.ondemand.com/ptodata/ (see screenshot below)

2.1. Local scenario – if you have created a new local server, then:
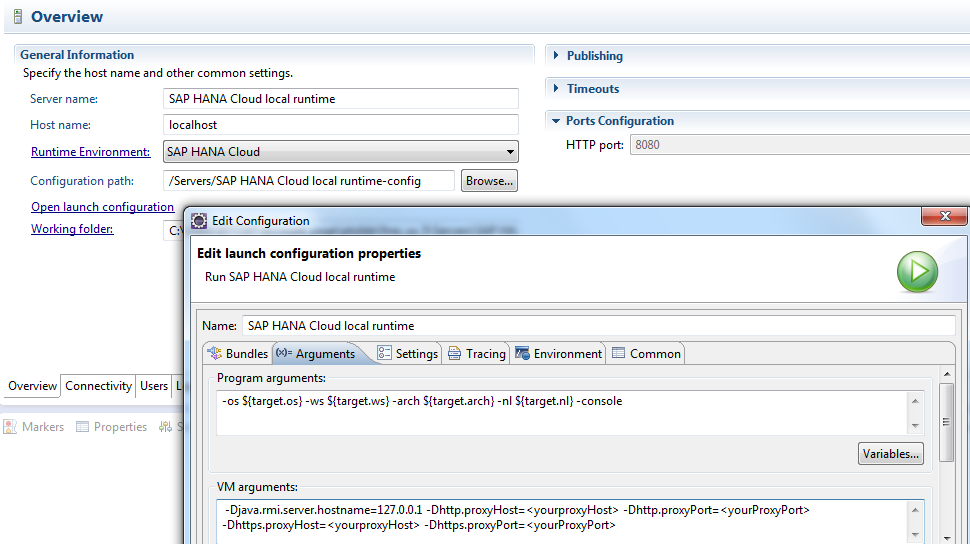
- if you work behind a proxy server, then you should configure your proxy settings (host and port). Double click on the server, go to Overview tab and press the Open launch configuration. In the tab (x)= Arguments, VM Arguments add:
-Dhttp.proxyHost=<yourproxyHost> -Dhttp.proxyPort=<yourProxyPort>
-Dhttps.proxyHost=<yourproxyHost> -Dhttps.proxyPort=<yourProxyPort>
and set your proxy hosts and ports:
- Create local users - double-click on the created server, go to the User tab and create new users with all the properties required. Set a role for every of your users. The role with name "Everyone" is mandatory and if you want to use the admin UI add one more role named "admin".

- Run MongoDB - it is used for the SAP HANA Cloud's Document Service when running locally. Download MongoDB from here: http://www.mongodb.org/downloads, save the archive, unpack and execute the following command: mongod --dbpath C:\mongodb_data, where "C:\mongodb_data" is an empty directory.
Note: when running locally you will receive the mails on your local file system. In your local server's folder/work/mailservice/
- Run the application - right click on the project, Run As, Run on Server and select your server.
Note: if the option Run on Server is not in the menu then right click on the project, Properties, Project Facets and make sure the Dynamic Web Module is checked and its version is 2.5.
2.2. Cloud scenario – if you have created a new server on the SAP HANA Cloud Platform, then:
- for using the Mail Service you have got to complete a put-destination operation with a specially prepared file (you can find one in the project, named Session.template). Remove the .template extension(!) and fill in data regarding SMTP, username, password etc for your email account. The put-destination operation can be completed with the Console Client and with a special properties file, containing information about your SAP HANA Cloud account (you can also find this template in the same folder – configuration.properties). Fill in the template and enter the following command in the Console Client:

- If you want to assign the admin role for your user when the app is deployed on the Cloud, go to the Cloud's Cockpit, Authorizations tab and do the same as shown in the following screenshot:

Using the Web UI and its functions
When you open the app with your browser (e.g. http://localhost:8080/server in the local case) you will be prompted to fill in your username and password. Use the data you entered in the users tab above. After successful login you will see the following screen:

From the left – Paul and the percentage of his correct predictions and on the right – you and your correct predictions. You can change your profile picture if you wish. Just click the default one and a dialog like this will appear:
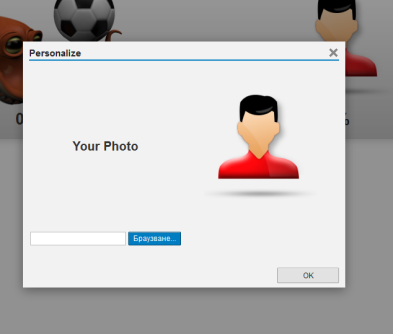
Select another image from your file system and that’s it. This feature makes use of SAP HANA Cloud’s Document Service.
The Fixtures tab is separated into 2 sub-tabs – one dedicated to the Future Fixtures and one to the Past Fixtures. In the Future Fixtures tab you can see all the matches you can make prediction for. When clicking on the left side of a row in the table you can see details about the teams that are going to compete right below the table. The ones which you already predicted are marked with orange labels:

You can make your prediction (or change a previous one) with the button in the last column of each row. A dialog (like the one below this paragraph) is going to pop up and prompts you to select a possible outcome.

In the Past Fixtures tab you can see whether your predictions had been right or not. The screen looks like this:

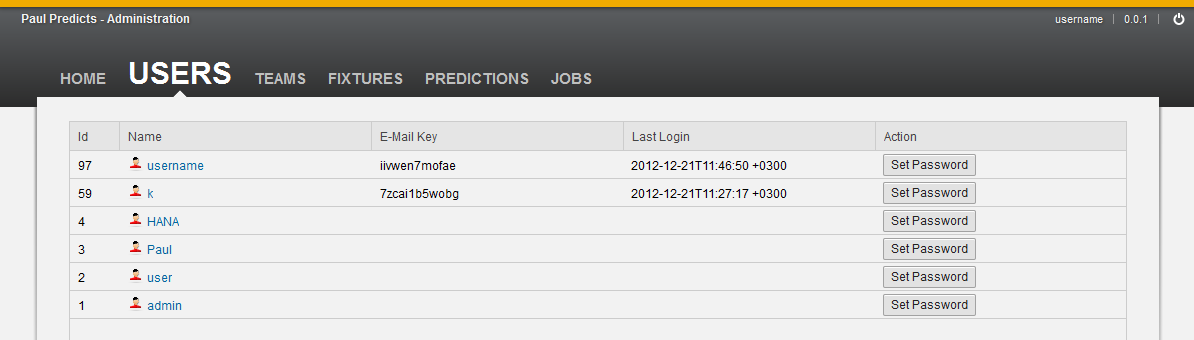
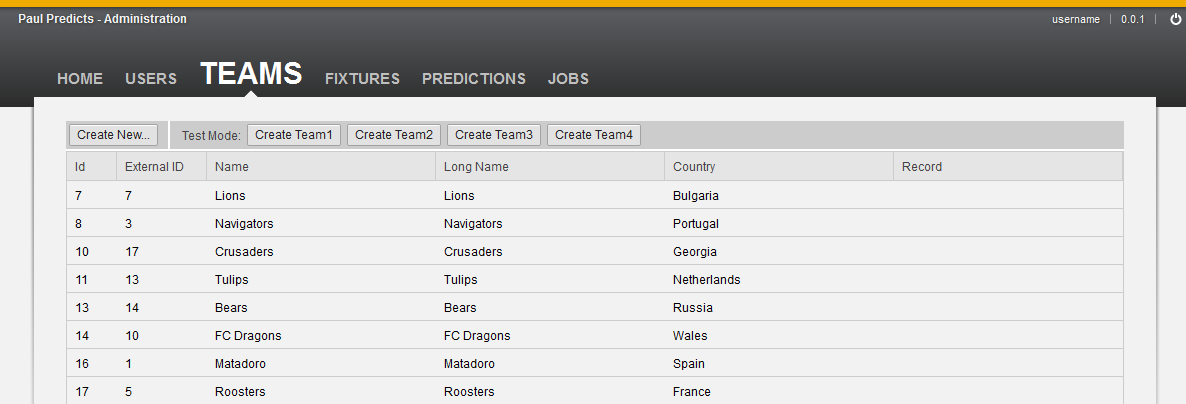
There is an admin UI. If you want to see it, you have to add “admin” right after the “… /server/” part of the URL. Please note that the admin UI is accessible only for Administrators, so you have to assign your user such a role. The admin UI contains monitoring tools (check out the users that use the app, a list of all the teams, fixtures and predictions) and some controlling – you can manually trigger importing fixtures from the data provider and trigger Paul to make his predictions. Here is how the admin UI looks like:
In the users tab you can see a list of all the users that are playing against Paul.
In the teams tab you can see all the teams that have already played or are going to play.
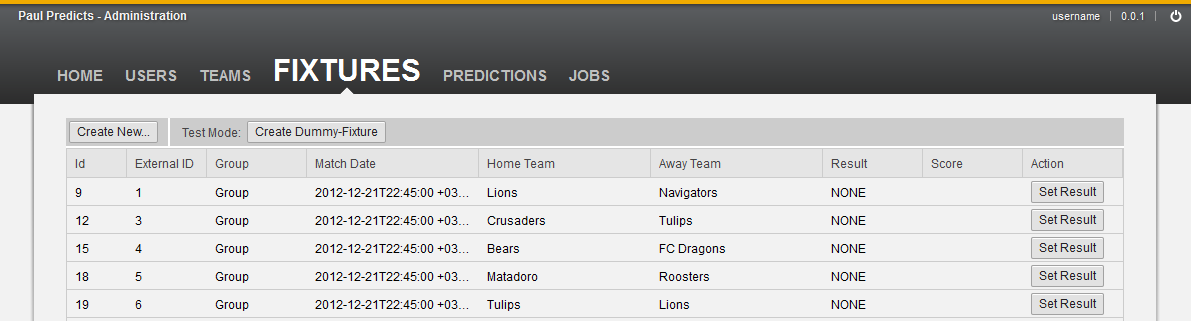
In the fixtures tab – probably you have already guessed – that’s right - all the fixtures are there.
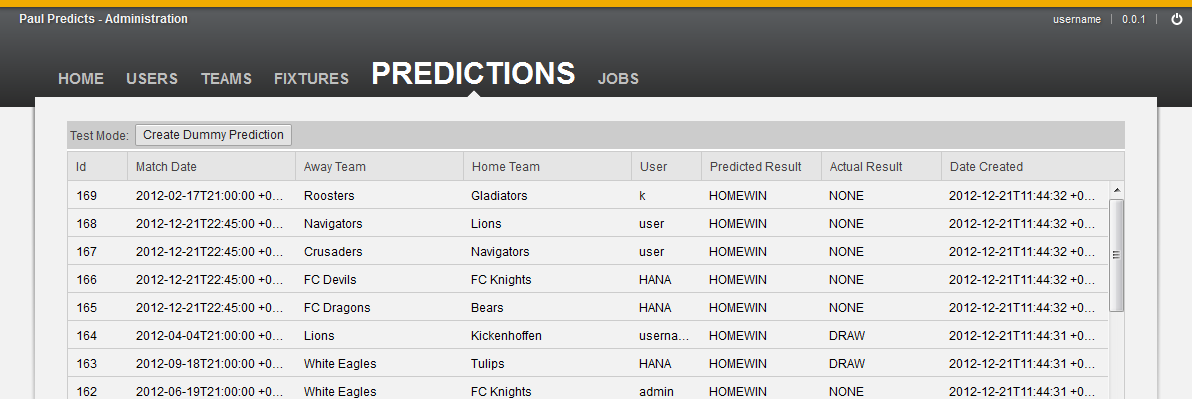
In the predictions tab you can check out all the predictions made by all the users:
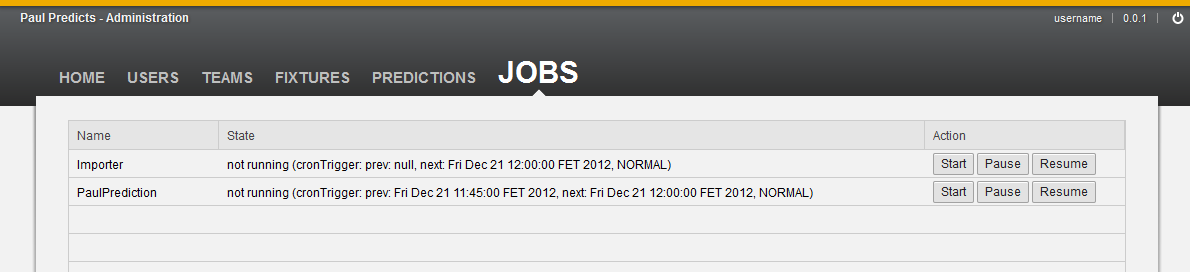
In the jobs tab you can manually trigger data importing and Paul making his predictions:
Enthusiastic already? Our follow-up blogs in which we get technical and explain how this app was created are now on the final straight.
Here is the first one: Paul Dissected Part 1
- SAP Managed Tags:
- SAP Business Technology Platform
17 Comments
You must be a registered user to add a comment. If you've already registered, sign in. Otherwise, register and sign in.
Labels in this area
-
ABAP CDS Views - CDC (Change Data Capture)
2 -
AI
1 -
Analyze Workload Data
1 -
BTP
1 -
Business and IT Integration
2 -
Business application stu
1 -
Business Technology Platform
1 -
Business Trends
1,661 -
Business Trends
87 -
CAP
1 -
cf
1 -
Cloud Foundry
1 -
Confluent
1 -
Customer COE Basics and Fundamentals
1 -
Customer COE Latest and Greatest
3 -
Customer Data Browser app
1 -
Data Analysis Tool
1 -
data migration
1 -
data transfer
1 -
Datasphere
2 -
Event Information
1,400 -
Event Information
64 -
Expert
1 -
Expert Insights
178 -
Expert Insights
273 -
General
1 -
Google cloud
1 -
Google Next'24
1 -
Kafka
1 -
Life at SAP
784 -
Life at SAP
11 -
Migrate your Data App
1 -
MTA
1 -
Network Performance Analysis
1 -
NodeJS
1 -
PDF
1 -
POC
1 -
Product Updates
4,577 -
Product Updates
324 -
Replication Flow
1 -
RisewithSAP
1 -
SAP BTP
1 -
SAP BTP Cloud Foundry
1 -
SAP Cloud ALM
1 -
SAP Cloud Application Programming Model
1 -
SAP Datasphere
2 -
SAP S4HANA Cloud
1 -
SAP S4HANA Migration Cockpit
1 -
Technology Updates
6,886 -
Technology Updates
401 -
Workload Fluctuations
1
Related Content
- Generating PDF on BTP CF using CAP and Puppeteer in Technology Blogs by SAP
- First steps using the Hana Vector Engine with SAP GEN AI in Technology Blogs by SAP
- Create an xP&A Business Flow with SAP Analytics Cloud, SAP Datasphere & SAP Cloud Integration in Technology Blogs by SAP
- Partner-2-partner collaboration in Higher Education Sector in Technology Blogs by SAP
- SAP Business AI an Introduction in Technology Blogs by Members
Top kudoed authors
| User | Count |
|---|---|
| 11 | |
| 10 | |
| 9 | |
| 9 | |
| 7 | |
| 7 | |
| 7 | |
| 6 | |
| 6 | |
| 5 |