In our current project, there was a requirement which is as follow:
"When a call ended on CDT, the Agent becomes READY after the defined Wrap-Up time (Default is 3 sec defined in User Settings Templete), but if use is picking the call from CRM WebUI, the Wrap-up time never ends unless you click Exit button. For this there is a new settings SC_XFLD_OII.WrapUpEndedFromCdt. If you set it to 1, CRM will exit after CDT wrap-up ends.
For this we've to upgrade our BCM System, so we did :smile:
Procedure
We followed the procedure described in the Operation Guide in section 6.2 "Installing Support Packages". I just want to visualize the procedure to help you.
1. Back up the database, registry keys, all software files and system model before you start the installation or upgrading procedure.

2. Extract the support package to the Install Media path of your system, by default C:\Program Files\SAP\BCM\Install.
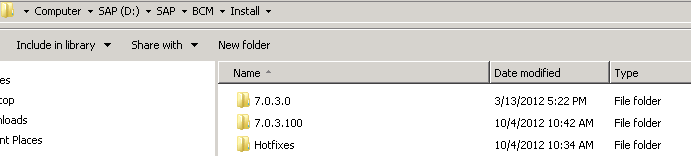
Alternative Way to Update IA
3. Shut down IA. This does not affect the running services.
4. To remove the previous version of IA, choose Start > Control Panel > Add or Remove Programs > BCM Infrastructure Administrator > Remove/Uninstall

5. To install the new IA package, double-click the MSI package under D:\SAP\BCM\Install\7.0.3.100\Infrastructure Administrator.

6. Start IA locally and load the system model file.
7. To start the system, choose Connection > Connect.
Deploy Support Package
8. Start IA.
9. Go to Deployment Mode

10. Set all VU's role to inactive.
11. Right Click on HAC and choose Change Base Installation... and choose 7.0.3.100.


12. Apply changes to local host
13. Choose al VU's one-by-one , Right-click and choose "Change Base Installation..." and 7.0.3.100

14. Do this for all VU's and then under HAC, choose Synchronize Instance for each VU.
15. Apply changes to Local Host.
16. Backup new version.
Thats it.
