Integration of Windows File Servers into the SAP KM platform running on HP-UX using the WebDAV repository manager
1.Make sure that IIS is installed on the File Server, for which you are going to integrate with EP.
2. Setting up the IIS
WebDAV is an optional component of IIS 6.0 and is not installed by default.WebDAV
can be added to the IIS installation using Control Panel.
Installing and enabling WebDAV
a. From the Start menu, click Control Panel.
b. Double-click Add or Remove Programs.
c. Click Add/Remove Windows Components.
d. In the Components list box, click Application Server.
e. Click Details.
f. Click Internet Information Services Manager.
g. Click Details to view the list of IIS optional components.
h. Click World Wide Web Service.
i. Click Details to view the list of World Wide Web Service optional components.
j. Select WebDAV Publishing.
k. Click OK until you are returned to the Windows Component Wizard.
l. Click Next and complete the Windows Component Wizard.
3. Make Sure that WebDAV Web service extension is set to Allow in the IIS.
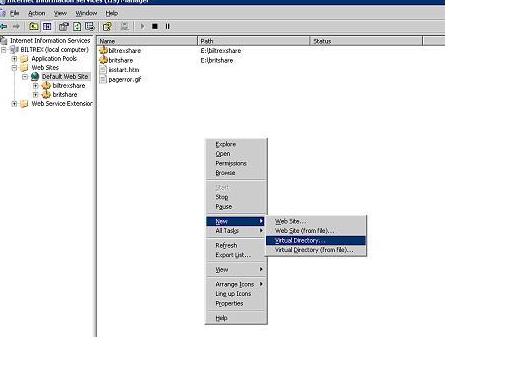
4. In IIS Manager, create a virtual directory and
a. set the desired virtual directory permissions.
b. And if Required choose an alias for this virtual directory.
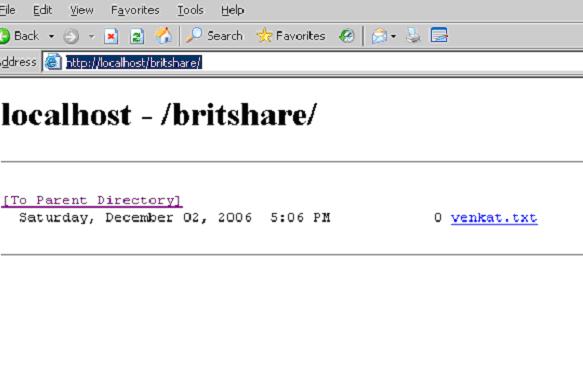
5.Check the virtual Directory created by giving the url :- http://localhost/
6.Login into the EP System and create a folder with name “KMSystems” in the System Administration->System Configuration->System Landscape
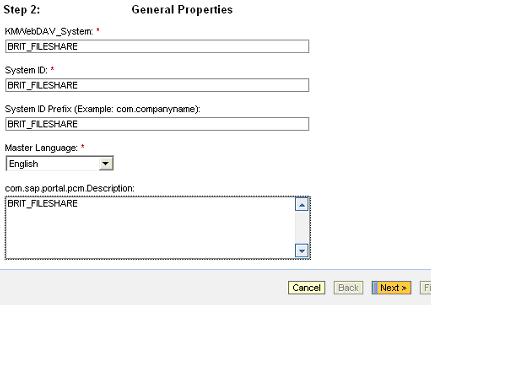
7.In the KMSystems folder create a New System from template and choose “KM WebDAV System”

8.Give the KMWebDAV_System, System ID, System ID Prefix and Description
9.It will show the Summary, click on the Finish tab to complete the System Wizard
10.click on the Open the object for editing and choose the Property Category:-
“User Management” and give the User Mapping Type as “admin,user”

11.Click on the Display and choose “System Aliases” and give the Alias Name and click on Add tab and Save.

12.Now create a HTTP System, for that go to System Administration->System Configuration->System Landscape->Knowledge Management->Content Managemant
13.In the Content Management, select the Subarea “Global Services” and inturn select the “System Landscape Definitions”
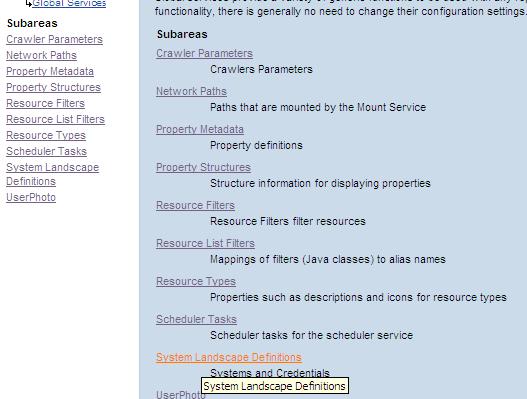
14.From the “System Landscape Definitions”, select the Subarea “Systems”
15.Click on the “Systems” and select “HTTP System”
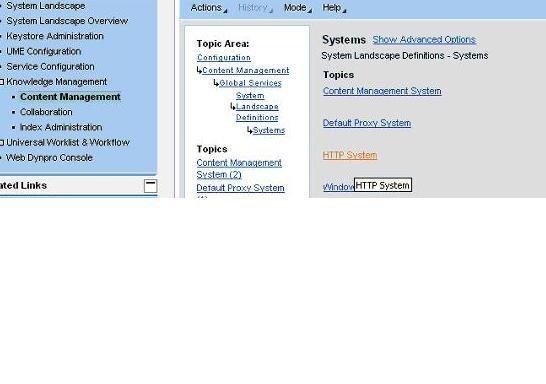
16.Click on New to create a new “HTTP System”
17.Give the System ID, Description and Server URL for the HTTP System
Server URL:- http:///

18.Click on ‘OK’ to Save and Activate

Note:- (If click on Show Advanced Options),it will ask for User and Password,If user and password is provided this will overwrite the usermapping the system Landscape.
19.Now create a WebDAV Repository, for that goto System Administration->System Configuration->System Landscape ->Knowledge Management->Content Management
20.Select the Subarea “Repository Managers”

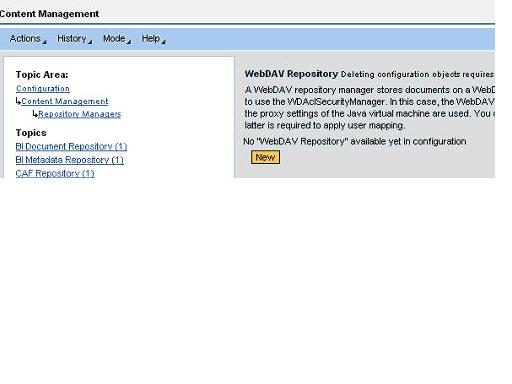
21.In the “Repository Managers”,Select the “WebDAV Repository”
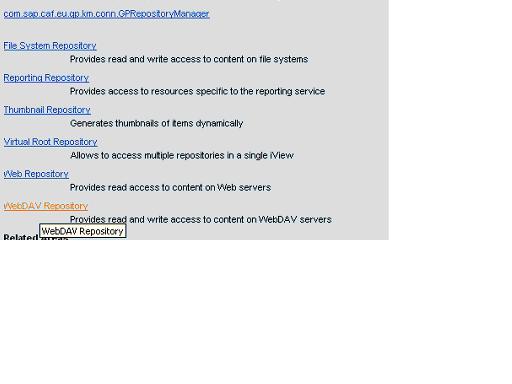
22.Click on ‘New’ tab to create a new WebDAV Repository
23.Give the Name,Description,Prefix and System ID (which you created earlier in step-18)

24.Leave the “Property Search Manager” as ‘Not set’ and
select “Security Manager” as ‘AclSecurity Manger’ and put the remaining as default one.
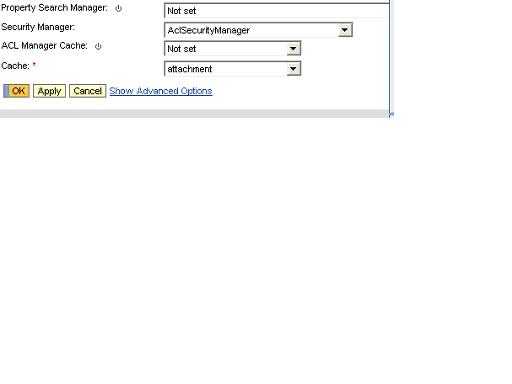
22.Click on ‘OK’ to save and activate the Repository

23.Click on the “Personalize” button on the right hand corner of the EP screen to give the “User Mapping”
In Details:-Select the System which you have created and give the Username and Password

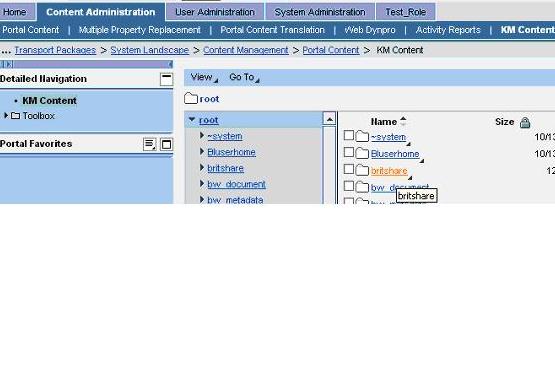
24.Now Check the FileServer Directorywhich you want to integrate in the EP System
Goto Content Management->KMContent
Check the FileServer Directory in the root……………
Note:-If you not find the Directory, try to restart the Java Instance and check.
25.Check the File which you have created inside the FileServer Directory
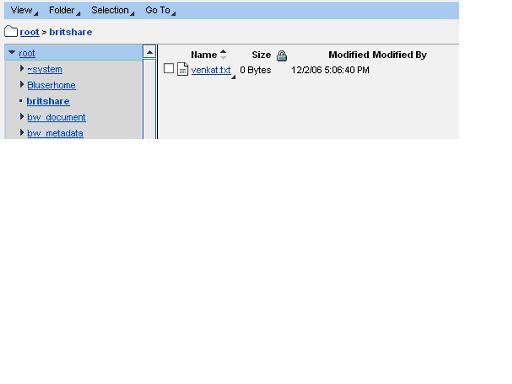
26.Click and Open the File for viewing the Content inside the File.

Congratulations, you had completed the FileServer integration with the Enterprise Portal running on a Non-Windows Platform……………
Conclusion:- You can also integrate FileServers into the Portal, how ever if the Portal is running on HP-UX it may not be possible to integrate Remote FileServers. In such scenerios, you may integrate these FileServers by adding them as virtual directories to an IIS server and integrating these virtual directories through the WebDav Repository Manager..............
