In this tutorial you will deploy a sample Java application for Cloud Foundry on SAP Cloud Platform using the Eclipse Plugin for Cloud Foundry.
You will learn
- How to install the Eclipse Plugin for Cloud Foundry
- How to publish and run a sample Java application
Prerequisite
Eclipse Neon (4.6)
SAP Cloud Platform – Cloud Foundry Instance –
Trial Instance
Details
Step 1: Installing the Eclipse plugin for Cloud Foundry
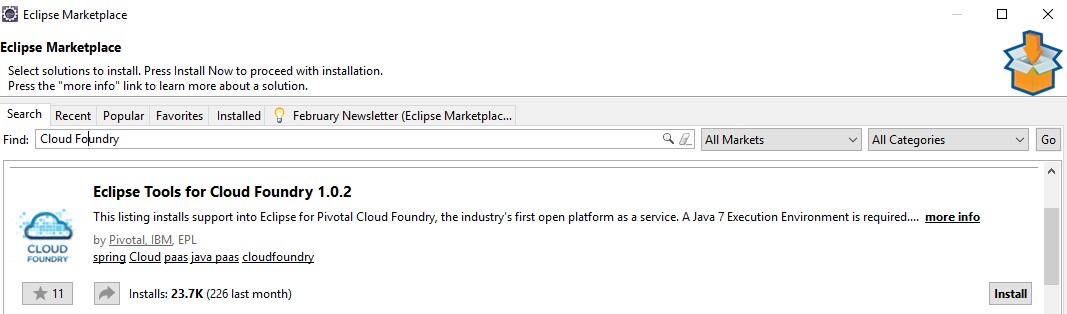
While developing Java applications in Eclipse, it is easy to have an integration tool to deploy the applications on to the Cloud Foundry platform. Cloud Foundry Integration Tool for Eclipse is available in the
Eclipse Marketplace. The plugin allows you to deploy a Java application to the configured SAP Cloud Platform instance without the need to remember the Cloud Foundry Command Line Instance commands. Some of the capabilities of the plugin are:
- Deploy the application from Eclipse IDE
- Create service instance
- Manage routes
- Manage the deployed applications – Application Operations, Environment variables, Instance additions
- View recent logs
Remember to check if the installation is complete by verifying the Cloud Foundry runtime availability in the Server Runtime Environments:
Navigate to Window -> Preferences -> Server -> Runtime Environments
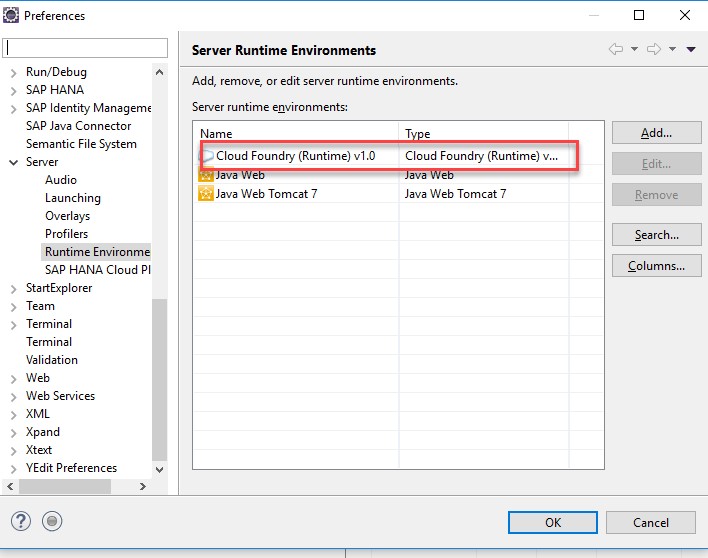
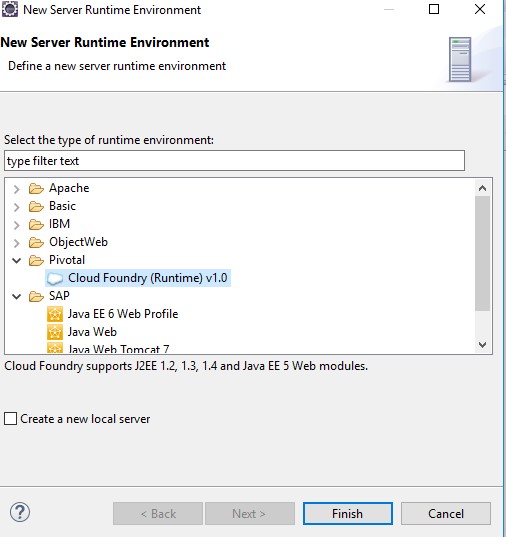
If you don’t find the Cloud Foundry Runtime, click
Add -> Pivotal -> Cloud Foundry (Runtime) v1.0
Step 2: Deploy a sample Java application
The sample application that is used in this tutorial can be downloaded from the SDKs downloadable from the SAP Development Tools
page.
The sample application can be found from
<SDK> -> samples -> hello-world
- Import the application to Eclipse workspace by selecting the folder in File -> Import -> Existing Projects into Workspace from Eclipse. Once imported, the Project would look like the one shown below:

- Open the server view by clicking on Window -> Show View -> Other -> Server. In the server view, right click New -> Server -> Pivotal -> Cloud Foundry to add the SAP Cloud Platform account to the server view.

- Select “Manage Cloud URLs” button highlighted above and add the API Endpoint of the Cloud Foundry instance.
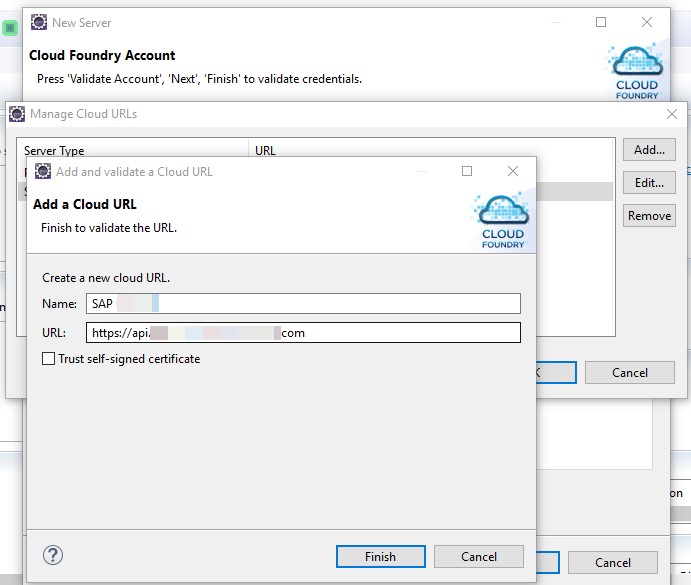
- Select Finish. In the Account Information provide the necessary credentials and click ‘Validate Account’. Upon successful validation, click Finish to add the server account to the server view.
- Double Click on the Server shown in the Servers view to open the Applications Overview Tab. Navigate to Applications and Services to deploy the application.
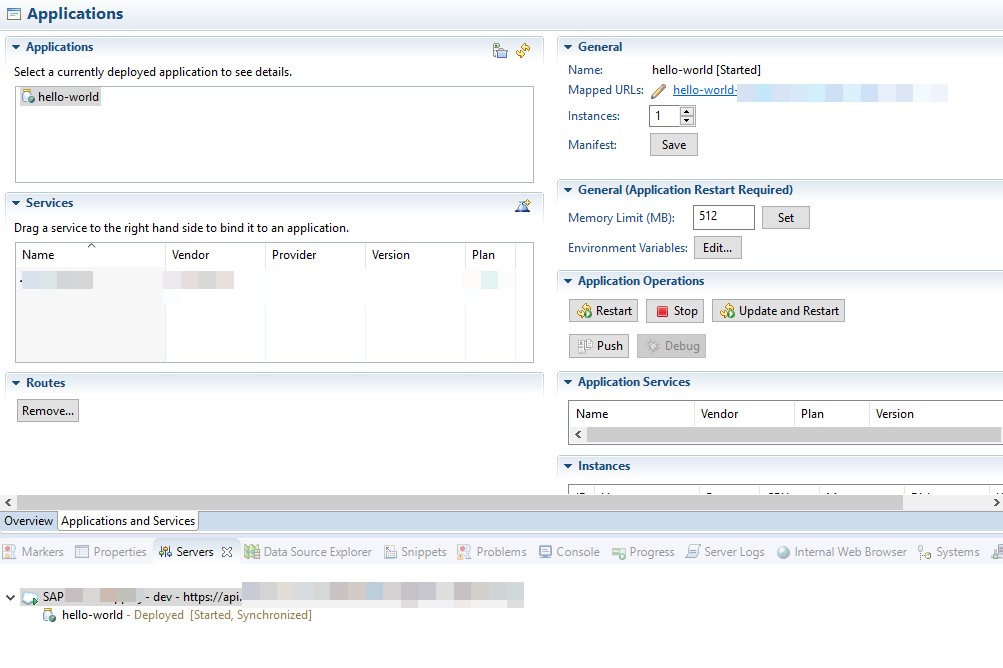
- Drag and drop the ‘hello-world’ application from the Project Explorer view to the Applications tab as seen above. Provide the name of the application as ‘hello-world’ in the pop up. Please ensure that there are no applications with the same name in the instance.

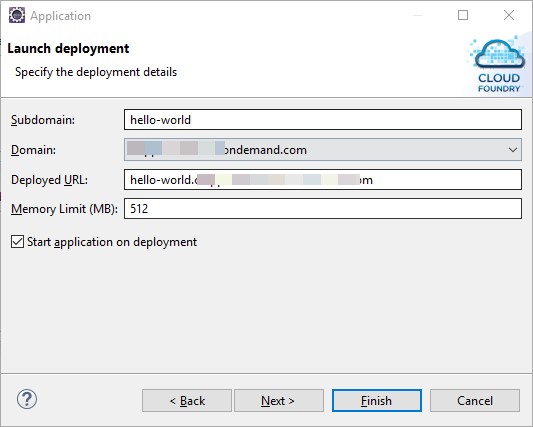
- Click Next to provide the Launch deployment details. The Domain will be selected by default based on the server details provided earlier in 2. Provide the Route details in the Deployed URL as shown below:
- (Not applicable for this example) If there is any Service Instance/wish to create a new service that is to be linked (not application for this application), you can bind the instance at the time of deployment.

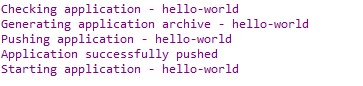
The environment variables can be maintained in the next screen. Upon successful deployment, the console would provide the messages as follows:
- The application can be checked in the SAP Cloud Platform cockpit as well. Login to the cockpit and navigate to the ‘Applications’ section. Click on the application ‘hello-world’ to see the details as follows:
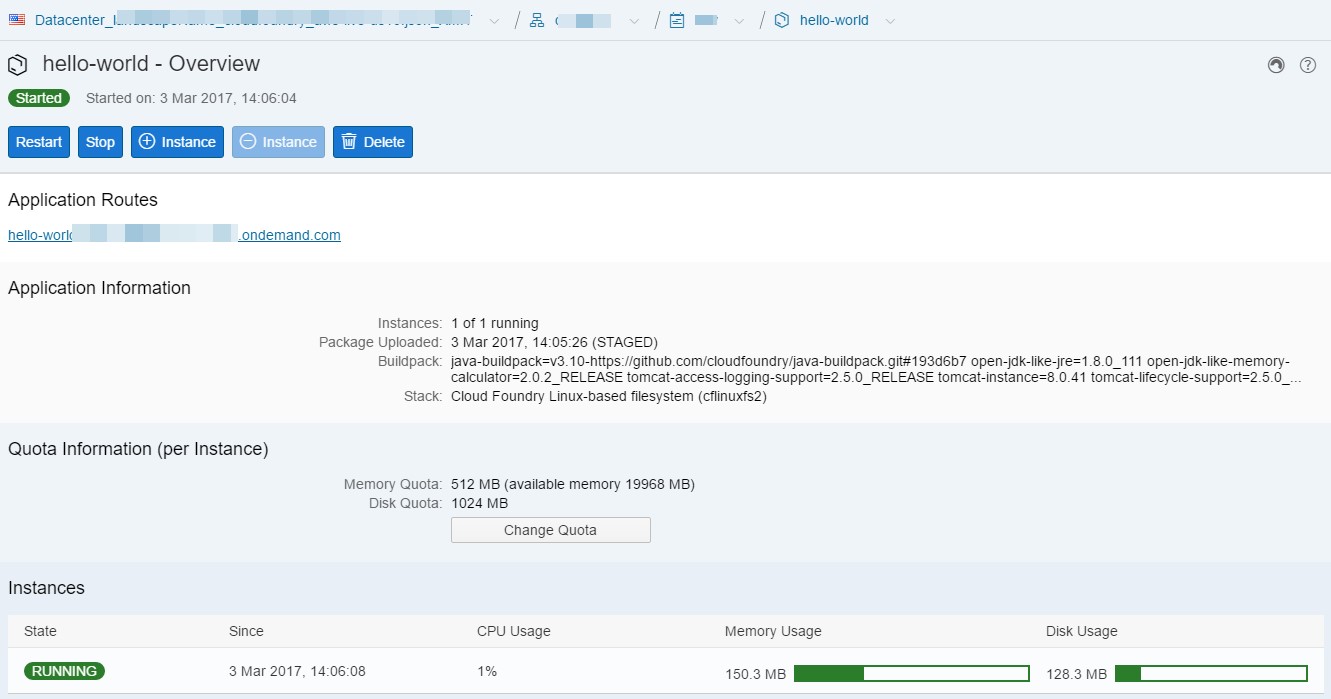
You can check the build pack used along with the stack details in the Application Information. Clicking on the Application Route link would display the ‘Hello World!’ text.
